
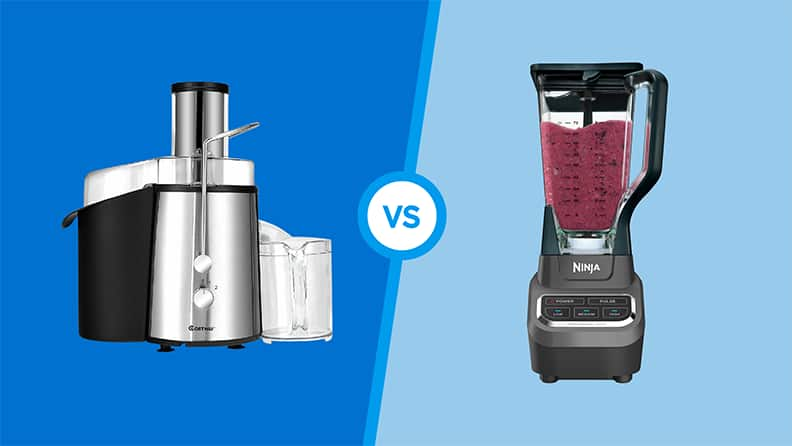
That $200 juicer gathering dust? Your Ninja blender can make fresher, preservative-free apple juice right now—no special equipment needed. While Ninja blenders weren’t designed for juicing, a simple straining trick transforms blended apples into vibrant, cloud-free juice that tastes like autumn in a glass. Forget watery store-bought versions; this method delivers authentic apple flavor in under 15 minutes using tools you already own. You’ll learn exactly how to avoid bitter pulp, prevent motor strain, and squeeze every drop from just 4 apples. Let’s turn your workhorse blender into a juice powerhouse.
Why Your Ninja Can’t Juice (But Can Make Better Juice)
Ninja blenders pulverize apples into a pulpy slurry instead of separating juice automatically like dedicated juicers. This creates what home juicers call “country style” juice—thicker, cloudier, and bursting with unfiltered apple essence. Commercial juice strips out fiber and adds preservatives, but your Ninja version retains natural sweetness without processing. The trade-off? A quick 5-minute straining step that actually gives you more control over texture and yield than any automatic juicer.
Must-Have Straining Gear for Crystal-Clear Juice
- Fine mesh sieve (80+ microns): Yields smoothest results with minimal sediment
- Nut milk bag: Extracts 20% more juice than sieves with zero mess
- Large bowl: Place under strainer to catch every precious drop
- Rubber spatula: Press pulp firmly without tearing fine mesh
Water Ratio That Saves Your Motor
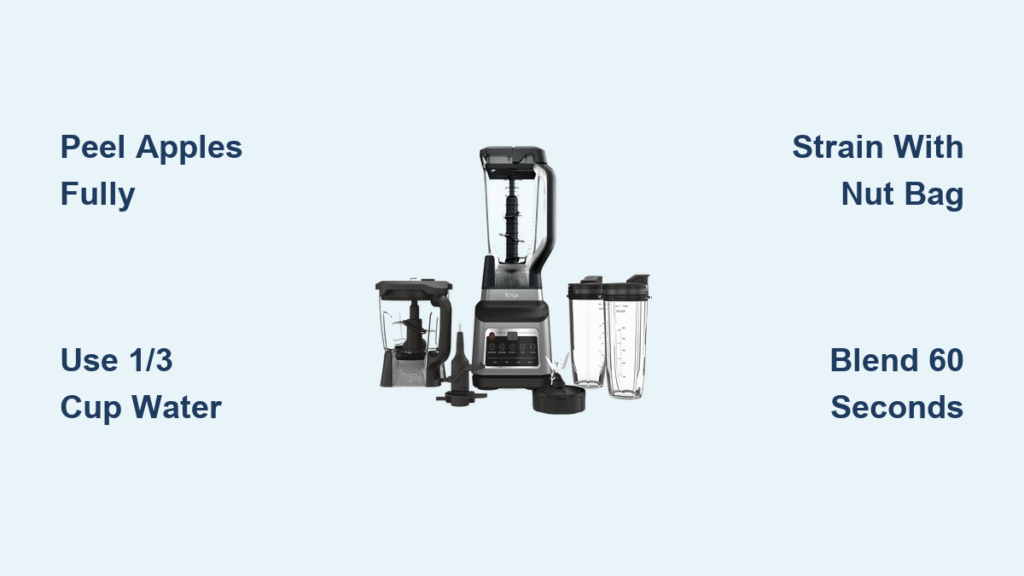
Adding ⅓ cup water per 4 apples is non-negotiable. Skip this and your blender fights air pockets, strains the motor, and leaves chunky pulp. Too much water dilutes flavor—a common beginner mistake. Measure precisely: 80ml water for every 500g of peeled apples. This ratio creates the perfect vortex for complete pulverization without overheating.
Peel or Regret It: The Non-Negotiable Apple Prep Step
Apple skins create bitter, fibrous juice that separates within minutes. Always peel completely—no shortcuts. Granny Smith’s tartness balances Honeycrisp’s sweetness, but Gala offers foolproof beginner results. Never exceed 6 apples per batch; overfilling causes uneven blending and risks burning out your motor. Here’s the pro’s prep sequence:
- Peel first: Use a Y-shaped peeler for speed (saves 3 minutes per batch)
- Core thoroughly: Apple seeds contain trace cyanide—remove every speck
- Chunk strategically: Leave pieces golf-ball sized—no extra chopping needed
Critical warning: Skipping peeling floods your juice with tannins that turn it cloudy and astringent within 10 minutes. Your blender’s power shreds skins into invisible fibers that ruin texture.
Speed 3 Blending: The 60-Second Juice Secret
Loading Like a Pro
Layer ingredients strategically: Add apples first, then pour measured water over top. This prevents apples from jamming against blades and ensures immediate liquid contact. Never add water first—that traps air and creates dangerous pressure spikes.
The Exact Blend Cycle
- Speed: Always use Speed 3 (medium-high) for maximum extraction
- Duration: 60 seconds total with 2-3 strategic pauses
- Pause protocol: Stop at 20-second intervals to:
- Scrape down unblended chunks with spatula
- Break air pockets with quick pulse bursts
- Check consistency (should resemble foamy smoothie)
Motor strain emergency: If you hear grinding or slowing, immediately add 1 tbsp water and restart. Never force blending—that’s how Ninja motors die.
Straining Techniques That Maximize Yield

Nut Milk Bag Method (5-Minute Mastery)
- Hold bag over bowl, pour blended slurry inside
- Squeeze from top downward in firm, steady motions
- Twist top tightly and wring out final drops
- Pro move: Freeze leftover pulp for apple-cinnamon oatmeal
Fine Mesh Sieve Hack (No Special Gear)
- Set sieve over measuring cup tilted at 45°
- Pour in circular motions to distribute pulp evenly
- Press pulp with spatula using clockwise rotations
- Stop when pulp forms a dry, compact ball (yields 30% more juice)
Never do this: Pressing too hard forces fine pulp through the mesh. Gentle, consistent pressure creates clearer juice.
Why Your Juice Tastes Bitter (And How to Fix It)
Bitterness always traces back to incomplete peeling or coring. Apple seeds and stem remnants release tannins that overpower natural sweetness. Next batch:
– Soak peeled apples in 1 tbsp lemon juice + 1 cup water for 2 minutes to prevent browning
– Slice cores horizontally to spot hidden seeds
– Rinse cored apples under cold water before blending
Flavor rescue: Add ½ tsp cinnamon or 1-inch fresh ginger during blending to mask bitterness in existing batches.
Batch-Size Disaster Zone: When to Stop Blending
Overfilling causes three critical failures:
1. Motor overheating (smell of burning plastic)
2. Chunky juice with visible apple bits
3. Incomplete extraction (yields drop 40%)
The 6-apple rule: For medium Gala apples (180g each), never exceed 1,080g total weight in pitcher. Smaller models like Ninja BL480X? Reduce to 4 apples max. Watch for air pockets—if mixture isn’t swirling, it’s overloaded.
Real Yield vs. Store-Bought Expectations
From 4 peeled medium apples (720g total):
– ✅ Your Ninja juice: 1¼ cups vibrant, aromatic liquid
– ✅ Leftover pulp: ½ cup dry fiber (bake into muffins)
– ❌ Store-bought “100% juice”: Only ¾ cup from same apple weight
Peak freshness window: Drink within 2 hours for bright flavor. Beyond 24 hours, oxidation turns juice brown and flat. Pro storage: Fill container to the brim, press plastic wrap directly on juice surface, refrigerate.
3 Flavor Upgrades That Beat Store Bottles
- Sparkling apple fizz: Mix ¾ cup Ninja juice + ¼ cup chilled club soda
- Ginger zinger: Add 1-inch unpeeled ginger root during blending
- Cinnamon spice: Blend with ½ tsp Ceylon cinnamon (not cassia)
Sweetness control: Commercial juice adds 22g sugar per cup. Your version needs zero added sweeteners if using Honeycrisp or Fuji apples. Too tart? Stir in 1 tsp honey after straining.
Motor Strain Emergency Protocol
If your Ninja stalls or emits burning smell:
1. Immediately unplug—don’t just turn off
2. Add 1 tbsp water through lid opening
3. Pulse 3 times for 3 seconds each
4. Resume blending at Speed 3
Prevention: Always start blending at Speed 1 for 5 seconds before ramping up. This eliminates air pockets that strain motors.
When to Keep Your Ninja (And When to Buy a Juicer)
Stick with your Ninja if:
– You make juice ≤2x weekly
– You value fiber-rich “country style” texture
– You hate wasting apple pulp (bake it!)
Upgrade to a juicer if:
– You juice daily (saves 8 minutes/batch)
– You need crystal-clear juice for cocktails
– You own a Ninja Foodi Cold Press model (use its actual juicing function)
For 95% of home users, this Ninja method delivers superior flavor with zero extra gadgets. The 12-minute investment pays off in juice that tastes like fresh-picked apples—because it is.
Final Pro Tips for Juice Perfection
Press pulp for 90 seconds minimum—most quit too early, losing ⅓ of potential juice. Freeze leftover pulp in ice cube trays for instant apple sauce. Never wash your strainer under running water—soak in vinegar to dissolve apple residue. Most importantly: drink immediately. That first sip of unprocessed, sun-gold juice makes store bottles taste like sugary water. Grab 4 apples tonight—your taste buds will thank you by sunrise.


