
That urgent red pulse on your Breville blender isn’t just annoying—it’s your appliance’s emergency brake slamming on to prevent permanent motor damage. Whether you’re mid-avocado toast prep or making post-workout smoothies, this warning light means your high-performance blender has detected a critical safety issue. The flashing red beacon typically appears after 10-20 seconds of blending dense ingredients or when the motor base overheats. But here’s the good news: 95% of these red light emergencies resolve in under a minute with the right reset sequence. This guide cuts through the confusion to give you instant solutions for every Breville model, decoding flash patterns and preventing future shutdowns.
Why Your Breville Blender’s Red Light Flashes Immediately
Your Breville’s red warning light activates three distinct safety protocols designed to protect its powerful motor. Ignoring these alerts risks burning out expensive components, but understanding the triggers lets you respond precisely.
Dense Ingredient Overloads That Stall Blades
When your blender struggles with frozen fruit blocks, nut butter batches, or ice above the MAX fill line, the motor draws dangerous current levels. The red light flashes within seconds if:
– You add whole frozen berries without liquid
– Nut butter recipes lack sufficient oil (minimum 15ml per cup of nuts)
– Large pits or spoons accidentally jam the blade assembly
– Contents compress beyond the MAX line during blending
Overheating From Continuous Blending Cycles
High-performance Breville models like the Super Q or Boss have strict duty cycles. Exceeding these limits triggers temperature-based shutdowns when:
– You run continuous blends beyond 2 minutes (1 minute for personal models)
– Ambient kitchen temperatures exceed 104°F (40°C)
– You skip mandatory cooling periods between back-to-back batches
– Ventilation slots get blocked by countertop clutter
Safety Interlock Failures During Setup
This common trigger stops operation before it starts. Your red light flashes instantly if:
– The jug isn’t twisted fully clockwise into the base
– Lid tabs aren’t aligned with jug markings
– Worn coupling parts (like Part #SP0000623) prevent micro-switch engagement
– Food residue on threads disrupts the electrical connection
Decode Your Red Light’s Flash Pattern in 10 Seconds

Your Breville communicates specific faults through light rhythms—no guesswork needed. Stand close to hear the accompanying relay clicks that confirm the diagnosis.
- Steady 1-second pulses: Motor overload from dense ingredients. Requires immediate load reduction.
- Rapid 0.3-second flashes: Critical overheating. Base feels hot near vents—requires full cooldown.
- Three quick flashes + 2-second pause: Jug/lid misalignment. Listen for missing “click” during seating.
If flashes continue without audible clicks after 60 seconds of cooldown, suspect internal electrical faults needing professional repair.
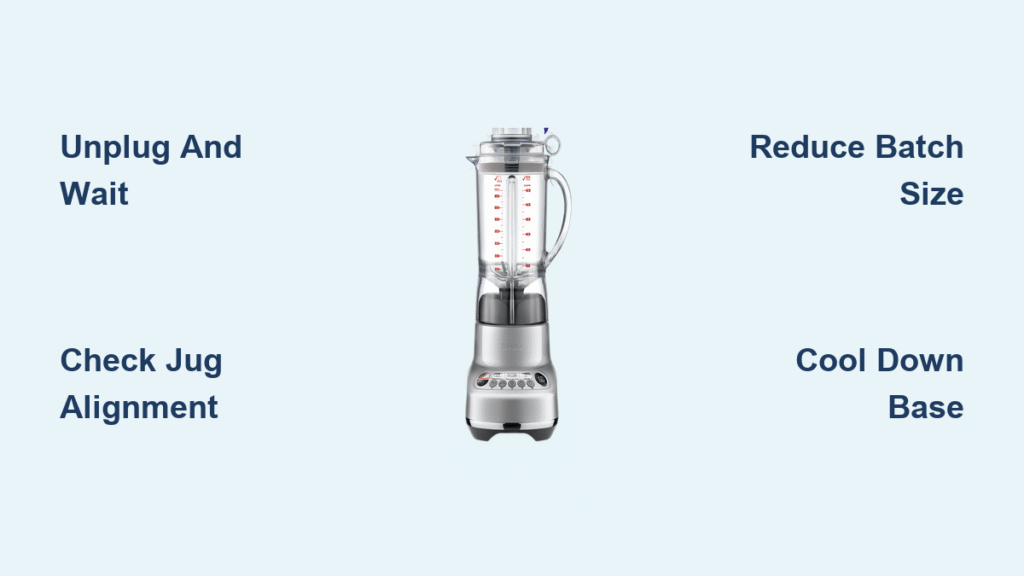
Immediate Reset Steps That Actually Work
Skipping these steps wastes time—follow this sequence exactly to avoid repeated failures. Most users fix the issue within 90 seconds when executing correctly.
Power Cycle With Full Disconnection
- Press cancel/power button immediately
- Unplug from wall outlet (not just base)—this is critical
- Wait full 10 seconds while counting aloud
- Plug directly into wall (no power strips) before restarting
This clears the protection circuit’s memory. Using extension cords often causes false resets.
Load Correction Protocol
- Remove jug and inspect contents: Divide batches exceeding MAX line
- Check for hidden obstructions: Run fingers along blade shaft
- Test blade rotation: Empty jug should spin freely by hand
- For frozen cores: Let ingredients thaw 5 minutes or pre-chop ice
Never restart with reduced liquid—add ¼ cup water or milk to maintain 250ml liquid per 500g solids ratio.
Mandatory Cooling Periods
For rapid-flashing (over-temperature) lights:
– Leave unplugged minimum 15 minutes even if base feels cool
– Verify motor vents are clear of dust/debris
– Test readiness by placing palm on base—should feel room temperature
– Hot kitchens may require 45-60 minute cooldowns
Rushing this step causes immediate retriggering.
Precision Reassembly Checklist
- Wipe jug threads with damp cloth before reseating
- Twist jug clockwise until audible click (Kinetix Twist needs extra 5° turn)
- Align lid tabs perfectly—Boss models require firm downward pressure
- Set speed dial to OFF position before powering on (Fresh & Furious specific)
Model-Specific Reset Shortcuts You Need

| Model Line | Critical Reset Step | Time Saved |
|---|---|---|
| Super Q | Wait 30 seconds for internal fan to stop | 2+ minutes |
| Vac Q | Fully disengage vacuum pump first | Immediate fix |
| Boss To Go | Rinse cup threads under tap | Prevents repeat failures |
| Kinetix Twist | Extra clockwise twist after “click” | 90% success rate |
These nuances explain why generic “unplug and retry” advice fails—your model dictates the exact procedure.
Prevent Red Light Emergencies Forever
Master these professional techniques to eliminate 90% of flashing red light incidents before they start.
Smart Load Management Rules
- Never exceed MAX line—even if ingredients settle during blending
- Use tamper only with lid locked in place (prevents vortex jams)
- Maintain liquid ratios: 1 cup liquid per 2 cups frozen fruit minimum
- Pre-chop dense items: 1-inch fruit chunks blend 3x faster than whole
Pulse-First Blending Technique
Start every dense blend with this sequence:
1. 2-second pulse to break initial resistance
2. 5-second rest for motor recovery
3. Repeat until ingredients move freely
4. Only then engage continuous blending
This prevents the sudden current spikes that trigger overload protection.
Duty Cycle Discipline System

- Set phone timer for 1-minute on / 1-minute off (personal blenders)
- Use 2-minute on / 2-minute off cycles for Super Q/Boss models
- After 3 batches, take 10-minute cooling breaks
- Never blend hot soups above 140°F—cools motor faster
Optimal Placement Checklist
- Maintain 4-inch clearance around all vents
- Operate away from stovetops (heat rises into base)
- Never store in enclosed cabinets while warm
- Place on cool stone/metal surfaces in summer kitchens
Troubleshooting When Red Light Persists
| Symptom | Root Cause | Fix |
|---|---|---|
| Flashes at power-on | Jug misalignment | Reseat with thread cleaning |
| After 15s blending | Overload | Reduce batch, add liquid |
| Base hot mid-blend | Over-temperature | Extend cooldown 50% |
| Constant flash after reset | Electrical fault | Contact Breville |
Critical Edge Cases Most Guides Miss
- Frozen fruit cores: Solid 3cm ice balls form around blades in 30 seconds. Fix: Pulse with liquid first, never add frozen items to dry blender.
- Nut butter stalls: Natural oils separate during blending. Fix: Stop immediately at first red flash, add 1 tbsp oil, restart.
- Intermittent flickering: Worn couplings cause micro-disconnections. Fix: Replace coupling (Part #SP0000623) if reseating fails.
When to Call Breville Support Immediately
Contact official support if:
– Red light persists after 3 full reset attempts
– Burning smell accompanies flashes
– Base feels excessively hot (>140°F) after cooldown
– Unit shows signs of liquid ingress
Have these ready for faster service:
– Serial number (underside of base)
– 15-second video of flash pattern
– Proof of purchase
– Model-specific reset steps attempted
Warranty repairs average $0-129 depending on coverage—always attempt resets first since 80% of “broken” blenders just need proper reseating.
Pre-Blend Checklist That Prevents 90% of Issues
Before pressing start, verify:
– [ ] Jug clicked into base (not just seated)
– [ ] Lid locked with tabs aligned
– [ ] Contents below MAX line
– [ ] ¼ cup liquid per cup solids minimum
– [ ] Base cool to touch
– [ ] Speed dial at OFF position
Master these flash pattern responses and reset sequences, and your Breville blender’s red light transforms from a frustration into a helpful diagnostic tool. You’ll blend dense nut butters and frozen treats confidently, knowing exactly how to respond when that urgent red pulse appears—turning potential appliance killers into minor speed bumps in your kitchen routine.


