Your morning smoothie shouldn’t sound like a jet engine taking off in your kitchen. Yet most standard blenders operate at 85-95 decibels—comparable to a motorcycle engine—making them one of the loudest appliances in your home. Whether you’re trying not to wake sleeping family members or simply want a more peaceful cooking experience, learning how to make a blender quiet is essential for modern kitchen harmony. These battle-tested techniques will dramatically reduce blender noise without requiring expensive new equipment, transforming your noisy appliance into a surprisingly quiet kitchen companion.
You don’t need to replace your trusty blender or suffer through daily noise pollution. Most blenders generate excessive noise through three preventable mechanisms: high-speed motor operation, blade rotation, and vibration transfer to countertops. The good news? Each of these noise sources can be addressed with simple, cost-effective solutions that you can implement immediately. By the end of this guide, you’ll know exactly how to make a blender quiet using methods ranging from free positioning tricks to DIY enclosures that cut noise by up to 85%.
Reposition Your Blender for Instant Noise Reduction
Wall Distance Matters for Sound Waves
Move your blender 2 inches away from any walls and center it on your counter. This simple repositioning prevents sound waves from bouncing off hard surfaces and amplifying noise through resonance. When your blender sits flush against a wall, the sound reflects back into the room, effectively doubling the noise level you experience. While this works best in larger kitchens, even small spaces will notice some improvement. For optimal results, place your blender on a countertop away from cabinets and reflective surfaces.
Test Your Kitchen’s Acoustic Profile
Your kitchen’s layout significantly impacts blender noise. Conduct this quick test: Blend water for 10 seconds in your current position, then move to different locations while repeating the test. Notice where the noise seems less intrusive—this is your kitchen’s “sweet spot.” Typically, islands provide better acoustics than perimeter counters, but countertop material also matters. Marble and granite countertops transmit more vibration than wood or laminate surfaces, making positioning even more critical on hard surfaces.
Create an Effective Vibration Barrier
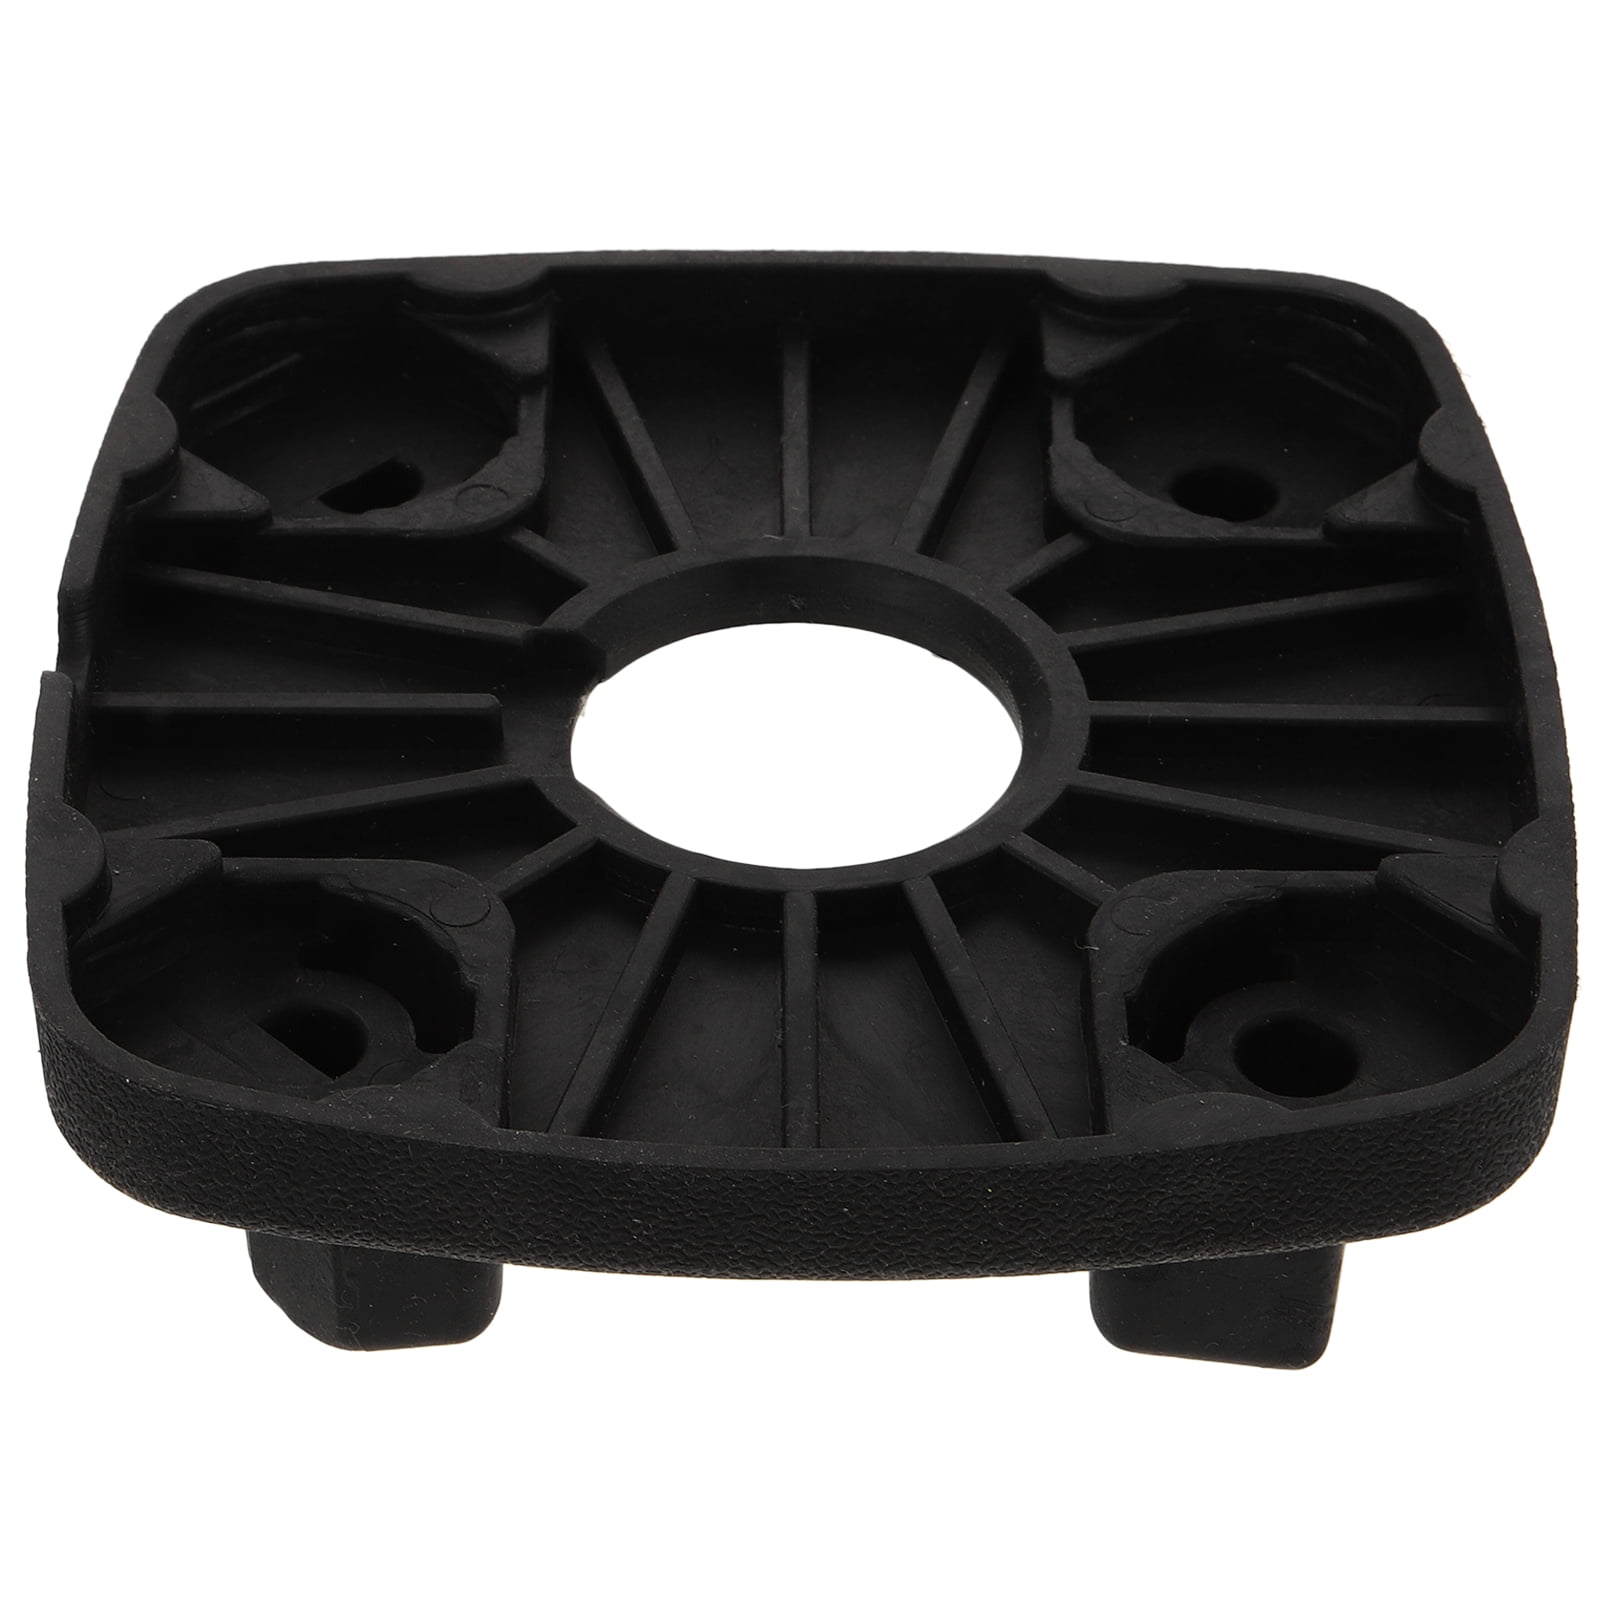
Towel Dampening Technique
Fold a thick dish towel in half and place it under your blender base before operation. The towel absorbs motor vibrations before they transfer to your countertop, reducing the rattling noise that makes blenders so disruptive. For best results, use a towel made of dense terrycloth rather than thin cotton. Ensure the towel doesn’t block ventilation vents on the blender’s underside, as proper airflow is critical for motor cooling. This free solution typically cuts noise by 20-30%—enough to make early morning blending tolerable.
Upgrade to Professional-Grade Vibration Pads
Stick self-adhesive rubber furniture pads (available at hardware stores for $3-5) under each of the blender’s four feet. These 1/4-inch thick pads create a barrier between the blender and your counter, cutting vibration transfer by up to 60%. Look for pads with a density rating of at least 25 ILD (indentation load deflection) for optimal sound absorption. Pro tip: Cut the pads slightly smaller than the blender feet to prevent shifting during operation. For heavy-duty blenders like Vitamix or Blendtec models, consider upgrading to silicone vibration isolation pads designed specifically for kitchen appliances.
Build an Effective DIY Sound Enclosure

Materials Checklist for Soundproof Box
Gather these affordable items before starting:
– Medium-density fiberboard or sturdy cardboard box (size depends on your blender)
– 1-2 inch thick high-density acoustic foam panels (egg-crate mattress toppers work in a pinch)
– Spray adhesive or double-sided mounting tape
– Utility knife for precise cutting
– Measuring tape and marker
Step-by-Step Box Construction
- Measure your blender with pitcher attached, adding 2 inches clearance on all sides for safe operation
- Cut ventilation holes in the back panel using a utility knife—essential for preventing motor overheating
- Line interior walls with acoustic foam using spray adhesive, covering all surfaces completely
- Create cord access by cutting a small notch in the back panel, large enough for your blender’s cord
- Add a hinged door using strong tape or simple hinges for easy access to your blender
Leave the box slightly open during operation for airflow, and clean the foam lining monthly to prevent mold from steam buildup. Store the box flat when not in use to save counter space—this DIY solution typically costs under $20 and reduces noise by 40-60%.
Implement Smart Blending Techniques
Strategic Ingredient Order
Your blending sequence significantly impacts noise levels:
– Start with liquids: Pour 1-2 inches of liquid at the bottom to cushion initial blade contact
– Add soft ingredients next: Layer in yogurt, bananas, or soft fruits before hard items
– Place hard ingredients on top: Ice, frozen fruit, and nuts should go last to minimize blade strain
– Use pulse instead of continuous: Short 2-3 second pulses create less noise than sustained high-speed operation
Night-Before Blending Strategy
Prepare smoothies the night before for completely silent morning consumption. Store in airtight Mason jars in the refrigerator and shake vigorously before drinking. While this reduces nutrient retention slightly, it eliminates morning noise entirely—perfect for households with sleeping children or early risers. For best texture retention, add greens and protein powder just before drinking rather than during initial preparation.
Upgrade Your Equipment Strategically

Quiet Blender Features Worth the Investment
When shopping for a quieter blender, prioritize these noise-reducing features:
– Enclosed motor housing (reduces noise by 40-50% compared to exposed motors)
– Rubber-mounted components that minimize vibration transfer to countertops
– Sound-dampening materials integrated into the base construction
– Lower RPM settings specifically designed for quiet operation (though blending takes slightly longer)
Cost-Effective Commercial Solutions
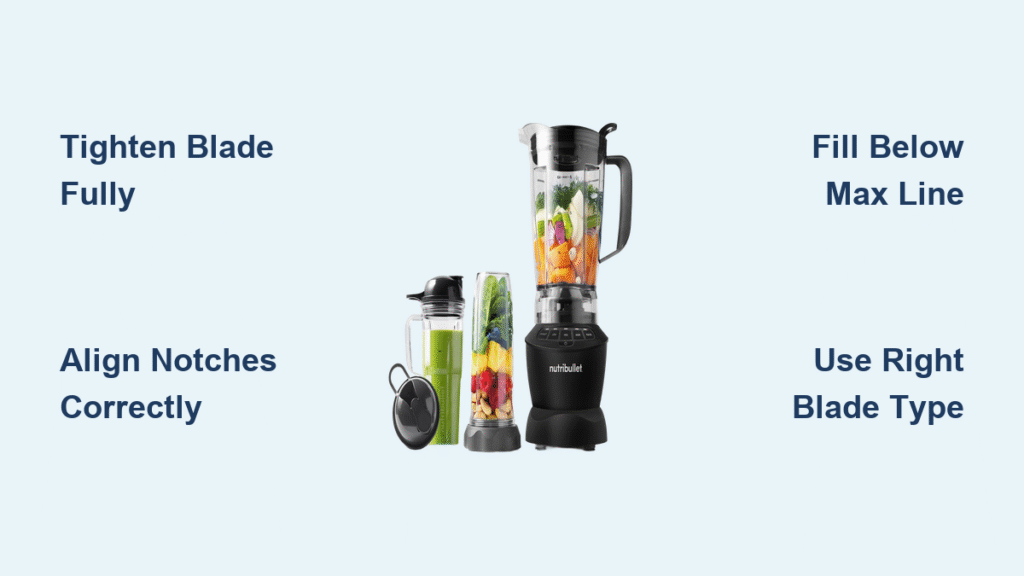
You don’t need to spend $1,000 on a Vitamix Quiet One model. Search for “blender sound shield” online to find universal fit enclosures for $40-80 that work with popular models like Ninja, Nutribullet, and standard KitchenAid blenders. These impact-modified acrylic cases nearly 1/4″ thick provide significant noise reduction without replacing your entire appliance—often cutting decibel levels from 90+ down to 70 or less.
Combine Methods for Maximum Quiet
The Layered Noise Reduction Approach
For truly quiet blending, implement this three-tier strategy:
1. Base layer: Silicone mat or vibration pads under blender feet
2. Middle layer: Sound enclosure (DIY or commercial)
3. Top layer: Strategic ingredient ordering and pulse technique
Measure Your Success
Use a free decibel meter app on your smartphone to test noise levels before and after implementing solutions. Stand 3 feet from the blender during testing for consistent measurements. Most users achieve these results:
– Single method: 20-30% noise reduction (still noticeable but less disruptive)
– Two methods: 40-60% reduction (comparable to normal conversation)
– Three+ methods: 70-85% reduction (approaching background kitchen noise levels)
Immediate Action Plan for Quiet Blending
Tonight: Try the towel method and reposition your blender away from walls
This weekend: Purchase vibration pads and measure for a DIY sound box
Next month: Evaluate if a commercial enclosure would improve your setup
With these seven proven methods for how to make a blender quiet, you’ll transform your roaring appliance into a kitchen companion you can actually use without earplugs. Start with the free fixes, then layer on solutions until you reach your desired quiet level. Remember that complete silence isn’t realistic with most blenders, but significant noise reduction is absolutely achievable with the right techniques. The key is understanding your specific noise sources and applying targeted solutions that address vibration, sound waves, and motor operation—the three culprits behind your blender’s disruptive noise.

