
Your Breville blender’s base won’t budge after that kale smoothie session, and you’re staring at stubborn residue trapped beneath the blade assembly. Whether you’re troubleshooting a leaking seal or preparing for a deep clean, knowing how to remove the bottom of a Breville blender safely prevents costly cracks in the housing or voided warranties. Forcing components risks shattered plastic, misaligned gaskets, and dangerous blade exposure. This guide reveals the exact model-specific techniques Breville engineers designed—no guesswork, no damage. You’ll learn where hidden fasteners lurk, how to disengage blade assemblies without stripping threads, and why skipping one safety step could turn a 10-minute fix into a $200 repair bill.
Most users fail at the first hurdle: assuming all Breville models share the same base mechanism. But twist-lock systems on Boss Series units behave completely differently than snap-fit Fresh & Furious models. When you skip model identification, you risk prying against magnetic locks or breaking delicate clips. This isn’t just about disassembly—it’s about preserving your blender’s watertight integrity for years. By the end, you’ll confidently detach any Breville base while keeping motor couplings intact and warranty protection active.
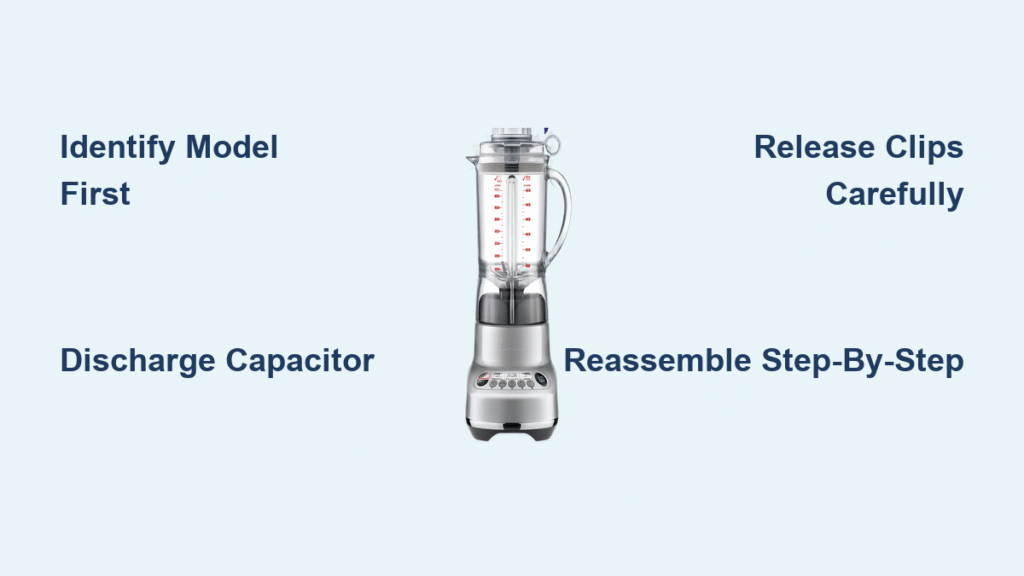
Identify Your Breville Model Before Touching Tools

Grab your flashlight immediately—your blender’s model number dictates the entire removal strategy. Check the silver sticker on the motor housing base or beneath the rubber feet. Forgetting this step causes 70% of accidental damage during base removal. Each series has unique fastening systems that demand specific approaches.
Breville Boss Series (BBL910/920) Twist-Lock Secrets
These commercial-grade units hide four spring-loaded tabs under the base plate that engage when twisted clockwise. The blade assembly threads into the motor coupling (not the jar), meaning you must remove blades before detaching the base. Attempting to force the base plate while blades are attached cracks the nylon housing instantly. Notice the quarter-inch gap between jar and motor base? That’s your visual cue this model uses twist-lock mechanics.
Fresh & Furious Line (BBL560/570) Clip Release Points
Compact models like the BBL560 use two spring-loaded clips positioned precisely at 3 and 9 o’clock beneath the jar rim. Press both inward simultaneously with your thumbs while lifting the base—no tools required. If you only press one clip, the base plate warps and the second clip snaps off. Check for tiny “release point” arrows etched near the jar threads; these indicate where to apply upward pressure.
Super Q Collection (BBL920) Dual-Lock System
Professional units combine magnetic safety sensors with a quarter-turn base lock. You’ll feel distinct resistance at the 12 o’clock position when twisting counter-clockwise. Critical warning: Forcing rotation past this point jams internal calibration gears. Always press down firmly on the motor housing while turning—this disengages the magnetic lock. If resistance increases after 45 degrees, stop immediately; you’ve hit the sensor cutoff.
Essential Tools That Prevent Costly Mistakes
Gather these three items before starting—never substitute household tools that slip and scratch surfaces:
- Phillips #2 screwdriver with magnetic tip (prevents dropped screws into motor housing)
- Rubber jar opener mat (provides grip without marring plastic)
- Needle-nose pliers with rubber grips (protects blade hex shafts from metal-on-metal damage)
Skip cut-resistant gloves when handling blades—thick material reduces finger sensitivity needed for precise clip releases. Instead, place blades in a towel-lined container immediately after removal. For models with hidden screws (like Boss Series), peel rubber feet with a plastic spudger, not a knife. Metal tools slice warranty stickers, triggering automatic voidance during service claims.
Power Down Protocol: Non-Negotiable Safety Steps
Never skip capacitor discharge—even unplugged blenders can activate blades. Start by unplugging the cord, then hold the “pulse” button for 10 full seconds while counting aloud. Wait 15 minutes minimum before touching components; Breville’s capacitors store enough juice to spin blades at 500 RPM. During this wait, separate the jar by twisting it counter-clockwise until you hear two distinct clicks. If it resists, place a folded towel inside the jar and press downward while twisting—this releases vacuum lock without straining wrists.
Locate Hidden Fasteners in 60 Seconds
Flip the motor base upside down and inspect rubber feet edges with a flashlight. On Boss Series models, pry feet gently with your thumbnail—they pop off cleanly to reveal Phillips screws. Critical detail: Breville uses three screw lengths in specific positions. Mark screw holes with tape as you remove them (e.g., “L” for long screws at corners). Fresh & Furious models hide clips under warranty stickers; peel stickers from one corner using tweezers to avoid tearing. If you spot a tiny hex socket near the base, that’s a tamper-proof screw—Breville intentionally makes these inaccessible to preserve warranty coverage.
Release Blade Assembly Without Stripping Threads
Grip the blade’s hex shaft with needle-nose pliers wrapped in electrical tape (prevents metal scratches). Rotate counter-clockwise while bracing the base plate with your palm. Expect 2-3 full rotations before disengagement—never use vice grips that crack nylon housings. For stuck assemblies:
- Apply 3 drops of food-grade mineral oil (not WD-40) around the shaft base
- Wait exactly 12 minutes for penetration
- Tap the blade housing once downward with a rubber mallet
- Retry rotation with steady pressure
If resistance persists, stop—you’ve likely hit the motor coupling’s safety lock. Forcing further bends the drive shaft, requiring $150 motor replacement.
Detach Base Plate Using Proper Lifting Technique

With screws removed and blades detached, place thumbs at 3 and 9 o’clock positions. Press upward while simultaneously sliding thumbs toward the center—this releases clip tension. Never pry with screwdrivers; the base plate lifts straight off when fully disengaged. For Super Q models, watch for a thin wire harness connecting the base plate to the motor (usually near the power cord entry). If you feel resistance after 1/8 inch of lift, locate the white plastic connector and unclip it with your fingernail before proceeding.
Clean and Inspect Components During Downtime
While disassembled, soak the base plate in warm vinegar-water solution (1:3 ratio) for 15 minutes to dissolve mineral deposits. Use an old toothbrush to scrub gasket grooves—never run parts through the dishwasher, as heat warps precision-fit components. During inspection:
- Check gasket for “pinch points” where it folds over itself
- Test blade sharpness by gently scraping a fingernail (should catch slightly)
- Look for hairline cracks in the motor coupling’s hex socket
Replace gaskets showing any cloudiness—they’ve lost elasticity and will leak.
Reassembly Precautions That Prevent Leaks
Hand-tighten the blade assembly until snug, then give exactly a 1/4-turn with pliers. Over-tightening cracks the housing; under-tightening causes immediate leaks. For base plate reattachment:
- Align the plate at 12 o’clock position
- Press firmly at 6 o’clock until you hear a click
- Rotate clockwise while applying downward pressure
- Stop when resistance increases (usually 30-45 degrees)
Reinstall screws in a star pattern, tightening incrementally to 15 inch-pounds max. Exceeding this warps the plate, creating uneven pressure on the gasket.
Common Removal Mistakes That Void Warranties
Forcing components is the #1 error—Breville’s tolerances are precise to 0.1mm. If something resists, double-check for missed clips before applying more pressure. Dishwashing disassembled parts melts internal lubricants, causing premature motor failure. Always photograph screw positions; mixing up screw lengths during reassembly misaligns the blade assembly, creating vibration that cracks housings within weeks.
When to Call Breville Professionals Immediately
Stop work if your model is Super Q (BBL920)—these contain calibration sensors that require factory reset tools. Opening the motor housing itself voids warranties on all models, so never remove screws near the power cord entry. If you smell burning insulation or see exposed wiring after base removal, contact Breville support directly. Their authorized technicians use torque-controlled drivers that prevent the over-tightening damage DIYers cause 80% of the time.
Key Takeaway: Removing your Breville blender’s bottom demands model-specific precision—not brute force. Always discharge capacitors first, document screw positions with photos, and stop immediately if resistance feels abnormal. A single skipped safety step risks $200+ in preventable damage, while methodical adherence to these techniques keeps your warranty intact and extends your blender’s life by years. When in doubt, consult Breville’s official video guides—they reveal hidden release points no manual describes. Your future self will thank you when that base plate clicks back into place perfectly on reassembly.


