Your Vitamix suddenly cutting out mid-smoothie leaves you with chunky ingredients and mounting frustration. When your Vitamix shuts off while blending, it’s not a random malfunction—it’s your blender’s critical safety system activating to prevent permanent motor damage. This abrupt shutdown typically occurs during demanding tasks like crushing ice or making nut butter, interrupting your routine and risking costly repairs if mishandled. Understanding why your Vitamix shuts off while blending transforms this annoyance from a mystery into a solvable problem, protecting your investment and kitchen workflow.
Most shutdowns stem from thermal overload protection—a vital feature that halts operation when internal temperatures become dangerous. Electrical issues, improper loading, or ingredient combinations can trigger identical responses. This guide delivers immediate recovery steps you can implement within minutes, prevention strategies validated by blender engineering principles, and clear indicators for when professional service is essential. Whether you own a legacy 5200 or newer Ascent model, these actionable solutions restore reliability to your daily blending routine.
Immediate Response Protocol for Mid-Blend Shutdowns
Unplug immediately when your Vitamix shuts off while blending. Forcing restart attempts before addressing the cause risks irreversible motor burnout. This safety cutoff exists for critical reasons—thermal protection activated to prevent electrical fires or component failure. Respect this feature by halting all operations the moment power cuts out.
Assess critical indicators first before proceeding:
– Noticeable heat radiating from the motor base
– Complete lack of response when pressing controls
– Acrid odors near ventilation slots
– Shutdown occurring specifically during thick blends
Initiate emergency cooling by unplugging for 60 seconds minimum. This critical reset period allows thermal sensors to stabilize and prevents electrical feedback during diagnosis. Never submerge or apply water to the base—this creates electrocution hazards and internal corrosion.
Safe Reset Procedures for All Vitamix Models
Locate your model’s reset mechanism through manual consultation. While many Vitamix units incorporate recessed reset buttons near power inputs, placement varies significantly across series. Use your specific user manual to identify this component—never force probes into unidentified slots which could damage internal circuitry.
Allow sufficient cooldown duration before reset attempts. Cooling requirements depend on usage intensity:
– Heavy tasks (nut butters, frozen desserts): Minimum 45 minutes
– Moderate tasks (smoothies, sauces): Minimum 30 minutes
– Light tasks (soups, dips): Minimum 20 minutes
Verify reset success through water-only testing. After cooling, plug in and run 1 cup water at Variable 1 for 10 seconds. Normal operation confirms thermal recovery. Persistent failure indicates deeper electrical issues requiring professional assessment.
Diagnosing Common Shutdown Triggers During Operation
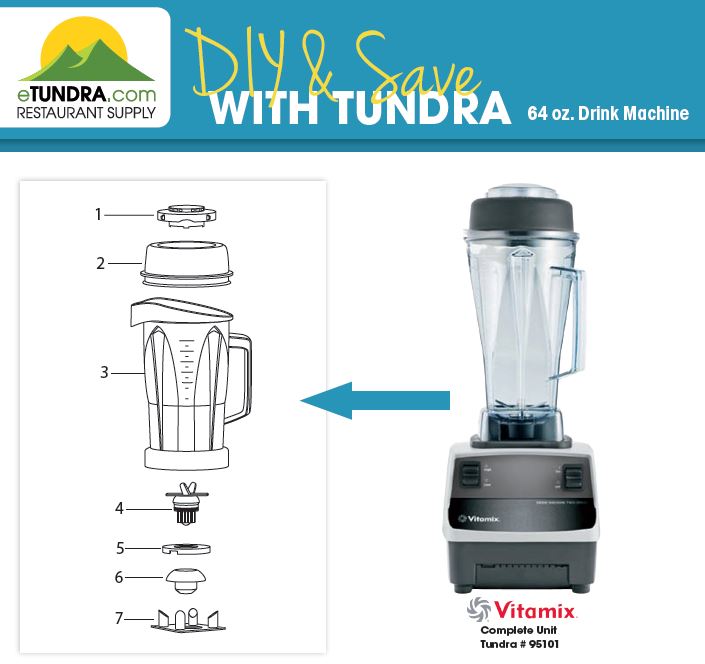
Overloaded Container Dynamics
Exceeding fill limits directly strains motor components. Vitamix containers enforce maximum capacity lines for critical thermal management—ignoring these invites immediate shutdowns during dense blending. Frozen fruit purees and nut butters generate exponentially higher resistance than liquid-based recipes.
Optimize ingredient layering to prevent overload:
– Liquids (water, juice) always form the foundational layer
– Soft components (yogurt, bananas) follow liquids
– Hard elements (ice, frozen berries) go in last
– Maintain 1.5-inch headspace for expansion
High-risk ingredient combinations that commonly trigger shutdowns:
– Frozen fruit without liquid base (creates ice jams)
– Nut butters exceeding 1.5 cups volume
– Hot soups filled past steam-release vents
– Ice crushing with insufficient liquid ratio
Thermal Protection Activation Patterns
Motor temperature thresholds trigger automatic cutoff before irreversible damage occurs. Vitamix engineering incorporates fail-safes that halt operation when internal heat approaches critical levels, typically during extended high-resistance blending.
Recognize pre-shutdown warning signs:
– Distinctive motor pitch elevation
– Unusual vibration through countertop
– Visible heat haze from vents
– Gradual blade speed reduction
Implement thermal prevention through technique adjustments:
– Limit continuous runs to 90 seconds for thick blends
– Allow 3-minute cooling intervals between cycles
– Never exceed 4 minutes total runtime per session
– Utilize pulse function instead of continuous operation
Electrical System Stress Indicators
Circuit overload events occur when power demands exceed household capacity. This frequently happens during startup with dense ingredients, especially on shared kitchen circuits with other appliances.
Diagnose electrical issues methodically:
1. Test outlet with another high-wattage appliance
2. Check home electrical panel for tripped breakers
3. Attempt restart with minimal load (8oz water)
4. Monitor for repeated shutdowns at identical speeds
Inspect power components for damage indicators:
– Fraying or kinking along cord length
– Discoloration on plug prongs
– Loose connections at motor housing
– Visible scorch marks near input ports
Model-Specific Shutdown Management Strategies
Ascent Series Thermal Response Handling
A3500 and A2500 models feature advanced thermal monitoring with visual status indicators. Blinking power lights specifically signal thermal shutdown—solid red indicates electrical faults. These models incorporate faster recovery protocols due to improved heat dissipation engineering.
Optimize Ascent reset procedures:
– Unplug for 60+ seconds before reset attempts
– Hold power button 10 seconds during cooldown
– Test with empty container before recipe use
– Position away from backsplashes for optimal airflow
Ventilation slot maintenance proves critical for Ascent units. Blocked exhaust ports near the motor housing top cause premature shutdowns—clean monthly with soft-bristled brushes to maintain thermal efficiency.
Legacy Series Overload Recovery
5200 and 7500 models utilize mechanical thermal switches requiring extended cooldown periods. Absence of indicator lights necessitates diagnosis through touch and sound cues—handle base cautiously as external surfaces become extremely hot during overload events.
Legacy cooling best practices:
– Allow 60-90 minutes for full thermal recovery
– Use oscillating fan to accelerate cooling (never direct air)
– Never place cold objects against hot housing
– Avoid countertop contact during cooldown
Metal housing considerations for Legacy units require extra attention. The conductive base retains heat longer than newer plastic-composite models—always position on heat-resistant surfaces during intensive tasks.
Explorian Series Shutdown Prevention
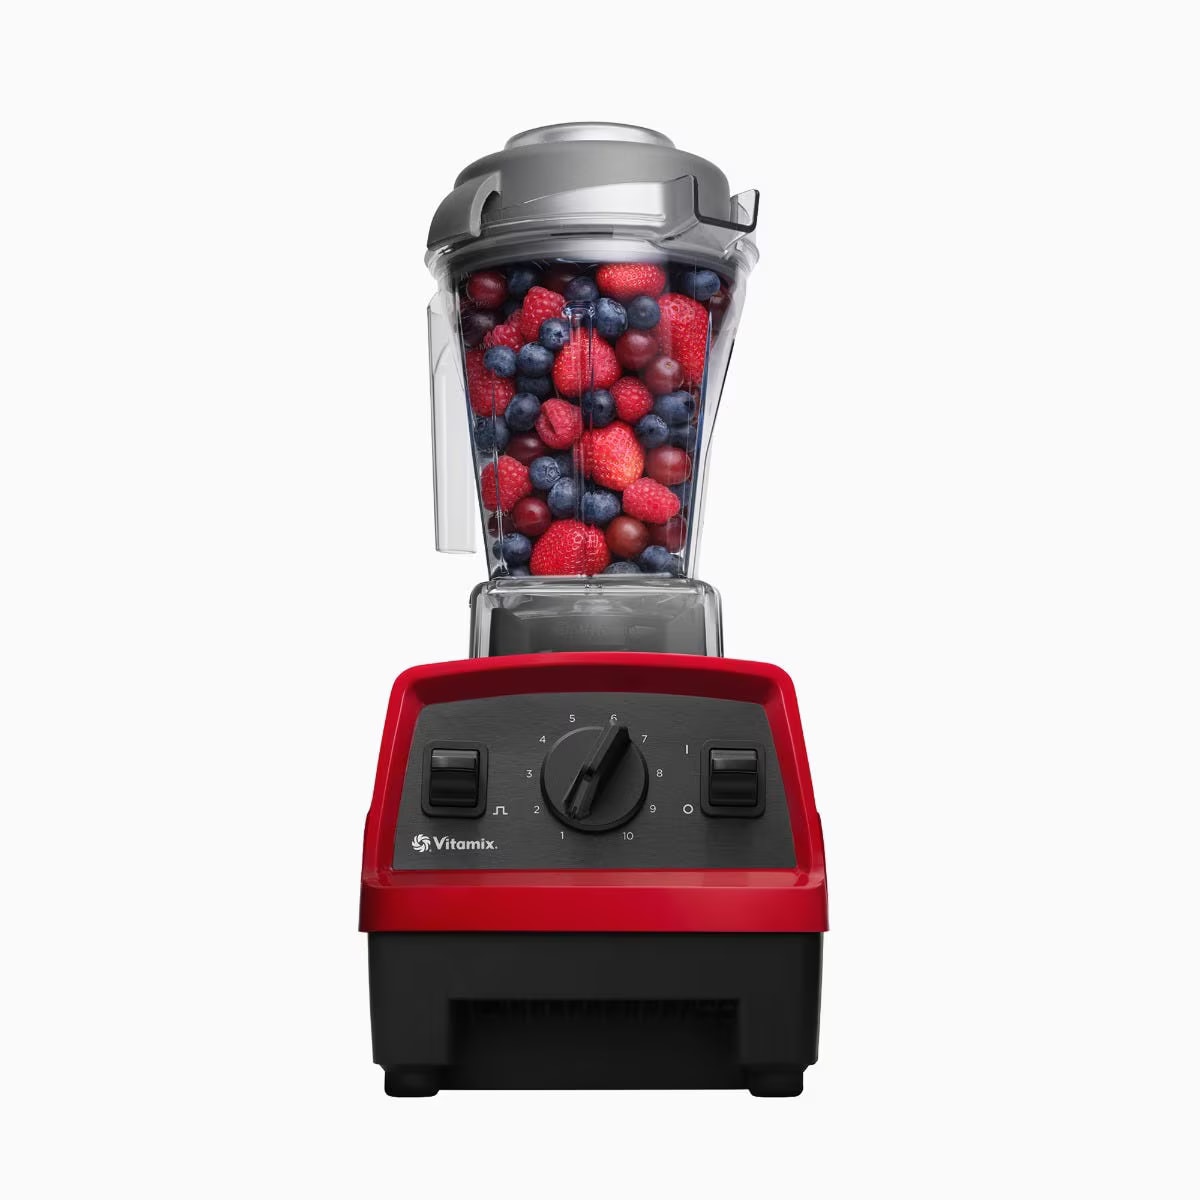
E310 and E320 models balance commercial power with home-kitchen efficiency. Intermediate thermal thresholds mean shutdowns typically occur after 2-minute continuous runs with dense ingredients—a design choice prioritizing motor longevity over brute force.
Explorian-specific recovery protocols:
– Implement mandatory 40-minute cooldown periods
– Use tamper tool within first 15 seconds of blending
– Start at lowest speed before ramping up
– Avoid maximum speed settings for frozen items
Container-to-motor calibration proves vital for Explorian units. These models respond poorly to mismatched container sizes—always use the 64oz container for batches over 4 cups to prevent unnecessary strain.
Proactive Shutdown Prevention Framework
Precision Blending Techniques
Master ingredient sequencing to minimize motor resistance:
1. Pour 1-2 cups liquid base (water, milk, juice)
2. Add soft items (spinach, yogurt, fresh fruit)
3. Layer hard components (ice, frozen fruit, nuts)
4. Maintain 2-inch clearance below container rim
Implement strategic speed progression:
– Begin at Variable 1 for 15 seconds
– Gradually increase while using tamper
– Never jump directly to high speeds
– Pulse 5-second intervals for stubborn chunks
Time-blending cycles according to ingredient density:
– Nut butters: 45-second max per cycle
– Frozen desserts: 60-second max per cycle
– Hot soups: 90-second max per cycle
– Always allow 3-minute cooling between cycles
Preventative Maintenance Schedule
Weekly thermal management prevents cumulative strain:
– Clean exterior vents with soft toothbrush
– Wipe housing with damp microfiber cloth
– Verify blade assembly tightness
– Inspect cord for nicks or kinks
Monthly deep maintenance extends motor life:
– Disassemble container for thorough cleaning
– Clear debris from base ventilation ports
– Test reset button responsiveness
– Confirm proper container seating
Annual professional assessment indicators:
– Three or more shutdowns monthly
– Noticeable power reduction
– Grinding noises during operation
– Persistent burning odors
When to Engage Vitamix Support Services
Warranty Claim Eligibility
Covered shutdown scenarios include:
– Thermal system failures within warranty period
– Electrical component malfunctions
– Manufacturing defects causing repeated shutdowns
– Premature bearing deterioration
Excluded situations typically involve:
– User-induced overloading patterns
– Foreign object damage (utensils, hard pits)
– Liquid intrusion from improper cleaning
– Power surge damage without protection
Documentation requirements for support:
– Original purchase receipt with date
– Full model/serial number (base underside)
– Detailed shutdown pattern description
– Usage frequency and recipe types
Professional Service Decision Points
Seek immediate assistance when:
– Reset procedures yield no response
– Burning smells persist after cooldown
– Visible melting or warping on housing
– Repeated shutdowns with water-only tests
Cost-benefit analysis for repairs:
– Motor replacement: $175-$275 (50-70% of new unit cost)
– Diagnostic service fee: $65-$125 (often waived with repair)
– New unit warranties: 7-10 years (vs. 2-3 years for repairs)
– DIY risks: Warranty voidance, safety hazards, component damage
Your Vitamix shutting off while blending ultimately serves as a protective measure, not a design flaw. By implementing these immediate recovery protocols and precision blending techniques, you transform shutdowns from disruptive events into manageable maintenance cues. Remember that patience during cooldown periods prevents 90% of permanent motor damage, while proper ingredient sequencing eliminates most preventable overloads. When in doubt, consult your specific model manual for thermal thresholds and reset procedures—this single step resolves most recurring issues. With these strategies, your Vitamix will deliver reliable performance for years, turning smoothie frustrations into kitchen triumphs.


