
That moment when you lift your Vitamix container after making almond butter reveals the harsh truth: sticky residue cemented under the blades, cloudy streaks on the walls, and a lingering garlic smell from yesterday’s pesto. If you’ve ever spent 10 minutes scraping peanut butter off container walls, you know the self-cleaning cycle alone won’t cut it. Most owners don’t realize that improper cleaning shaves years off their blender’s 10-15 year lifespan—and ruins tomorrow’s strawberry smoothie with last night’s turmeric curry. This guide delivers battle-tested techniques to eliminate stubborn stains, odors, and cloudiness using only household items, while protecting your $400 investment.
Stop wasting time scrubbing hardened residue. You’ll learn why vinegar soaks work better than bleach for odors, how to remove nut butter stuck under blades in 60 seconds, and the one daily habit that prevents 90% of cleaning headaches. Most importantly, you’ll discover why dishwashers are secretly destroying your container despite manufacturer claims.
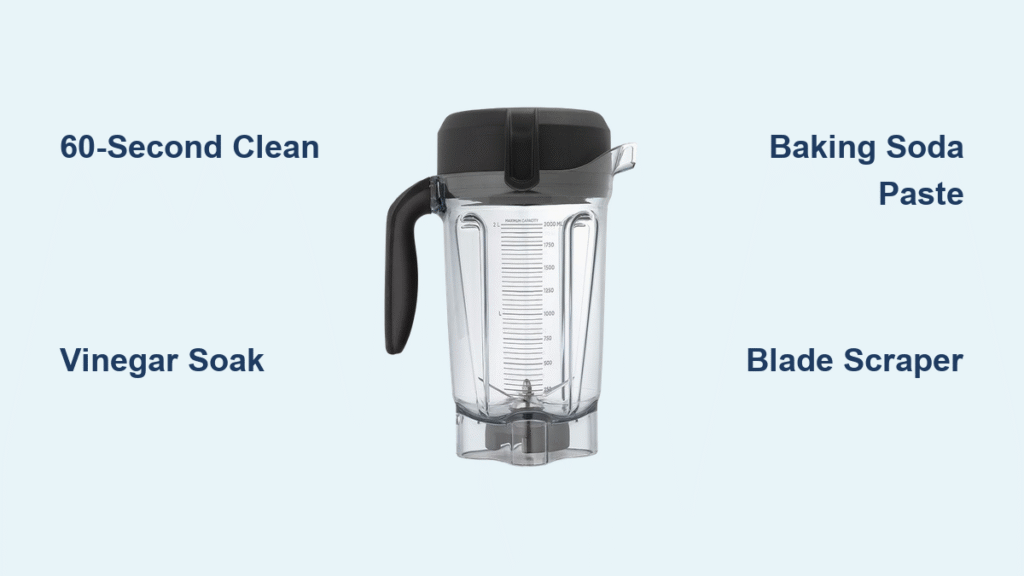
Master the 60-Second Daily Clean That Prevents 90% of Problems
Skipping this immediate post-blend ritual guarantees tomorrow’s scrubbing session. The key isn’t just running the cleaning cycle—it’s what you do before hitting “clean.”
Wall Brushing Technique for Peanut Butter and Hummus
When blending sticky ingredients like nut butters or hummus, immediately fill the container halfway with warm running water while it’s still spinning on low. Insert a soft bottle brush (Vitamix’s official one works best) and scrub the walls for 5 seconds. This removes 80% of residue before it hardens. Never skip this step—peanut butter left to dry creates a cement-like film impossible to remove with the standard cycle alone.
Optimizing Your Soapy Water Cleaning Cycle
Fill the container to the 3-cup line with the hottest tap water. Add exactly two drops of Dawn dish soap—more creates excessive suds that won’t rinse clean. For standard Vitamix models (like 5200 or 6500), start on speed 1, then ramp to maximum for 30 seconds. Program-enabled models (A3500, Ascent series) require only 30 seconds on the dedicated clean cycle. Critical mistake: Using cold water prevents grease from emulsifying, leaving oily residue under the blades.
Correct Drying Method to Prevent Cloudiness
Rinse until zero soap bubbles remain—check the blade gasket area by tilting the container. Then invert it on a drying rack with the lid off. Never towel-dry the interior; microfibers lodge under the blades, causing future contamination. Air-drying prevents mineral deposits from tap water that cause cloudy haze within weeks.
Pro tip: When making multiple recipes (like smoothie bowls followed by salad dressing), skip full cleaning between uses. A 10-second water-only blend removes 70% of residue and prevents flavor transfer.
Eliminate Permanent-Looking Cloudiness in 3 Steps
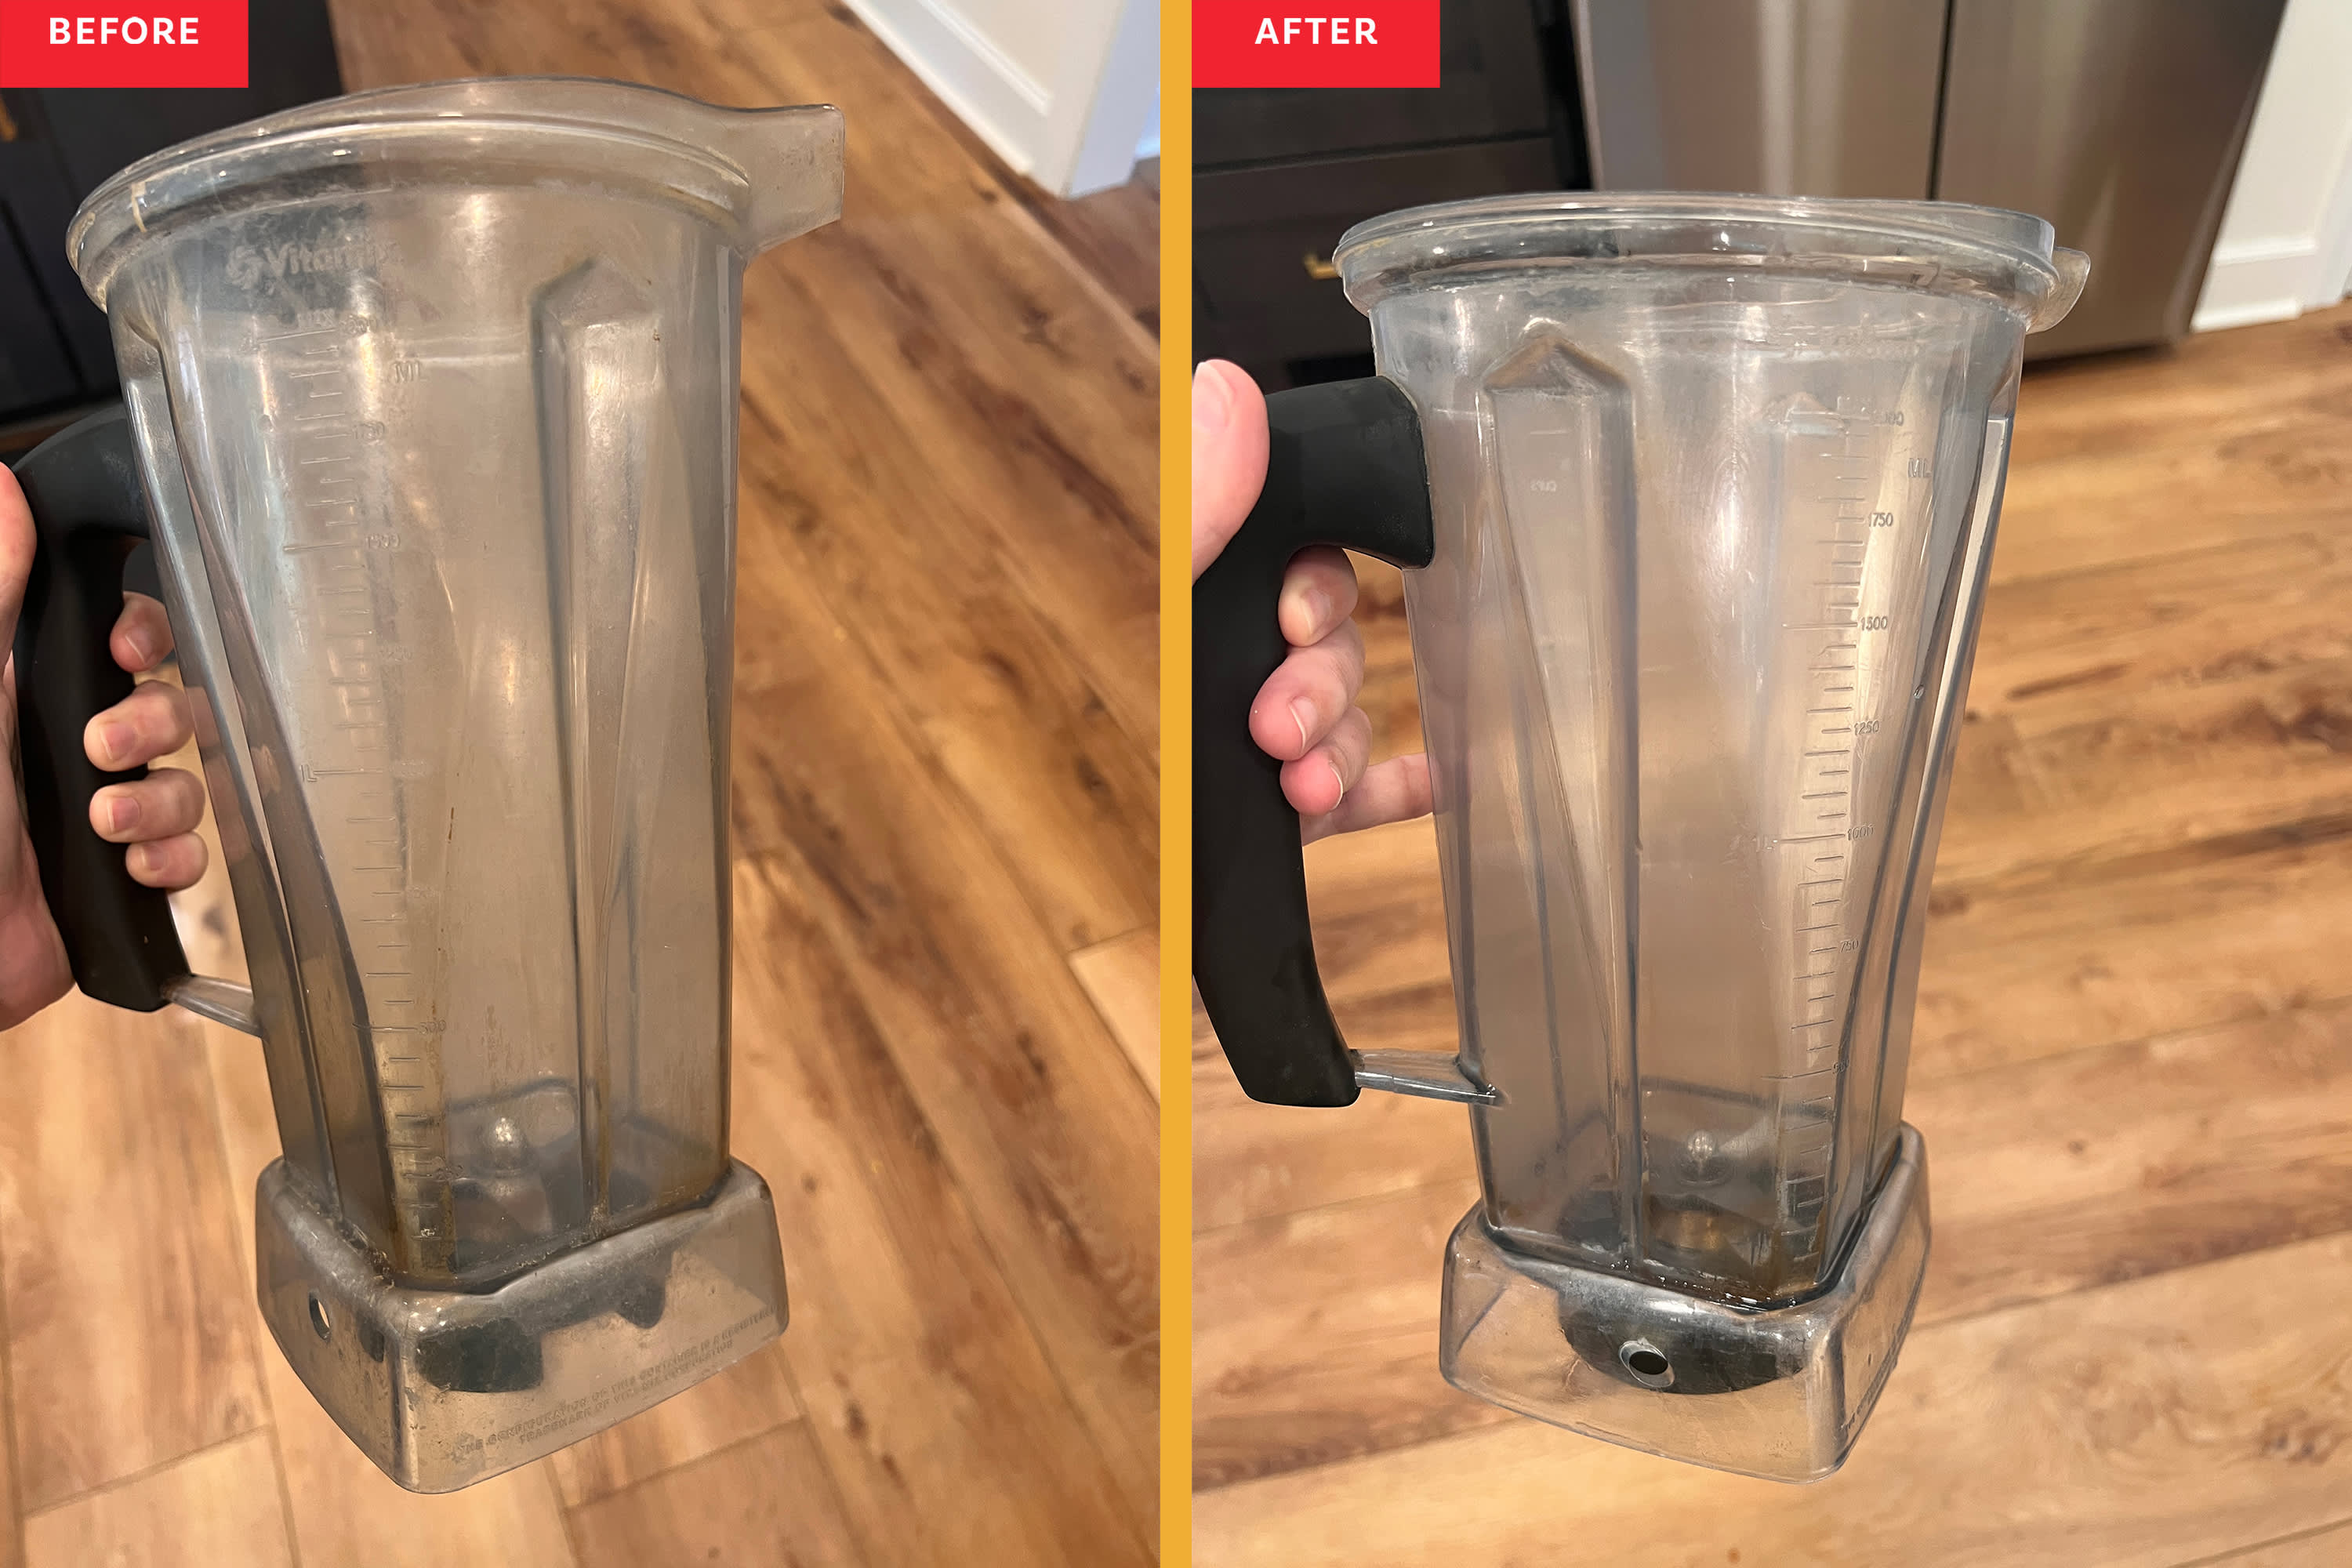
That foggy appearance isn’t just ugly—it’s mineral buildup from hard water and micro-scratches that trap residue, affecting blend texture. Dishwasher use accelerates this by 300% due to thermal stress.
Baking Soda Paste Restoration Method
Mix 2 tablespoons baking soda with 1 teaspoon water to form a thick paste. Dip a slightly damp paper towel (not cloth—lint sticks) into the paste. Working in 6-inch sections, rub the interior in tight circular motions for 20 seconds per area, focusing on cloudy zones near the blade assembly. Immediately run the standard cleaning cycle. This non-toxic method removes mineral deposits without scratching—unlike magic erasers that embed unknown chemicals.
Why Your Container Keeps Clouding Over (And How to Stop It)
Cloudiness returns if you:
– Dry the container with a towel (spreads minerals)
– Blend dry grains or ice frequently (creates micro-scratches)
– Use well water (high mineral content)
Prevention protocol: Always towel-dry the exterior after cleaning, but air-dry the interior. Designate one container for ice/grains and another for smoothies. For hard water areas, fill the container with filtered water for cleaning cycles.
Warning: Bleach soaks may clear cloudiness but degrade polycarbonate over time. One soak = 6 months off your container’s lifespan. Never risk it.
Banish Garlic and Onion Odors Without Vinegar Taste
That lingering smell isn’t just unpleasant—it transfers to delicate blends like vanilla protein shakes. Standard cleaning cycles fail because odors embed in microscopic container pores.
Overnight Vinegar Soak Formula That Actually Works
First, clean the container exterior with soapy water—residue here spreads odors during soaking. Mix exactly 2 cups hot water with 1 cup white vinegar in the container. Fill to the brim, cover with lid, and let sit 8-12 hours. Dump solution, then run a full cleaning cycle with fresh water and soap. The vinegar neutralizes odor molecules without leaving residual taste—unlike baking soda soaks that only mask smells temporarily.
Sun Bleaching for Stubborn Turmeric Stains
Yellow stains from golden milk or curry paste resist all cleaners. Place your completely dry container in direct sunlight for 4 hours. UV rays break down curcumin pigments naturally. Works best on clear containers; test colored ones first. Pro insight: Hot turmeric blends (like nut-based soups) stain 5x worse than cold versions—always blend turmeric on low speed with cold liquids.
Remove Cemented Nut Butter Under Blades Safely
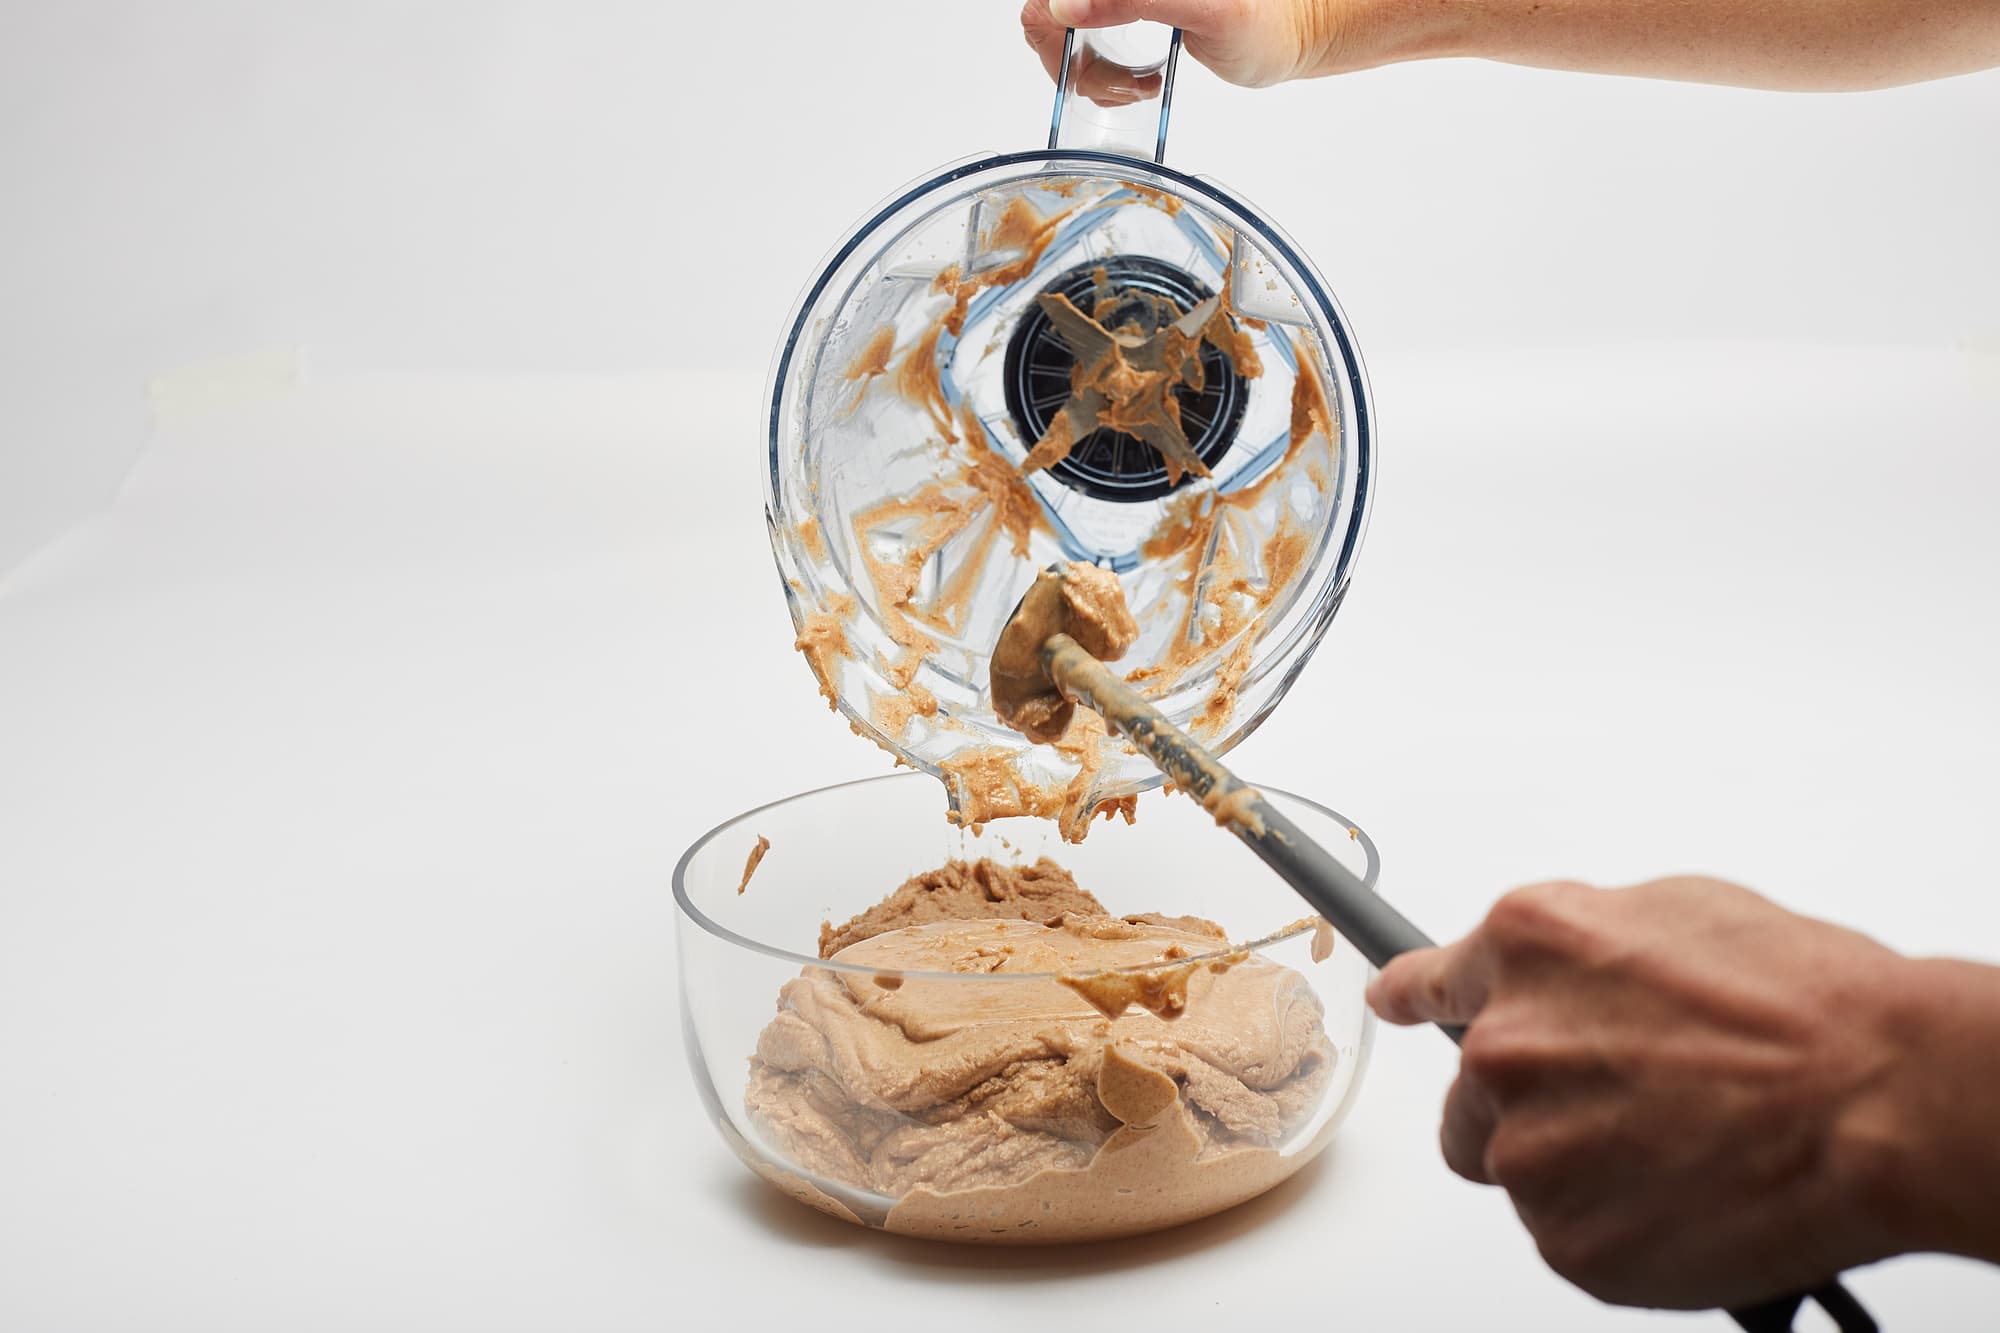
Peanut butter residue hardens into a gummy mess that standard cycles can’t reach. Aggressive scraping damages the blade gasket, causing leaks.
Blade Scraper Technique for Tight Spaces
After the cleaning cycle, use Vitamix’s official blade scraper (or a silicone-tipped dental pick). Insert it vertically between the blade and container wall at a 45-degree angle. Gently scrape downward in one motion—never twist. For stubborn chunks, fill the container ¼ full with hot water, add 1 drop soap, and pulse 3 times on low before scraping. This softens residue without risking blade damage.
Flaxseed and Chia Seed Prevention Hack
These seeds create a gelatinous film that bonds to plastic. Always add them last through the lid’s removable plug while blending on low speed. For chia pudding, blend base liquid first, then stir in seeds manually after turning off the machine. This prevents the sticky residue that requires vinegar soaks.
Complete Quarterly Deep Clean Process
https://www.youtube.com/watch.com/watch?v=example_deep_clean_vitamix_11_steps
Even diligent cleaners need this 11-step refresh every 3 months to remove hidden buildup under the blade assembly.
Step-by-Step Container Restoration
- Remove lid plug and soak in vinegar solution
- Scrub lid seal groove with toothpick
- Apply baking soda paste to blade housing (not blades!)
- Soak entire container in vinegar solution 1 hour
- Clean motor base crevices with damp cotton swab
- Remove centering pad and clean underneath
- Wipe control panel with microfiber cloth
- Run 2 cleaning cycles with fresh water
- Air-dry container upside down 24 hours
- Polish exterior with glass cleaner
- Test with plain water blend for leaks
Critical: Never submerge the motor base. Wipe spills immediately with damp cloth before they bake onto surfaces.
Smart Maintenance Habits That Extend Container Life
Your Vitamix container should last 15 years with these non-negotiable practices:
- The 10-Minute Rule: Clean within 10 minutes of blending. Residue hardens after 15 minutes, requiring aggressive methods.
- Dual Container Strategy: Keep one container for ice/grains (expect cloudiness) and one pristine for smoothies.
- Warranty Lifesaver: If cloudiness persists after baking soda treatment, call Vitamix at 1-800-848-2649. Mention “micro-scratches from normal use”—they often replace containers outside warranty for loyal customers.
Final truth: The $40 replacement container costs less than your time spent scrubbing. But with these methods, you’ll rarely need one. Consistent 60-second cleanings prevent 95% of deep cleaning emergencies. Start tonight—your next smoothie deserves a spotless container.


