
Your Vitamix can transform frozen fruit into café-quality smoothies—but only if you bypass common pitfalls like gritty textures, motor stalls, and warm blends. Most home users unknowingly load ingredients in the wrong order, triggering blade jams and cracked pitchers. These vitamix blender smoothie tips leverage the machine’s vortex physics to create frosty, nutrient-rich drinks that stay smooth for hours. You’ll master professional techniques for ingredient sequencing, texture control, and cleanup that prevent 90% of home-blending failures.
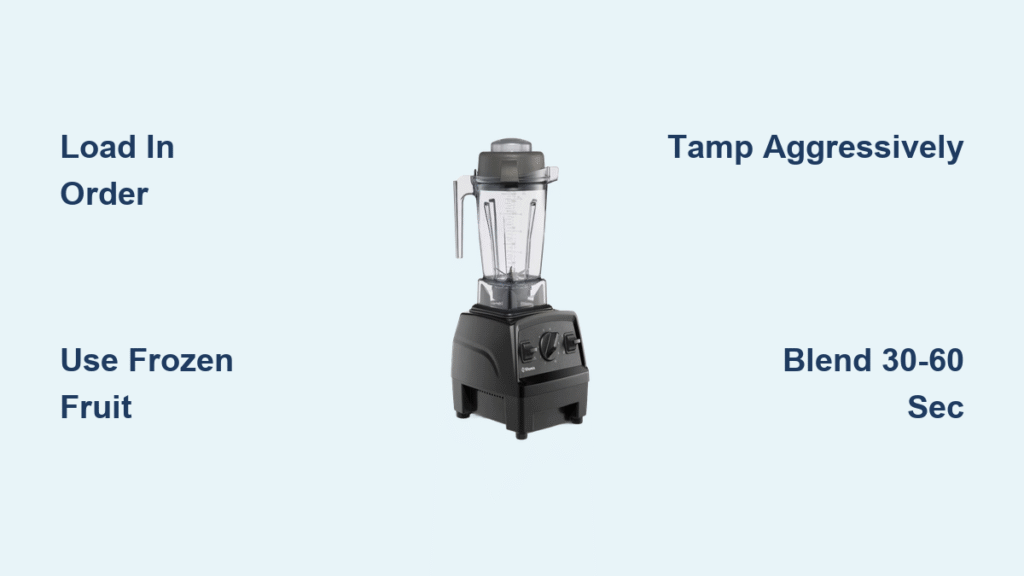
Load Ingredients in Precise Order to Prevent Motor Stalls
Standard Container Sequence (48-64 oz)
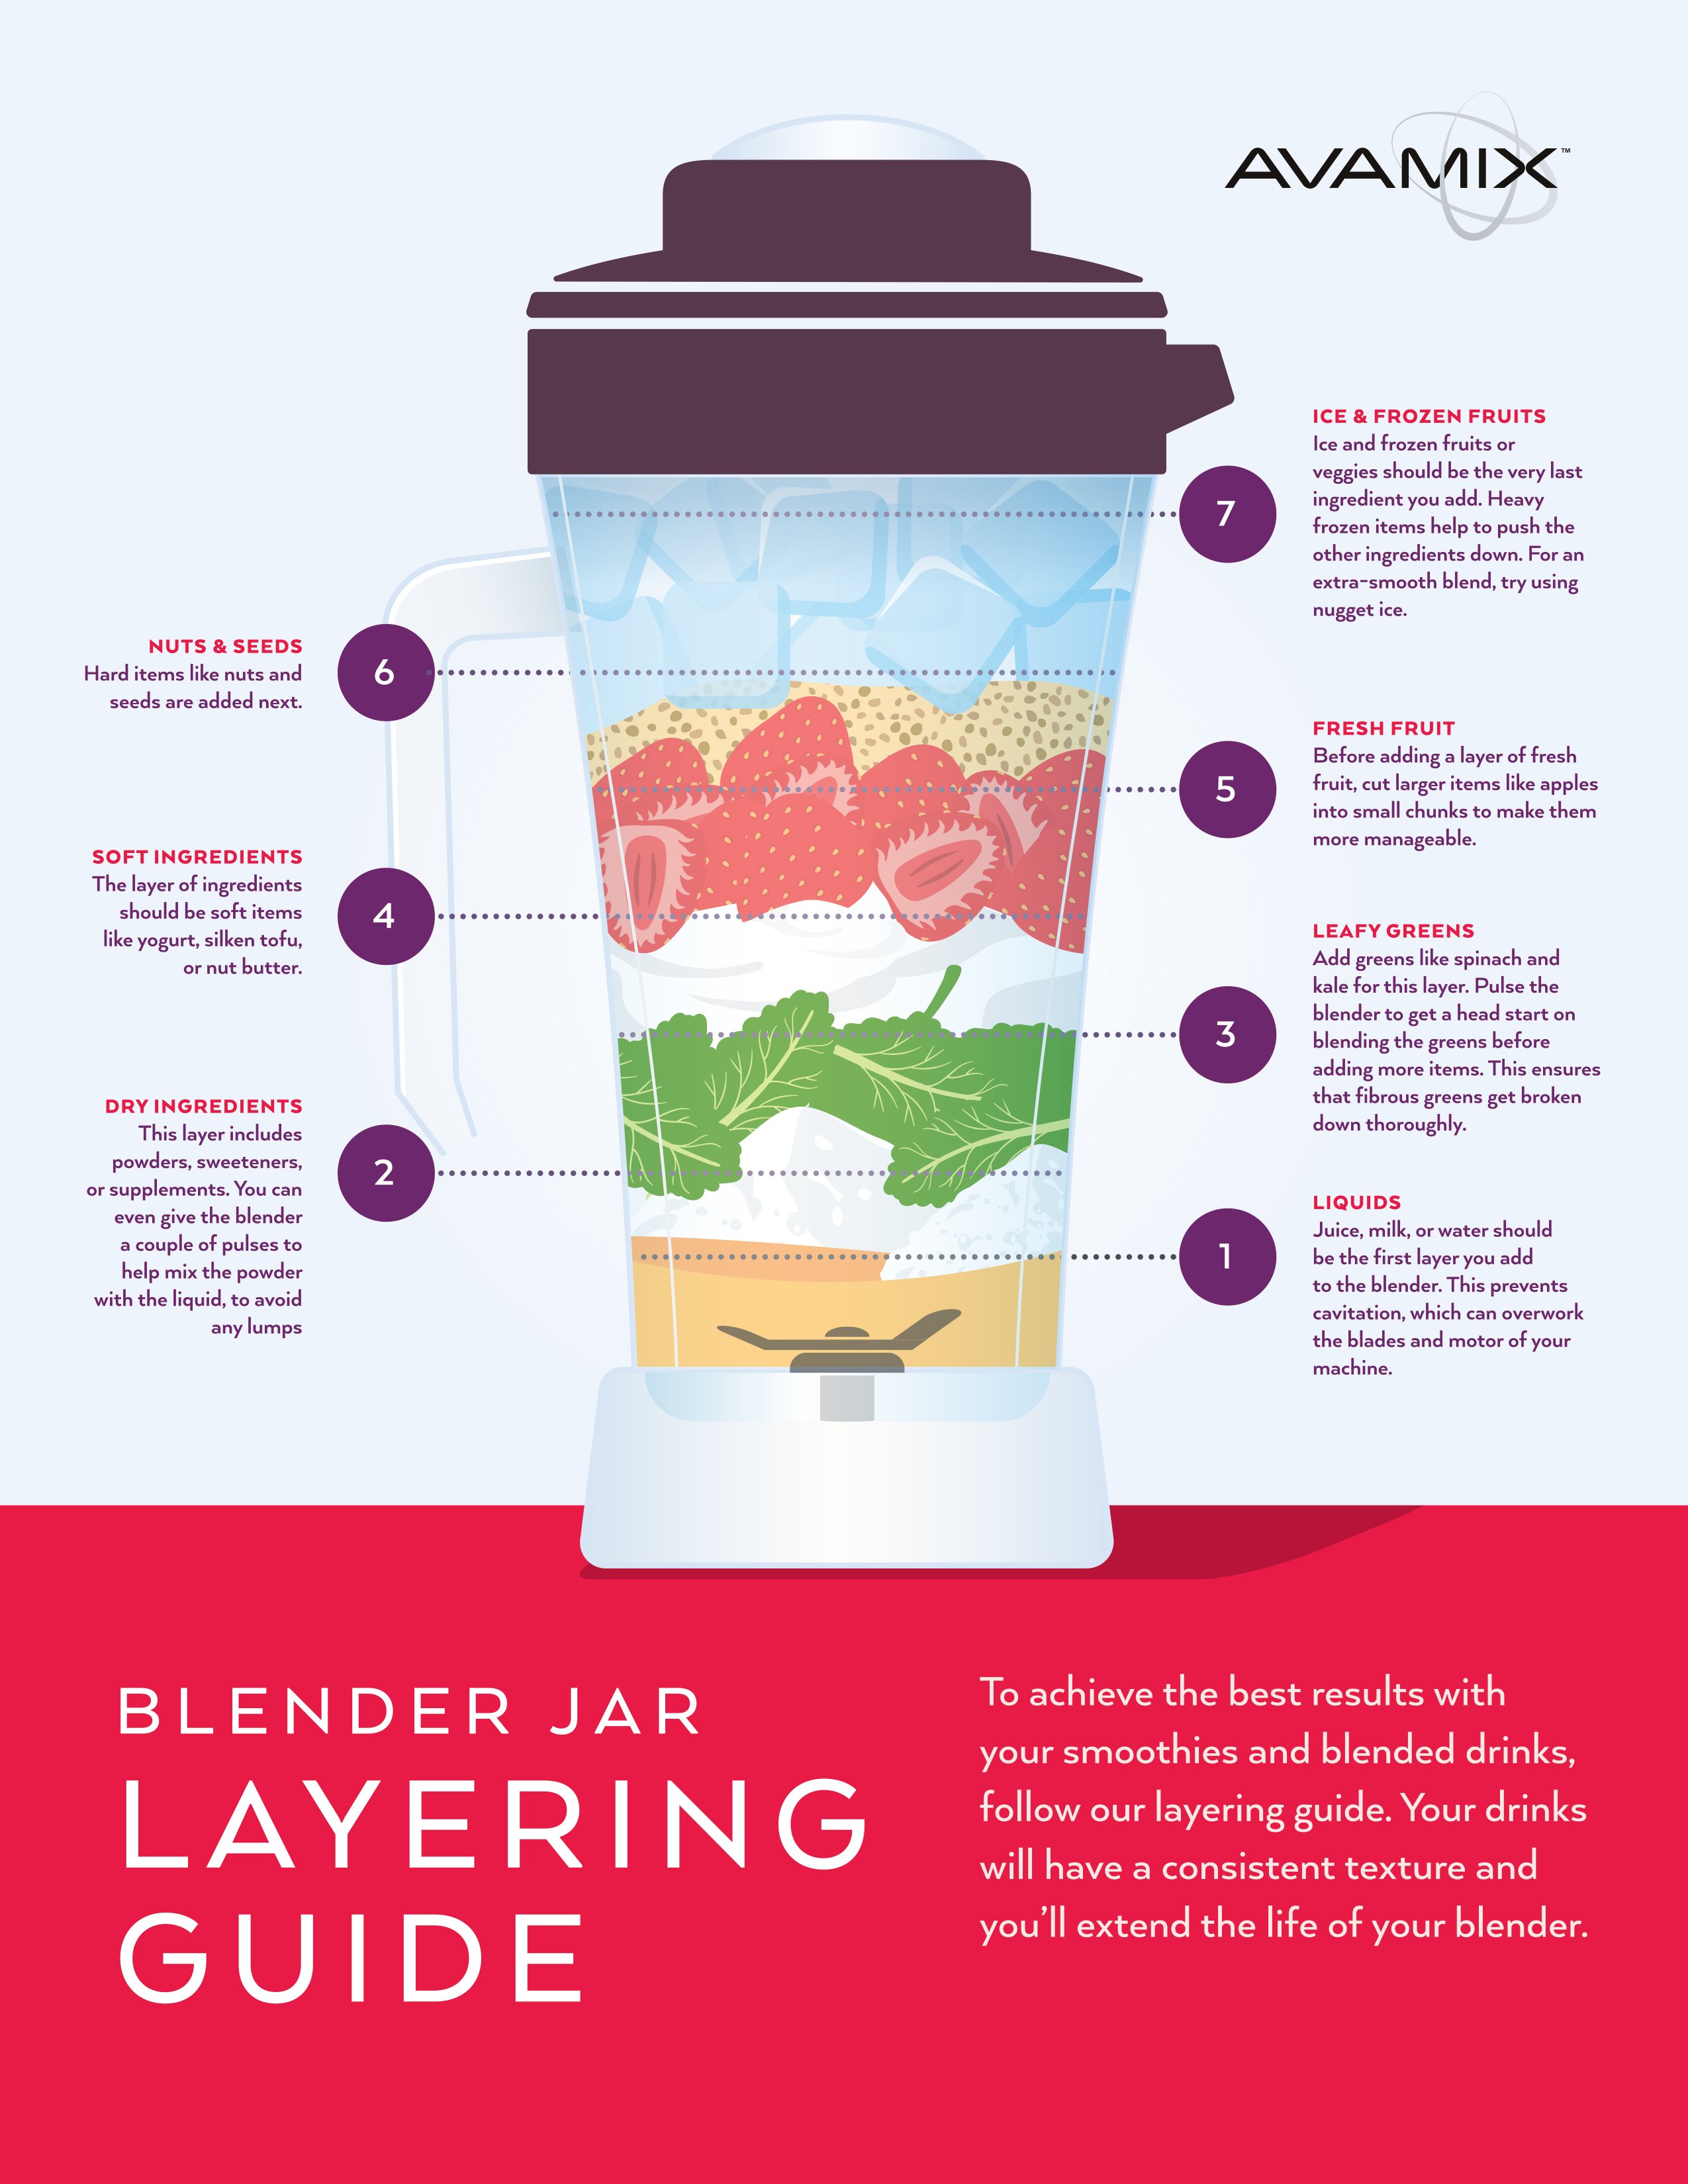
Layer ingredients exactly as follows to avoid blade cavitation: Start with 1–1.5 cups of liquid (coconut water, almond milk, or kefir), then add dry goods like protein powder or oats. Next, place leafy greens such as spinach or kale, followed by fresh produce like bananas or avocado. Top with frozen items—never reverse this sequence. The liquid creates an immediate vortex that pulls heavier ingredients downward, while frozen fruit’s weight drives everything into the blades. Skipping this order risks cracked pitchers from frozen chunks jamming the blade assembly.
Personal Cup Loading (20 oz)
Flip the entire sequence since the cup inverts onto the base: Position frozen items on the bottom (which becomes the top when attached), then fresh produce, greens, powders, and liquids last. This reversal ensures frozen ingredients press downward during blending. Loading liquids first in personal cups causes immediate motor strain as frozen chunks float above the blades—a top reason for burnt-out motors in single-serve models.
Solve Texture Problems in Under 60 Seconds
Fix Thin or Watery Blends Immediately
Add ¼ cup frozen banana chunks or avocado cubes and re-blend for 10 seconds. Raw rolled oats work faster than protein powder—they absorb excess liquid while adding fiber without diluting flavor. Never add ice; it thins texture as it melts. If using watery bases like cucumber, reduce liquid by ¼ cup initially and compensate with frozen fruit.
Stop Blade Stalls Before Damage Occurs
If blades freeze mid-blend, halt immediately. Add ¼ cup liquid and aggressively tamp ingredients in all four corners using the tamper. Most stalls happen when frozen items contact blades first—reloading in correct sequence prevents this. For thick nut butter blends, place nut butter near the top (not bottom) to avoid blade adhesion.
Eliminate Gritty Consistency
Blend 30–60 seconds longer on High speed. Persistent grittiness usually comes from raw rolled oats or seed-heavy protein powders—strain through a nut-milk bag if unresolved. Avoid pre-cooked oats; they create gluey textures. For green smoothies, flash-freeze spinach in coconut milk pucks to prevent fibrous clumps.
Prep Ingredients for Maximum Creaminess
Batch-Freeze Like a Pro
Peel and chop bananas, mango, or pineapple onto parchment-lined trays before transferring to freezer bags. Freeze greens in muffin tins with 2 tablespoons of coconut milk per cup—these pucks blend instantly without icy chunks. Never use room-temperature produce; cold ingredients maintain frosty temperatures during blending.
Texture-Boosting Add-Ins
- Frozen riced cauliflower: Adds volume and creaminess without flavor (use ½ cup per smoothie)
- Raw rolled oats: Provides sustained energy—never cook them first
- Avocado cubes: Creates silky mouthfeel (¼ avocado per serving)
- Nut butters: Place near the top to prevent blade sticking
Skip ice entirely. It dilutes flavor and causes separation. Instead, use frozen fruit as your thickening agent—ripe bananas freeze best for neutral sweetness.
Execute the 60-Second Blending Technique
Follow these steps for consistent results: Secure the lid and insert the tamper through the plug. Start on Variable 1, then ramp to High within 5 seconds. Immediately tamp aggressively in all four corners until ingredients flow freely into the vortex. Blend exactly 30–60 seconds—stop the moment the texture becomes mirror-smooth. Over-blending warms contents by 15°F and oxidizes nutrients. For hot soups, begin on Variable 1–4 to prevent eruptions.
Critical mistake: Adding ingredients while blending. This disrupts the vortex and risks spills. Always load completely before starting.
Clean Your Vitamix in 90 Seconds Daily
Quick Rinse Method
Fill the container halfway with warm water and one drop of dish soap. Run on High for 30–60 seconds, then rinse and air-dry upside down. Doing this immediately prevents residue buildup that causes cloudy film. Never soak blades overnight—mineral deposits harden on stainless steel.
Remove Stubborn Stains
Soak with 1 cup white vinegar and warm water for 4 hours. For odors, blend water with half a lemon for 30 seconds. Avoid abrasive scrubbers—they scratch containers and harbor bacteria. Legacy models require hand-washing; only Ascent series containers are top-rack dishwasher safe.
Store Smoothies Without Separation
Refrigeration That Lasts 24 Hours
Fill mason jars to the brim (zero headspace) and seal tightly with lemon juice to prevent oxidation. Store upright—never lay flat—to maintain layer integrity. Separation indicates improper ratios: add ¼ avocado or chia seeds next time as natural binders.
Freezer Blocks for Instant Blends
Pour into silicone ice cube trays, then transfer frozen blocks to zip bags. Re-blend cubes with 2 tablespoons liquid for undiluted smoothies. Avoid plastic bags for freezing—they cause freezer burn that creates icy textures.
Create Restaurant-Grade Textures
Thick Smoothie Bowl Base
Use half the normal liquid and blend for 40 seconds until spoon-thick. Top with chia seeds, coconut flakes, and fresh berries. For vibrant layers, blend mango-pineapple and berry-beet mixtures separately, then pour the thicker layer first before spooning the second layer on top.
No-Banana Creaminess Hacks
Try this Vitamix-tested blueprint: 1 cup oat milk → ½ cup steamed-then-frozen zucchini → ¼ cup raw oats → 1 tsp vanilla → ½ cup frozen mango → ¼ cup frozen pineapple. The zucchini adds volume while frozen mango provides natural sweetness without banana flavor.
Vitamix Green Smoothie Blueprints
Kale Kiwi Refresher:
¾ cup orange juice → 1 peeled kiwi → 1 cup kale → ½ avocado → ½ cup frozen mango
Why it works: Avocado masks kale bitterness while frozen mango ensures silkiness.
Cucumber Pineapple Cooler:
1 cup coconut water → ½ cup cucumber chunks → 1 cup pineapple → 1 cup spinach → ½ frozen banana
Pro tip: Cucumber’s high water content prevents over-thickening.
Avoid Critical Safety Mistakes
Never exceed the MAX Fill Line—hot liquids expand during blending, causing eruptions. Allow 1-minute cool-downs between back-to-back blends exceeding 6 minutes total runtime. Inspect blade assemblies monthly; replace nicks immediately to prevent pitcher cracks from vibration stress. Store containers upside-down to dry the gasket fully and stop mold growth.
Master these vitamix blender smoothie tips to transform your morning routine. The secret lies in precise ingredient sequencing, strategic frozen additions, and stopping blends at the exact smoothness point. Experiment with riced cauliflower for volume or zucchini for creaminess while maintaining the core loading order. Within a week, you’ll create consistently silky, nutrient-dense smoothies that stay cold for hours—no more gritty textures or motor stalls. For best results, always use the tamper aggressively in all four corners during the first 10 seconds of blending to establish the vortex that makes Vitamixes legendary.


