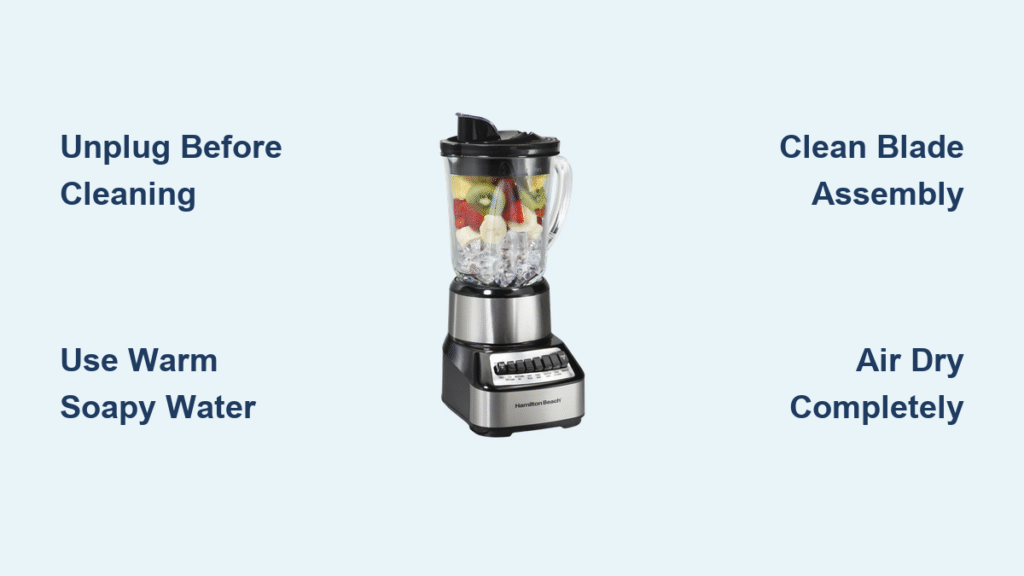
That vibrant kale smoothie just finished blending, but now you’re staring at stubborn green specks clinging to your Vitamix pitcher. If you’ve ever wondered how to wash Vitamix blender containers properly without damaging this expensive investment, you’re not alone. Thousands of daily users struggle with residue buildup that seems impossible to remove—until they discover the 30-second self-cleaning technique Vitamix’s own culinary experts swear by. Proper cleaning isn’t just about appearances; it’s the secret to extending your blender’s lifespan from five to fifteen years or more.
The truth is, many Vitamix owners unknowingly shorten their appliance’s life with improper cleaning techniques. Using hot water instead of warm, skipping the immediate rinse, or reaching for abrasive scrubbers can all cause irreversible damage. But here’s the good news: with the exact methods Vitamix’s Senior Manager of Culinary Education recommends, you can maintain that like-new performance for decades. This guide reveals professional cleaning strategies that transform what feels like a chore into a seamless part of your blending routine.
Master the 30-Second Self-Cleaning Method
Fill with Warm Water and Minimal Soap
Start by giving your pitcher a quick rinse under running water to loosen any immediate residue—this prevents dried-on food from becoming a cleaning nightmare later. Fill the container about halfway with warm water only; Vitamix’s Senior Manager of Culinary Education specifically advises against hot water, which can warp plastic components over time. Add just one or two drops of dish soap—seriously, that’s all you need. The blender’s powerful vortex turns minimal soap into maximum cleaning power, and excess suds could overflow during processing, creating more mess than it solves.
Execute the Perfect Cleaning Cycle
Secure the lid firmly (a loose lid means splatters everywhere) and start processing. For models with a dedicated cleaning cycle, simply press the button and let the machine work its magic for precisely 30 seconds. If you have an older Vitamix without this feature, begin on the lowest speed setting and gradually increase to high over 5-10 seconds. This gradual acceleration prevents sudden pressure buildup that could force suds through the lid seal. Continue processing for the full 30 seconds or until the pitcher fills with cleansing suds that reach the top of the container.
Rinse and Dry Properly to Prevent Odors
After processing, immediately dump the soapy water and rinse thoroughly with warm water until you can no longer feel any slippery film on the interior surfaces. Run your fingers along the bottom near the blade assembly to check for hidden residue—this is where stubborn bits love to hide. For drying, flip the pitcher upside down on a baking rack placed over a towel, or use a standard dish drying rack. Never store your Vitamix pitcher right-side up—this traps moisture at the bottom, creating the perfect breeding ground for odors and mold that no amount of cleaning can later eliminate.
Verify Dishwasher Compatibility Before Cleaning

Check Your Specific Model First
While Vitamix now states that “all legacy series and newer blending containers are dishwasher-safe,” this represents a major shift from their previous recommendations. Before tossing your container in the dishwasher, locate your model number (usually on the bottom of the base or container) and verify compatibility on Vitamix’s official website. Older models like the Classic 3000 or early Professional series may still have components that degrade in high dishwasher heat, despite the general guideline change.
Optimize Dishwasher Placement for Longevity
If your model is dishwasher-safe, place components on the top rack only—never the bottom where heat exposure is more intense. Skip the heated dry cycle completely, as this additional heat stresses plastic components unnecessarily. Dishwasher cleaning should be reserved for weekly deep cleans, not daily maintenance. For most users, the 30-second self-cleaning method is actually faster than loading, running, and unloading the dishwasher, making it the superior option for routine cleaning.
Eliminate Stubborn Stains with Professional Techniques

Remove Turmeric and Spice Stains Permanently
That golden curry or vibrant beet smoothie leaves more than just flavor—it creates stubborn stains that seem permanent. When facing turmeric, curry powder, or saffron discoloration, mix equal parts white vinegar and water to create your cleaning solution. Fill the stained container and let it stand upright for several hours (overnight works best for set-in stains). After soaking, pour out the solution and use a soft pot scrubber to gently clean the interior, exercising extreme caution around the sharp blade assembly. For severe staining, repeat the process two or three times with fresh solution.
Break Down Harmless but Ugly Mineral Buildup
That cloudy white film coating your container isn’t damage—it’s simply mineral and fiber residue from healthy ingredients like leafy greens and nuts. While completely harmless, it can make your Vitamix look worn prematurely. The same vinegar-water solution that tackles stains also eliminates this buildup. For heavy film, soak for several hours, rinse thoroughly, then repeat the process. Unlike stains that require multiple attempts, mineral buildup typically disappears after one thorough soak.
Pro-Level Cleaning Hacks from Daily Users
Clean While You Cook with Recipe Sequencing
Transform cleaning from a chore into recipe enhancement by using strategic ingredient sequencing. After making nut butter, immediately blend a hot soup—the heat and liquid naturally dissolve oily residue while adding nutty depth to your soup. Similarly, follow pesto with tomato sauce or hummus with salad dressing to create a self-cleaning effect. This technique works best when ingredients complement each other, turning what would be a separate cleaning step into an integrated part of your cooking process.
Implement the Immediate Action Rule
The nine-year Vitamix veteran who’s processed everything from baby food to Parmigiano Reggiano credits one simple habit for their blender’s longevity: cleaning immediately after each use. Letting residue dry creates cement-like buildup requiring serious scrubbing later. Even if you can’t do the full cleaning process right away, at minimum give the pitcher a quick rinse with warm water immediately after use. This simple step prevents most stubborn residue problems before they start.
Critical Mistakes That Damage Your Vitamix

Avoid these common pitfalls that shorten blender lifespan:
- Using hot water instead of warm (causes warping over time)
- Applying abrasive scrubbers that create micro-scratches where bacteria hide
- Letting residue dry overnight before cleaning (makes removal exponentially harder)
- Storing with moisture trapped inside (causes odors that won’t wash out)
Never use these cleaning agents:
– Bleach or harsh chemicals that degrade plastic
– Dishwasher tablets (too concentrated for single containers)
– Steel wool or abrasive pads that scratch surfaces
– Excessive soap that creates overflow suds during cleaning
Maintain Peak Performance with Smart Scheduling
Your cleaning routine directly determines whether your Vitamix lasts five years or fifteen. That daily user processing everything from baby food to Parmigiano Reggiano credits the 30-second self-cleaning method after each use, combined with quarterly deep treatments, for nine years of flawless performance. For standard daily use, immediate cleaning after each use is essential. Schedule deep cleaning sessions every three months, or monthly if you regularly process deeply pigmented ingredients like beets, turmeric, or spinach.
The effort you invest in proper cleaning today determines your blender’s future performance. A spotless container ensures your next smoothie tastes pure without residual flavors from previous blends. More importantly, consistent cleaning prevents residue buildup that can interfere with blade performance and motor efficiency over time. Remember: your Vitamix works hard transforming tough ingredients into silky smooth purees—return the favor with these simple cleaning techniques, and it will reward you with decades of reliable service.
Start implementing these methods immediately after your next blend. Your future self will thank you when, years from now, your Vitamix still performs like new while others have been replaced multiple times. The secret to blender longevity isn’t just in the brand—it’s in how you clean it.

