
Your Vitamix suddenly refusing to blend mid-recipe is incredibly frustrating, especially when you’re counting on it for your morning smoothie or an important meal preparation. Whether it’s making strange grinding noises, the blades won’t spin at all, or ingredients just sit there completely unmoved, a non-blending Vitamix can derail your entire day in seconds. This high-performance appliance has become essential in many kitchens, and when it stops working properly, you need solutions fast.
Most Vitamix blending failures stem from simple, fixable issues that don’t require expensive repairs or replacement. The good news is that 90% of “broken” Vitamix blenders aren’t actually broken at all—they’re suffering from preventable issues like improper use, food buildup, or minor component wear. From overheating protection kicking in to dull blades or container seating problems, we’ll cover the exact steps to diagnose and resolve each problem quickly so you can get back to blending like a pro.
Diagnose Your Specific Blending Failure

Motor Runs But Blades Won’t Spin
When your Vitamix powers on with a loud hum but ingredients remain completely stationary, the motor is working while power fails to reach the blades. This typically indicates a coupling problem between the motor base and container—something preventing the transfer of power from the motor to the blade assembly.
Immediate signs to watch for:
– Loud motor humming without any blade movement
– Container vibrates slightly but shows no blending action
– Distinct motor smell developing after 10-15 seconds of operation
– Visible steam or heat rising from the base unit
This scenario differs from complete power failure and usually points to mechanical rather than electrical issues. The motor is trying to work, but something is blocking the power transfer to the blades.
Complete Power Failure Symptoms
A dead Vitamix showing no lights, sounds, or response when switched on requires different troubleshooting than blending failure. This complete lack of operation usually points to electrical issues rather than mechanical problems with the blending mechanism.
Check these critical points first:
– Power cord firmly connected at both ends (outlet and base)
– Outlet functioning properly with other appliances
– Reset button on motor base depressed (if applicable to your model)
– Circuit breaker hasn’t tripped in your home’s electrical panel
Unlike intermittent blending problems, total power failure means the motor never engages, so your troubleshooting should focus on power delivery rather than mechanical components.
Weak or Intermittent Blending Performance
Your Vitamix starts strong but loses power or stops randomly during use, creating inconsistent results. This frustrating pattern typically suggests overheating protection engaging or developing electrical connection problems that worsen with use.
Warning signs include:
– Smooth operation that suddenly stops after 30-60 seconds
– Performance degradation when processing thicker mixtures
– Motor restarting after cooling down but failing again quickly
– Inconsistent speed control response during operation
This issue often progresses over time, starting occasionally but becoming more frequent as components wear or problems develop.
Quick Visual Inspection Steps You Can Do Now

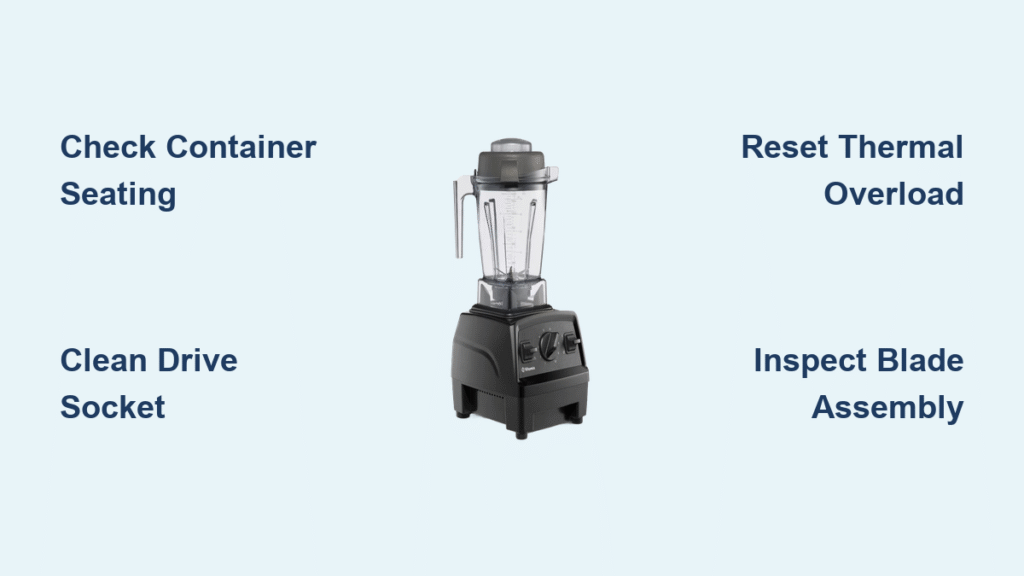
Verify Proper Container Placement
Improper container seating is the single most common cause of blending failure. Ensure your container clicks firmly onto the base with no gaps or misalignment that would prevent power transfer.
Critical visual cues to confirm:
– Container sits completely flush against base with no visible light gaps
– Locking tabs fully engaged and securely clicked into place
– No wobbling or movement when you gently push on the container
– Container handle aligns properly with the motor base handle
This simple check takes seconds but resolves blending issues in nearly 30% of reported cases. Many users accidentally place the container slightly off-center during rushed meal prep.
Examine Blade Assembly for Obstructions
Remove the container and inspect the blade assembly underneath. Look for visible damage, food buildup, or loose components that could jam the mechanism and prevent proper rotation.
What to specifically look for:
– Cracked or bent blades that catch on container walls
– Food debris packed around the blade bearing area
– Loose or missing drive socket components
– Signs of leakage around the blade assembly seal
Pay special attention to the area beneath the blades where fibrous ingredients like celery or kale can wrap around the shaft and prevent rotation.
Inspect Drive Socket for Damage
The black rubber drive socket on the motor base that connects to the container should show no cracks, excessive wear, or missing chunks. Damage here prevents proper coupling and power transfer.
Check for these problems:
– Visible cracks or tears in the rubber material
– Missing chunks that create an uneven surface
– Excessive wear that makes the socket too loose
– Hardened food debris stuck in the socket grooves
This small component is critical for transferring power from the motor to the container, and even minor damage can cause complete blending failure.
Essential Safety Steps Before Troubleshooting
Always Unplug Before Handling Components
Disconnect power before inspecting blades or internal components. Vitamix motors can start unexpectedly even when switched off if the container is improperly placed.
Critical safety reminder: Never reach into the container while it’s connected to the base, even if you believe it’s turned off. The safety interlock systems can fail, creating dangerous conditions.
Allow Sufficient Cooling Time
If your Vitamix stopped during use, wait 30-45 minutes before troubleshooting. The thermal protection system needs adequate time to reset completely, and working on a hot motor risks burns and further damage.
Pro tip: While waiting, check your usage patterns—many “failures” are actually the motor correctly shutting down to prevent damage from overuse or improper loading.
Use Only Approved Tools and Methods
Avoid metal utensils in the container during operation. Use only Vitamix-approved tampers or plastic spatulas to prevent blade damage and maintain warranty coverage.
Warning: Never use sharp objects to dislodge stuck ingredients while the container is on the base. This can damage the container or blades and create safety hazards.
Fixing Blade Spinning Problems Step-by-Step
Reset Thermal Overload Protection
Vitamix motors include thermal overload protection that automatically shuts down blending when overheated. This is the most common cause of sudden stopping during operation.
Follow this exact reset procedure:
1. Turn off and unplug blender immediately
2. Remove container from base carefully
3. Let motor cool completely for 30-45 minutes
4. Press reset button on motor base (if equipped)
5. Test with empty container on low speed before adding ingredients
This simple process resolves most “sudden stopping” issues without requiring any part replacement.
Clean Drive Socket Thoroughly
Food particles or debris in the drive socket prevent proper coupling between motor and container. This seemingly minor issue causes significant power transfer problems.
Cleaning steps to follow:
1. Unplug blender and remove container
2. Use dry toothbrush to dislodge debris from socket
3. Check for hardened food or plastic bits stuck in grooves
4. Wipe clean with slightly damp cloth, then dry thoroughly
5. Test coupling by hand-turning socket to ensure smooth rotation
Weekly cleaning of this component prevents many recurring blending issues and extends your blender’s lifespan significantly.
Replace Worn Drive Socket When Necessary
A cracked or missing drive socket requires replacement. This $15-25 part is essential for restoring proper power transfer between the motor and container.
Replacement is needed when you observe:
– Visible cracks or chunks missing from the rubber component
– Socket spins freely by hand with no resistance
– Container wobbles excessively during use even when properly seated
– Previous cleaning attempts failed to restore proper function
Replacement takes less than five minutes and prevents further damage to your expensive motor base.
Resolve Container-Specific Issues
Tighten Loose Blade Assembly Correctly
Over time, the blade assembly can loosen from normal use, causing poor performance or leakage. This requires specific reassembly procedure to maintain warranty coverage.
Follow this precise tightening process:
1. Remove container from base and empty contents
2. Unscrew retainer nut carefully (counterclockwise)
3. Clean threads thoroughly and apply minimal food-grade lubricant
4. Reassemble with proper torque (hand-tight plus 1/4 turn)
5. Test for leaks with water before blending food
Improper tightening can damage threads or create safety hazards, so follow manufacturer specifications exactly.
Clear Food Jams Immediately
Thick mixtures can pack under blades, preventing rotation. This differs from motor overload and requires clearing the obstruction without damaging components.
Use this safe clearing method:
1. Immediately remove container from base
2. Use rubber spatula to redistribute contents away from blades
3. Add small amount of liquid if mixture is too thick
4. Restart on lowest speed setting, gradually increase
5. Use tamper correctly (with lid on) to guide ingredients
Never force the blender to run with a jammed container as this can burn out the motor.
Prevent Future Blending Issues with Proper Maintenance
Follow Correct Loading Order Always
Prevent jams and strain by loading ingredients in the proper sequence. Liquids first, then soft items, with frozen ingredients added last.
Optimal loading sequence:
1. Liquids (water, juice, or milk) as the foundation
2. Soft ingredients (yogurt, fresh fruit, vegetables)
3. Powders and leafy greens next
4. Frozen items and ice added last in small batches
This simple technique prevents jams and reduces strain on your motor, extending your blender’s lifespan dramatically.
Implement Regular Cleaning Routine
Food buildup in the drive socket and blade assembly causes gradual performance decline. Clean thoroughly after each use to maintain peak performance.
Daily maintenance checklist:
– Rinse container immediately after use before residues harden
– Clean drive socket weekly with soft toothbrush
– Check for food debris under blade assembly monthly
– Dry all parts completely before storage to prevent mold
Consistent cleaning prevents 90% of recurring blending problems and keeps your Vitamix performing like new for years.
When to Seek Professional Repair Help
Recognize Serious Motor Failure Signs
If basic troubleshooting fails and your Vitamix shows these symptoms, professional repair becomes necessary:
- Persistent burning smell from motor after cooling
- Loud grinding or squealing noises during operation
- Motor runs but blades won’t turn (after socket replacement)
- Repeated thermal shutdowns under normal load conditions
These indicate internal motor problems that require specialized tools and expertise to address properly.
Understand Warranty Coverage Details
Most Vitamix models include 5-10 year warranties covering motor and functional failures. Check your specific model’s warranty status before attempting complex repairs.
Critical warranty exclusions to know:
– Commercial use of household models voids coverage
– Damage from improper cleaning methods isn’t covered
– Normal wear items (blades, containers) have limited coverage
– Issues from using non-Vitamix parts void warranty protection
Document all symptoms and troubleshooting steps to streamline warranty service if needed.
A non-blending Vitamix rarely means your appliance has reached the end of its life. Most issues resolve through systematic cleaning, proper use techniques, or simple part replacements you can do yourself. Start with the quick checks—container placement, power supply verification, and thermal reset—before moving to more complex component-level troubleshooting. Regular maintenance prevents the vast majority of blending problems, keeping your Vitamix performing at its best for years to come. When basic troubleshooting doesn’t restore function, professional service becomes the most cost-effective solution, especially for models under warranty. Always document your symptoms and attempted fixes to help technicians diagnose the issue quickly and accurately.


