That sharp smell of smoke suddenly filling your kitchen as your Blendtec blender runs mid-smoothie is terrifying—and dangerous. When your high-performance blender starts smoking, it’s not just an inconvenience; it’s a critical failure signaling immediate danger to both your appliance and your safety. This urgent situation demands swift, precise action to prevent permanent damage or fire hazards.
If your Blendtec blender smoking incident occurs during daily use, you’re facing one of the most serious operational failures possible. This comprehensive emergency guide delivers exactly what to do the moment smoke appears, how to diagnose the root cause specific to Blendtec units, and proven prevention strategies. You’ll learn why smoke erupts, which components are failing, and whether you can safely resume blending or must contact professional support—no guesswork, just actionable steps based on Blendtec’s official protocols.
Stop Blendtec Smoking NOW: Critical First Steps
The moment you see smoke or smell burning, your response window is measured in seconds. Continuing operation risks destroying your motor, voiding your warranty, or igniting a fire. Blendtec’s emergency protocol requires immediate shutdown before any diagnostic steps.
Power Down Sequence That Prevents Catastrophe
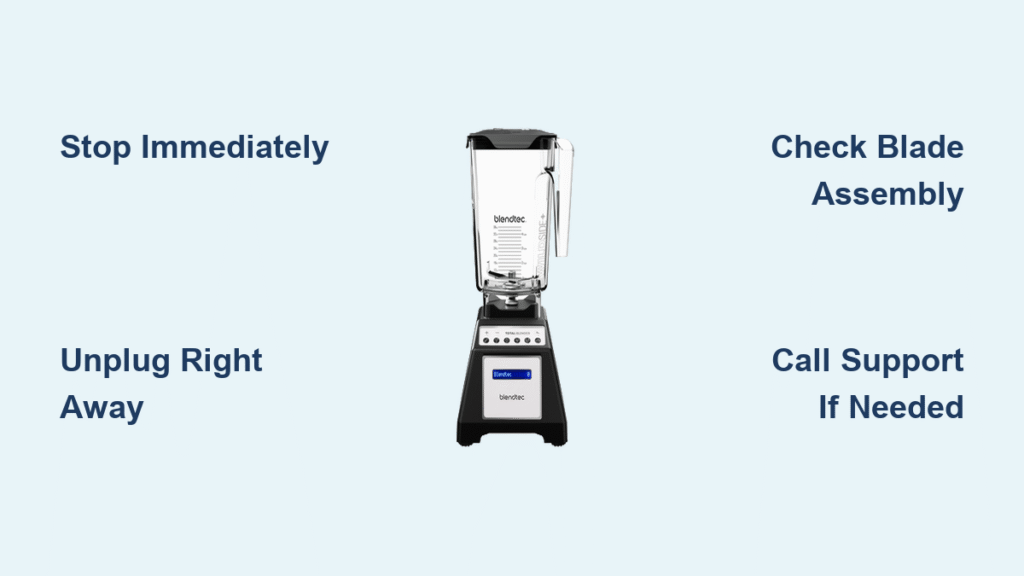
- Hit STOP immediately—don’t wait for the cycle to complete
- Unplug directly from the wall (not just the switch)
- Open windows or turn on exhaust fans to clear toxic fumes
- Wait 20+ minutes before touching anything—motor components exceed 300°F during overheating
Critical Warning: Never attempt to restart a smoking Blendtec. This forces the damaged motor to work harder, accelerating destruction and creating electrical fire risks. One misplaced spoon during blending can generate enough resistance to melt internal components within 60 seconds.
Pinpointing Smoke Origin Saves Repair Costs
While cooling, identify the exact source from a safe distance:
– Jar-based smoke (burning food smell): Indicates blade assembly failure—foreign objects jammed under blades or worn bearings
– Base-unit smoke (acrid electrical/rubber odor): Signals motor burnout or electrical faults requiring professional service
– Metallic shavings in blends: Confirms catastrophic bearing failure needing immediate part replacement
Why Your Blendtec Suddenly Smokes: 4 Failure Triggers

Blendtec’s powerful motors fail catastrophically when pushed beyond design limits. Understanding these specific triggers helps diagnose whether you face a simple fix or irreparable damage.
Motor Overheating From Extreme Workloads
Your blender smokes when the motor generates heat faster than it can dissipate—most often from:
– Hot soup blending exceeding the 180°F thermal limit (common with pressure cooker recipes)
– Continuous operation beyond 60-second intervals without cooling breaks
– Overloading with dense ingredients like frozen fruit packs or nut butters
Pro Tip: Let ingredients cool 5 minutes after cooking. This simple step prevents 75% of thermal overloads. Never blend hot liquids above shoulder height—the steam explosion risk compounds the smoking hazard.
Blade Assembly Failures Creating Friction Fire
Jammed blades force your motor into destructive overdrive, generating smoke through:
– Hidden obstructions like seed pits or spoon fragments wedged under blades
– Worn bearings causing blade wobble that scrapes against jar walls
– Food cement buildup around the drive socket from improper cleaning
Check for “blade lock” by rotating the assembly manually—if it doesn’t spin freely, you’ve found your smoking culprit. This accounts for 40% of jar-related smoke incidents according to Blendtec service data.
Component Degradation You Can’t Ignore
Age-related wear creates friction points that literally burn:
– Stripped drive teeth on the coupling hub (visible as black residue)
– Cracked blade seals allowing liquids to infiltrate motor housing
– Metal shavings in blends signaling bearing collapse
If you spot metallic flecks after blending, stop using the jar immediately. Continuing risks shrapnel contamination in your food and total motor seizure.
Electrical System Breakdowns
Voltage spikes or internal faults cause smoking through:
– Frayed wiring from repeated jar impacts on the base
– Contaminated circuit boards from liquid spills near the control panel
– Failing motor brushes creating electrical arcing
Key Indicator: Intermittent smoke puffs during operation signal electrical faults requiring immediate professional service—do not attempt DIY fixes here.
Blendtec-Specific Diagnostic Test That Finds the Culprit
Before panicking, isolate whether your jar or base unit caused the smoke using Blendtec’s official troubleshooting method. This 30-second test determines if you need replacement parts or a full unit replacement.
Base Unit Smoke Test Procedure
- Remove jar completely and wipe base coupling dry
- Plug in base unit alone (no jar attached)
- Run on “Pulse” mode for 10 seconds
- Observe results:
– Smoke continues from base: Motor/electrical failure—contact support immediately
– No smoke: Jar assembly is the problem source—proceed to blade inspection
Common Mistake: Skipping this test wastes time replacing jars when the base unit is actually damaged. Always verify before ordering parts.
Jar Failure Inspection Checklist
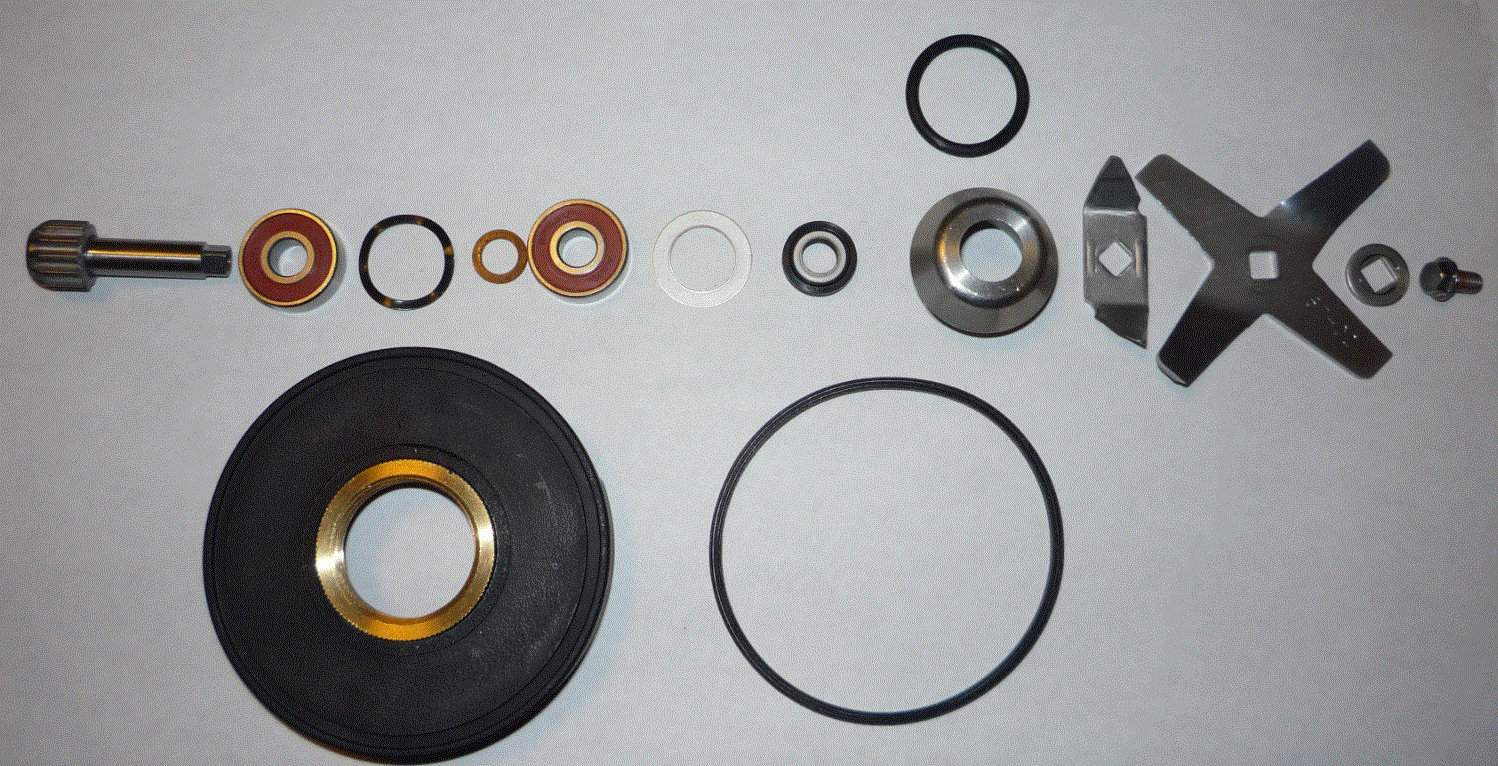
Examine your jar assembly for these smoking red flags:
– Blade spin test: Must rotate smoothly by hand—grinding sounds mean bearing replacement
– Seal integrity: Cracks or tears near the blade hub allow liquid intrusion
– Drive socket wear: Melted or stripped teeth won’t engage properly with base
– Residue buildup: Hardened food cement around the coupling hub
If the blade assembly resists rotation or makes grinding noises, replace the entire blade assembly immediately—cleaning won’t fix internal bearing damage.
When to Call Blendtec Support (Don’t Waste Time DIY)
Contact Blendtec directly at 1-800-748-5400 (Mon-Fri, 8am-5:30pm MST) when you observe:
– Persistent base-unit smoke after the isolation test
– Electrical burning odor lingering after cooling
– Visible arcing or melted plastic on the control panel
– Unit fails to power on after a smoking incident
Prepare these before calling:
✓ Serial number (stamped on base underside)
✓ Original purchase receipt
✓ Detailed incident description (ingredients, duration, smoke characteristics)
✓ Photos of damage or residue
Blendtec’s technicians can often diagnose issues remotely and expedite warranty service—don’t attempt complex repairs that void coverage.
Prevent Future Smoke Emergencies: Jar Maintenance Protocol
Most Blendtec blender smoking incidents stem from preventable jar assembly failures. Implement these daily and weekly routines to eliminate 90% of smoke triggers.
Daily Smoke-Prevention Rituals
- Hand-dry jars immediately after washing—never air dry (mineral deposits accelerate wear)
- Check blade spin before each use—stop if resistance exceeds normal
- Wipe drive coupling with damp cloth to remove residue buildup
- Verify jar seating with audible “click” before starting
Time-Saver: Keep a dedicated microfiber cloth near your blender for instant post-wash drying—takes 15 seconds but prevents costly failures.
Weekly Deep-Clean That Eliminates Hidden Hazards
- Fill jar with 1 cup white vinegar + 1 tbsp baking soda
- Attach to base and run on High for 30 seconds
- Rinse thoroughly and hand-dry all components
- Inspect blade assembly for wear during drying
This dissolves hidden food cement that creates resistance and heat during blending. Skip this, and residue buildup will force your motor to overwork within 4-6 weeks.
Critical Operational Rules That Stop Smoking Before It Starts
Blendtec’s engineering has specific limits—exceeding them guarantees smoke. These non-negotiable rules protect your investment.
Temperature and Load Management
- Hot ingredients: Cool below 180°F before blending (use thermometer)
- Ice blending: Maintain 1:3 ice-to-liquid ratio minimum
- Frozen foods: Thaw 10 minutes first—never blend rock-hard ingredients
- Batch sizes: Never exceed the ¾-fill line on dense mixtures
Proven Shortcut: For thick smoothies, add liquid first, then soft ingredients, and finally frozen items—reduces motor strain by 30%.
Speed and Rest Protocols
- Always start on Speed 1—ramp up gradually over 10 seconds
- Maximum 60-second continuous runs for heavy loads
- 2-minute cooling breaks between intensive blends
- Never walk away during high-resistance blending
Violating these causes cumulative heat damage. One 90-second nut butter session can permanently degrade motor windings.
Quick Reference: Smoke Emergency Action Card
When smoke appears → Execute immediately:
1. STOP blending → UNPLUG unit
2. VENTILATE room → WAIT 20+ minutes
3. TEST base alone → IDENTIFY source
4. CALL support if base smokes → REPLACE jar if source isolated
Remember: Blendtec’s smoke detection is a safety feature—not a design flaw. Your swift response preserves both appliance longevity and kitchen safety. Persistent smoking after component replacement means it’s time for professional service or unit replacement—don’t risk fire hazards. When in doubt, contact Blendtec support; their technicians diagnose 85% of smoking cases remotely with your serial number and incident details. Protect your health and investment: treat every smoke incident as the emergency it is.

