
Your Cuisinart blender suddenly stops crushing ice but still hums loudly—that unmistakable sign your blade driver clutch has failed. This small black coupling connecting the motor to the blade assembly is the unsung hero of your blender, and when its plastic teeth strip or crack, your appliance becomes nothing more than an expensive countertop ornament.
The good news? Replacing the Cuisinart blender blade driver clutch takes less than 30 minutes with basic tools, costs between $3-$12, and saves you from buying a $100+ replacement. In this guide, you’ll learn exactly how to diagnose, remove, and install a new clutch on popular models like the BFP703, SPB-7, and CB7 series.
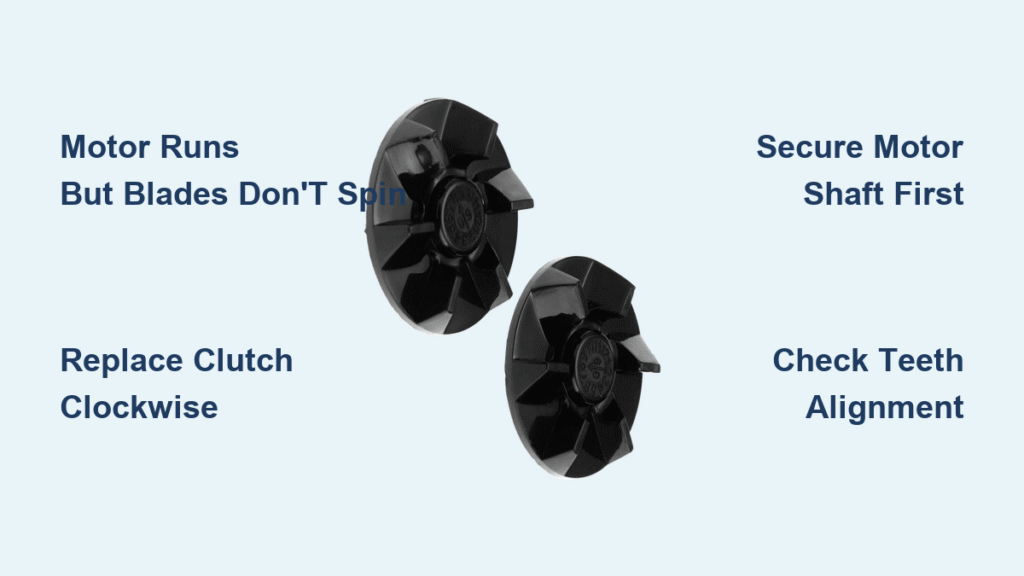
Why Your Cuisinart Blender Motor Runs But Blades Won’t Spin
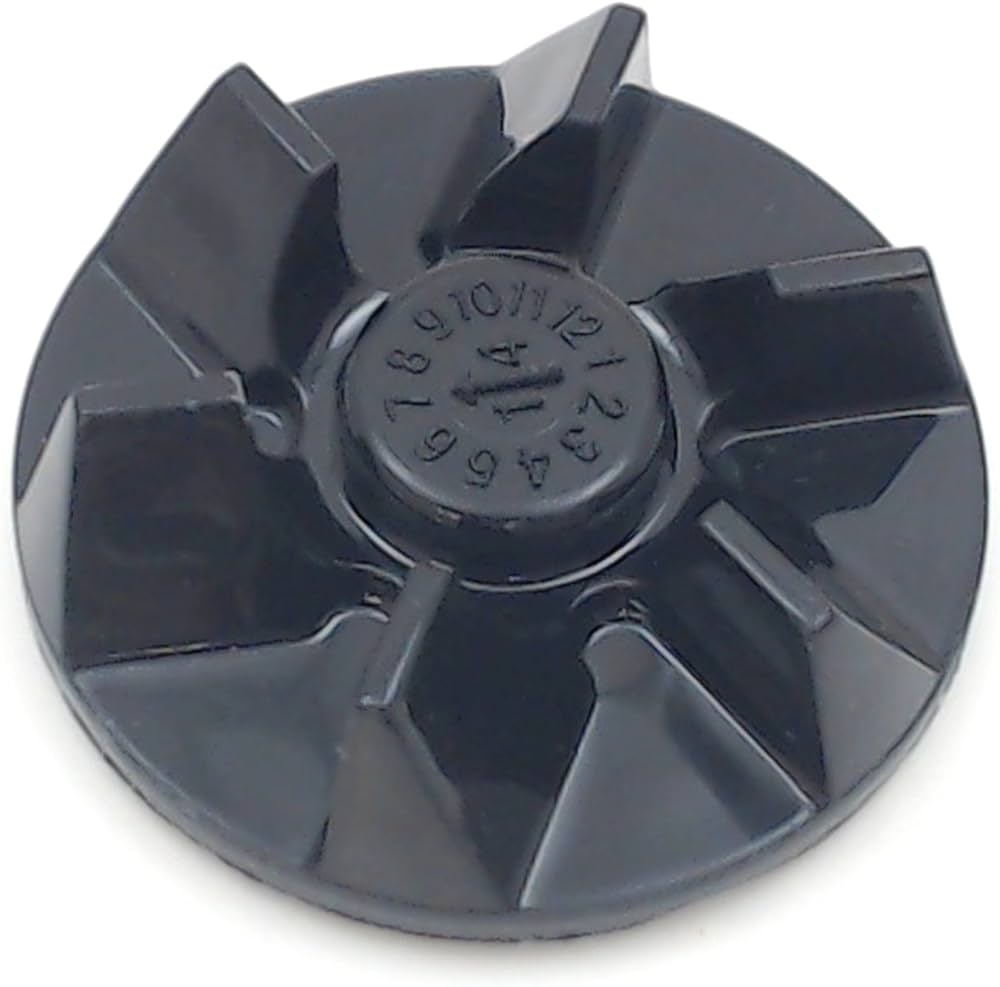
When you press “pulse” and hear the motor whirring while the blades sit completely still, you’re dealing with a classic stripped clutch failure. This small black coupling with molded teeth transfers power from the motor to your blade assembly—when those teeth wear down from years of crushing ice or frozen fruit, they lose grip completely.
Critical visual indicators you need to replace your clutch:
– Black plastic shavings gathering at the base of your blender
– A rhythmic clicking sound as the motor runs (teeth slipping)
– Blades that start spinning but stop immediately when you add ingredients
– Visible cracks or missing teeth on the clutch when you inspect it
Don’t confuse this with other issues: If your blender makes a high-pitched squeal or won’t turn on at all, you likely have a different problem requiring motor service or electrical repair.
How Clutch Failure Progresses Over Time
Most users experience clutch failure in three distinct stages. First, you’ll notice occasional slippage when blending dense ingredients like frozen smoothie packs. Next, the clutch develops hairline cracks that allow complete slippage under any load. Finally, the plastic teeth shear off completely—this is when your blender becomes completely non-functional despite a healthy-sounding motor.
SPB7-20TXN vs Generic: Choosing the Right Cuisinart Clutch Replacement
OEM SPB7-20TXN: Worth the Extra Cost?
Cuisinart’s official SPB7-20TXN clutch costs $8-$12 but delivers superior longevity thanks to its glass-filled nylon construction and precision-molded teeth. Users report these OEM parts typically last 3-5 years with daily use—a significant improvement over generic alternatives that often fail within 12-18 months.
Critical compatibility note: This clutch fits dozens of models including BFP703, SPB-7, CB7-9, CBT-500, and FPB-5PC series. Always verify your model number before ordering—check the bottom plate or original packaging.
Generic Clutch Options That Actually Work
For budget-conscious repairs, these tested alternatives deliver reliable performance:
– Lonye 2-pack: $9-$11 on Amazon with decent build quality (hard plastic, not rubber as some listings claim)
– Univen UV-86047 3-pack: As low as $1.40 per clutch during sales—surprisingly durable for the price
– Amazon generics: Look for “SPB7-20TXN” in the title and avoid listings mentioning “rubber” (they’re mislabeled)
Pro tip: Order two clutches—the second serves as an emergency spare that costs less than a service call when (not if) the first replacement eventually fails.
5 Must-Have Tools for Cuisinart Blender Clutch Replacement

Essential Toolkit Checklist
Long-shank Phillips screwdriver (5″+): Standard screwdrivers can’t reach the deep screw wells in Cuisinart bases. A 6″ magnetic version prevents dropped screws.
4-6mm flat-head screwdriver: Used as a lever in the clutch slots—choose one with a sturdy tip that won’t bend under pressure.
Vice-Grips or adjustable pliers: Crucial for holding the motor shaft stationary during clutch removal. Wrap jaws with cloth to protect plastic fan blades.
White work surface: Those tiny base screws love to vanish—work on a contrasting background to spot them immediately.
Soft cloth: Protects delicate plastic components when applying tool pressure.
Warning: Never attempt this repair with the blender plugged in. A momentary slip could engage the motor unexpectedly, causing serious injury.
Exact Disassembly Steps for Cuisinart Blenders
Remove Base Plate Without Damaging Housing
Flip your blender upside down and locate the rubber feet—they often conceal Phillips screws. Gently pry them up with your flat-head screwdriver (some models use adhesive feet that pop off cleanly). Remove all 3-4 base screws, keeping them organized as lengths may vary.
Visual cue: As you separate the base shell, watch for short internal wires—they’ll stretch about 1-2 inches before tearing. Move slowly while supporting both housing halves.
Access the Motor Assembly Safely
Before removing the motor, take photos of any plastic airflow guards or shields—they fit only one way during reassembly. Remove the 2-4 motor mount screws (typically two front, two rear), then carefully slide the motor downward until the clutch assembly protrudes 1/2 inch from the bottom.
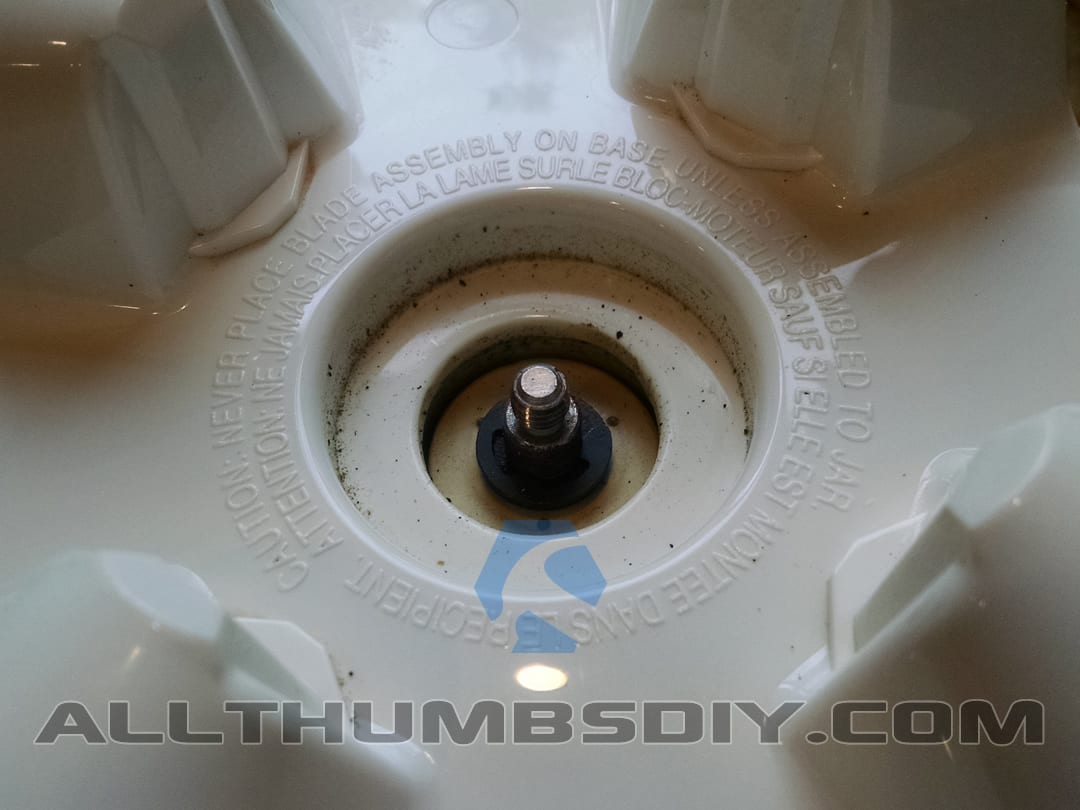
Critical note: The brass hex shaft beneath the clutch is your anchor point—this is where you’ll apply leverage during clutch removal.
Remove Stripped Clutch Without Damaging Motor Shaft
Lock the Motor Shaft Before Turning
Clamp your Vice-Grips onto the brass hex portion directly beneath the clutch—this prevents the shaft from spinning when you apply torque. If your model exposes plastic fan blades, wrap them in your soft cloth before gripping with pliers.
Why this matters: Without securing the shaft, you’ll just spin the entire motor instead of loosening the clutch.
Correct Removal Technique (Clockwise Direction)
Insert your flat-head screwdriver into one of the clutch’s side slots and turn clockwise—yes, clockwise to remove because this uses a reverse thread. Apply steady, even pressure; jerking motions can shear the already-weakened plastic teeth.
Troubleshooting tip: If the clutch won’t budge after 30 seconds of pressure, apply a drop of penetrating oil, wait 10 minutes, then retry. Years of food residue often cement the clutch in place.
Install New Clutch to Prevent Premature Failure
Proper Seating Depth for Optimal Performance
Thread your new clutch counter-clockwise onto the shaft until finger-tight. The teeth must face upward toward the jar—installing it upside down guarantees immediate failure. For final tightening, use your flat-head screwdriver for controlled pressure.
Critical mistake to avoid: Over-tightening cracks the plastic housing, causing the same failure you just repaired. Stop when resistance increases noticeably—your hand should be able to turn it no further.
Verify Correct Installation Before Reassembly
Spin the clutch by hand—it should rotate smoothly without wobble. Any grinding sensation indicates misalignment that will damage your new clutch during first use. Check that the top surface sits flush with the motor spindle; if it protrudes more than 1/16 inch, unscrew slightly and retest.
Reassemble and Test Like a Professional Technician
Motor Reinstallation Checklist
Lift the motor back into position, aligning all mounting holes exactly as photographed during disassembly. Reinstall motor screws in a crisscross pattern to distribute pressure evenly—this prevents housing warping that causes future vibration issues.
Pro move: Before snapping the base shell closed, vacuum any plastic debris from the motor housing—leftover fragments cause overheating and premature failure.
Load Testing Procedures That Catch Hidden Issues
First, run your blender empty on low speed for 5-10 seconds, listening for unusual noises. Then add 1 cup water and 1/2 cup ice cubes—blend for 15 seconds on medium speed. Properly installed, your blades should crush ice instantly without slippage.
Warning sign: If the jar rocks during operation, your clutch is seated too high—unscrew 1/4 turn and retest. A burning smell indicates food debris on motor windings; unplug immediately and clean with compressed air.
Prevent Future Clutch Failures With These 3 Maintenance Habits
Monthly Inspection Routine
Remove the jar and blade assembly, then inspect the clutch for hairline cracks using a flashlight. Run your fingernail along the teeth—if it catches on any irregularities, replace the clutch immediately before complete failure occurs.
Blending Techniques That Reduce Stress
Pulse frozen ingredients in 3-second bursts instead of continuous blending—this reduces shock loads that accelerate clutch wear. Always add liquid before frozen items to create a cushioning effect during initial blending.
Weekly Deep Cleaning Method
Use an old toothbrush to clean between clutch teeth and the corresponding grooves on your blade assembly base. Sugar and starch residues harden over time, creating abrasive particles that wear down teeth.
Cuisinart Clutch Replacement Quick Reference

Problem: Motor runs but blades won't spin

Part Number: SPB7-20TXN (OEM) or equivalent

Removal Direction: Clockwise (reverse thread)

Installation Direction: Counter-clockwise

Critical Step: Secure motor shaft before turning clutch

Time Required: 15-30 minutes

Cost Savings: $90+ vs. new blender
Your Cuisinart blender should now perform like new, effortlessly crushing ice and frozen fruit. By replacing the blade driver clutch yourself, you’ve extended your appliance’s life by years while avoiding unnecessary electronic waste. Keep that spare clutch in your kitchen drawer—when it fails again (typically after 1-5 years depending on usage), you’ll be ready to perform this quick repair in under 15 minutes.


