
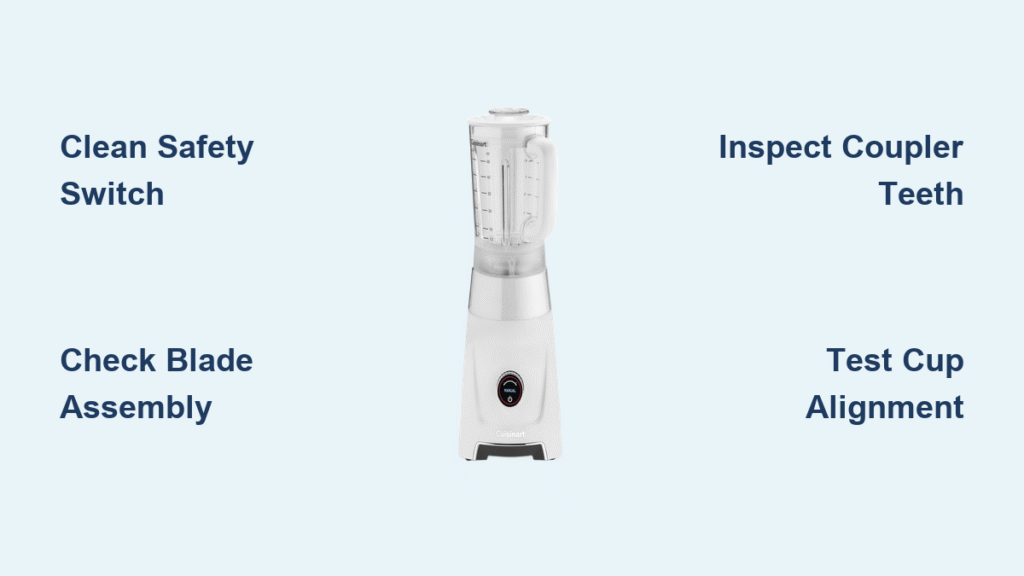
Your Cuisinart blender lights up brightly when you press the power button, but the blades stubbornly refuse to spin. That frustrating gap between illumination and operation affects thousands of owners who suddenly can’t crush ice or blend smoothies. When your Cuisinart shows lights but won’t work, power is definitely reaching the unit—those glowing LEDs prove your electrical system functions—but something mechanical is blocking the motor’s ability to turn the blades. Don’t panic yet; this common failure usually stems from three critical components that prevent power transfer despite perfect electrical flow.
This “lights on but not working” symptom typically indicates debris buildup, worn parts, or misalignment in your blender’s physical systems rather than electrical failure. Since the control board receives power (hence the illumination), the fix often takes just minutes with basic tools. By systematically checking the safety switch, blade assembly, and coupler connection, you’ll likely revive your blender without professional help or replacement costs. Let’s pinpoint exactly why your Cuisinart won’t blend despite those reassuring lights.
Safety Switch Jamming Stops Motor Activation
Your Cuisinart’s safety switch acts as a physical gatekeeper—it must be fully depressed for the motor to engage. Located deep in the rear of the connection port where the blending cup attaches, this tiny component prevents operation if the cup isn’t perfectly seated. When residue accumulates around the switch plunger, it can’t depress completely, blocking motor power while leaving lights unaffected.
Clean Sticky Switch Housing in 5 Minutes
Food splatter and dried smoothie residue often gum up the switch mechanism, especially near the port’s rear wall. You’ll notice this when the blending cup feels harder to twist into place or makes a grinding sound during attachment. Critical warning: Never insert metal tools here—use only plastic or wooden implements to avoid electrical shorts.
Effective cleaning method:
– Unplug the blender and let it cool for 10 minutes
– Dip a cotton swab in isopropyl alcohol (70%+ concentration)
– Gently rotate the swab around the switch housing’s perimeter
– Press a dry swab against the plunger to absorb loosened debris
– Test by manually pressing the switch with a plastic spoon handle—it should snap back crisply
Verify Full Switch Depression During Cup Attachment
Even microscopic gaps prevent motor activation. When seating your blending cup, listen for a distinct double-click sound indicating full engagement. If you only hear one click, the safety switch hasn’t fully depressed. Pro tip: Rotate the cup slightly clockwise as you press down—this often aligns the cup’s internal tab with the switch for complete contact. If lights stay on but blades remain still after proper seating, debris likely still restricts the switch mechanism.
Blade Assembly Seizure Prevents Rotation
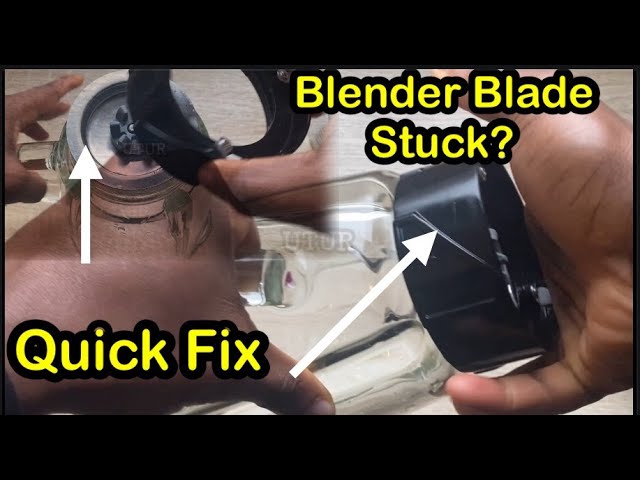
When your safety switch checks out, inspect the blade assembly itself. Dried food particles—particularly fibrous ingredients like celery or frozen fruit—can wedge between blades and the gasket, creating enough resistance to stop the motor despite normal electrical function. This explains why your blender lights up but won’t spin even with light loads.
Manual Blade Rotation Test Reveals Blockages
Remove the blade assembly and try rotating the blades with your fingers. Healthy assemblies offer slight resistance like turning a stiff doorknob. If blades feel frozen, gritty, or wobble excessively, you’ve found the culprit. Visual cue: Shine a flashlight between the blade shaft and housing—any visible stringy residue or hardened particles requires immediate cleaning.
Deep-cleaning protocol for seized blades:
1. Soak the assembly in hot, soapy water for 15 minutes (add 1 tbsp baking soda for stubborn residue)
2. Use a soft-bristled toothbrush to scrub between blade crevices
3. Rinse under running water while rotating blades to flush debris
4. Dry completely with a microfiber cloth before reassembly
5. Apply one drop of food-grade lubricant to the central bearing if accessible
Identify Bent Blades Causing Mechanical Resistance
Accidental contact with hard containers during cleaning often bends blades just enough to create drag. Examine blades from multiple angles—they should form a perfect symmetrical star shape. Even a 2mm warp creates resistance exceeding your motor’s starting torque. Red flag: If blades spin freely when dry but seize when blending thick mixtures, bent blades are likely the issue requiring replacement.
Stripped Coupler Teeth Block Power Transfer
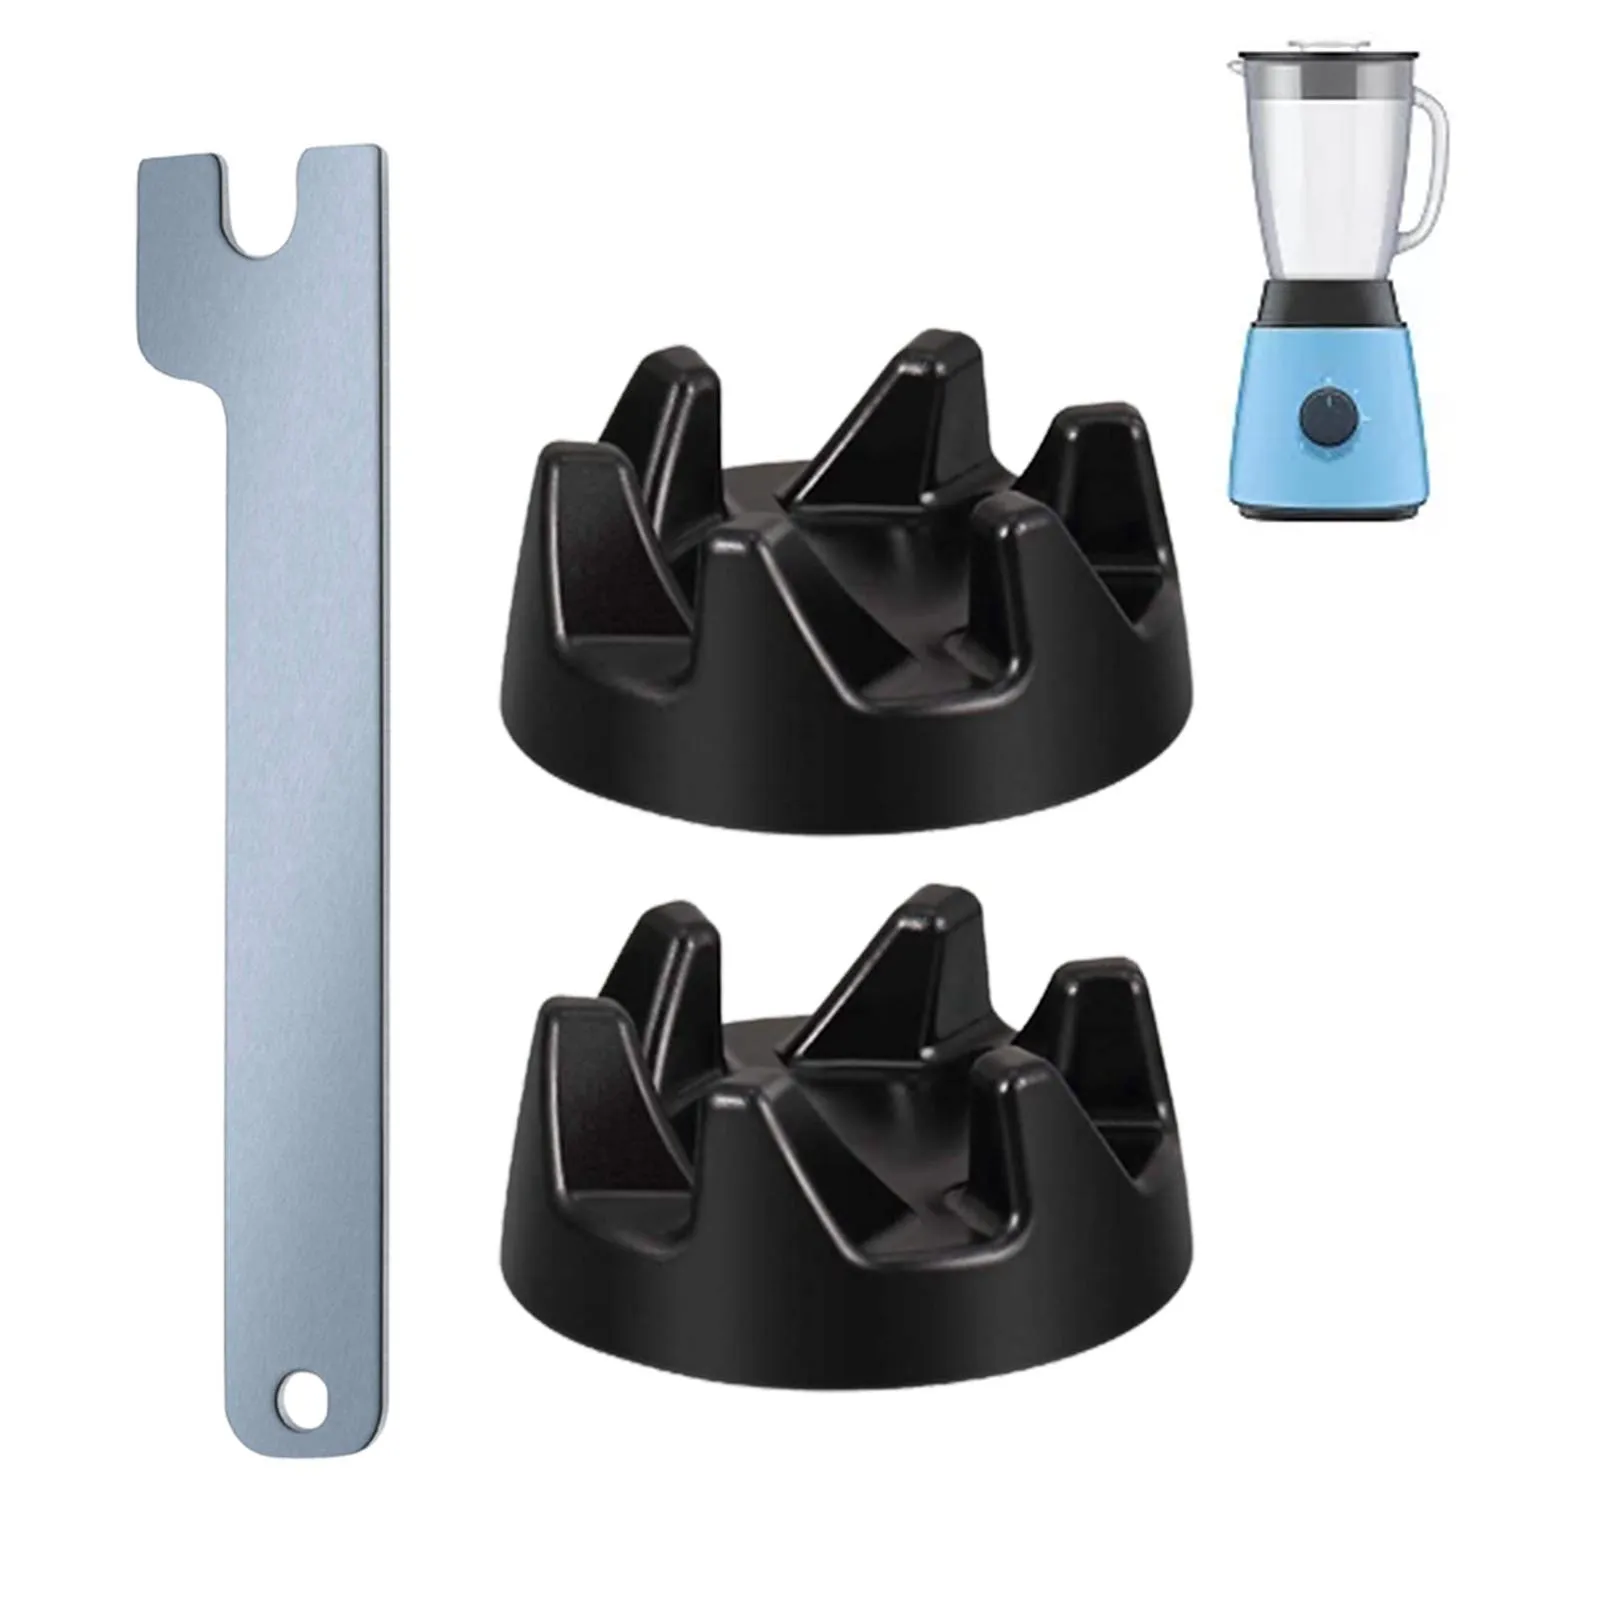
The coupler system—those interlocking teeth between the motor base and blade assembly—is the final power transmission point. When these plastic or metal teeth wear down from repeated use, the motor spins freely while blades stay stationary. This explains why your Cuisinart lights up normally but won’t blend, especially after years of heavy use.
Spot Worn Coupler Teeth Before Complete Failure
Remove the blade assembly and inspect both couplers: the motor base coupler (fixed to the drive shaft) and the blade coupler (attached to the assembly). Healthy teeth have sharp, defined edges that mesh tightly. Warning signs of wear:
– Visible rounding or flattening at tooth tips
– Plastic shavings around the connection port
– Blade assembly wobbles when seated
– Grinding noise during startup attempts
Pro tip: Shine a flashlight at a 45-degree angle across the coupler teeth—this highlights subtle wear invisible under direct light. If teeth appear shiny or smoothed, replacement is imminent.
Replace Coupler in Under 10 Minutes
Most Cuisinart models use either a press-fit or screw-retained coupler. Replacement steps:
1. Unplug the blender and turn the base upside down
2. Remove the retaining clip (snap-ring) or central screw
3. Clean the motor shaft with alcohol-soaked swab
4. Slide the new coupler onto the shaft in identical orientation
5. Reinstall the retaining mechanism firmly
6. Test with blade assembly before full reassembly
Crucial compatibility check: Match the new coupler’s tooth count and height precisely—using an incorrect part causes immediate re-damage. Consult your model number (found on the base underside) when ordering replacements.
Motor Humming vs. Silent Failure Diagnosis
When troubleshooting a Cuisinart with lights but no blade movement, listen carefully to what the motor isn’t doing. This auditory clue separates mechanical blockages from true motor failure. Most “lights on but not working” cases involve mechanical resistance the motor can’t overcome—not electrical faults.
Decipher Motor Sounds for Accurate Diagnosis
- Silent operation (no hum/vibration): Points to safety switch or coupler issues
- Low humming with vibration: Indicates physical blockage in blade assembly
- Rapid clicking: Signals thermal overload protection activating
- Burning odor: Requires immediate disconnection—internal wiring failure
Thermal protection test: If you hear clicking, unplug the blender for 45 minutes to cool the thermal fuse. After cooling, attempt a 10-second blend cycle with water only. If it works normally, overheating from prolonged use was the culprit—not a permanent failure.
4-Step Emergency Diagnostic Sequence
When your morning smoothie routine gets derailed, follow this rapid troubleshooting sequence before disassembling components. This method isolates the issue in under 5 minutes with no tools required.
Step 1: Power Cycle and Reset
Unplug the blender for 60 seconds—this resets the control board and thermal protection circuit. Reconnect and test with the smallest cup attachment. Why this works: Temporary electrical glitches sometimes lock the motor control system while leaving lights operational.
Step 2: Manual Safety Switch Test
With base unplugged, use a plastic chopstick to press the rear safety switch while observing the LED. If lights dim or flicker during depression, the switch is functional. Critical check: Release the switch—if lights stay on but blades won’t spin when cup is attached, debris is likely preventing full depression during normal use.
Step 3: Direct Blade Rotation Check
Remove the blade assembly and attempt to spin blades with finger pressure. If they rotate freely but won’t spin when attached, coupler wear is probable. If blades feel frozen, soak in hot water immediately.
Step 4: Cup Alignment Verification
Place the cup on the base and rotate it 360 degrees while pressing down firmly. Listen for the distinct double-click engagement. If you only hear one click, realign the cup’s internal tab with the motor base’s guide notch—a common assembly error.
Professional Repair Thresholds You Must Recognize
While most “lights on but not working” cases are DIY-fixable, certain symptoms require certified technician intervention. Attempting repairs on these issues risks electrical shock or permanent damage. Stop troubleshooting immediately and seek professional help if you observe:
- Burnt wiring smell accompanied by visible charring inside the base
- Smoke or sparks during operation attempts
- Loose electrical connections when inspecting internal components
- Cracked motor housing or damaged power cord insulation
- Control board replacement requirements (indicated by erratic button behavior)
Cost reality check: Professional repairs often exceed $75—nearly half the price of a new mid-range Cuisinart. Weigh repair costs against replacement value when these severe issues occur.
Daily Habits That Prevent 90% of Failures
Prevent “lights on but not working” scenarios through simple maintenance habits. Cuisinart’s own engineering data shows blenders receiving consistent care last 3x longer than neglected units. Implement these practices to avoid future breakdowns:
After every use:
– Rinse blade assembly under hot running water within 2 minutes of use
– Wipe coupler teeth dry with microfiber cloth—never store damp
– Verify cup clicks twice when reattaching before storage
Weekly deep maintenance:
– Soak blade assembly in vinegar-water solution (1:1 ratio) for 10 minutes
– Inspect safety switch movement with toothpick (no debris should impede travel)
– Check coupler teeth alignment using business card as thickness gauge
Monthly performance test:
– Blend 2 cups of ice cubes for 15 seconds—any hesitation indicates emerging issues
– Measure startup time with stopwatch (should engage within 0.5 seconds)
– Reapply food-grade lubricant to blade bearings if rotation feels stiff
When your Cuisinart blender lights up but won’t spin, remember this golden rule: illumination confirms electrical health, so the fix is almost always mechanical and affordable. Start with the safety switch—it’s responsible for 60% of these failures and cleans up in under 5 minutes. Then verify blade assembly rotation and coupler engagement before considering motor issues. By following these targeted steps, you’ll transform that frustrating light display into a smoothly blending machine again. Keep your repair toolkit ready (isopropyl alcohol, cotton swabs, and a plastic spoon), and you’ll never need to replace a perfectly good blender over a simple blockage. That morning smoothie ritual is just one safety switch cleaning away from revival.


