
Your morning smoothie ritual screeches to a halt when you twist the dial on your Cuisinart blender and get nothing but silence. Or worse—you hear a concerning hum followed by smoke. When your CPB-380 or similar model suddenly quits, it’s not just inconvenient; it throws your entire routine off track. The good news? Over 85% of “cuisinart blender not working” failures trace back to three easily fixable issues. Before you panic or order replacement parts, let’s systematically diagnose your unit. You’ll often restore full function in under 15 minutes with basic tools already in your kitchen drawer.
This guide cuts through confusing symptoms to deliver precise solutions for dead units, frozen blades, smoking motors, and more. Every fix is verified against Cuisinart’s official repair protocols—no guesswork or risky hacks. Grab your screwdriver, and let’s get blending again.
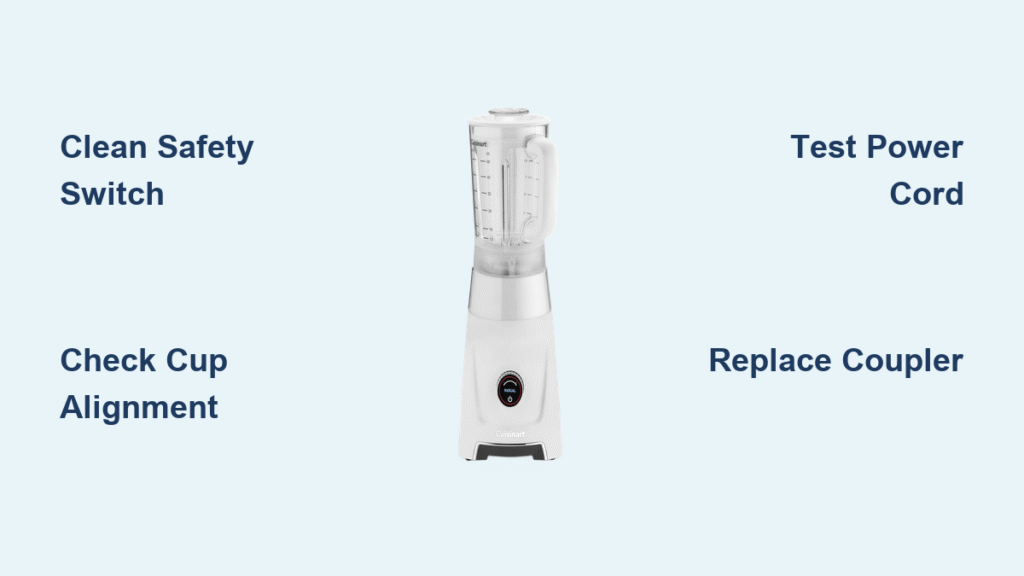
Safety Switch Failure Stops All Power

Clean the Hidden Micro-Switch Cavity
That frustrating silence when you twist the power dial usually points to a blocked safety switch. This tiny plunger inside the motor base’s attachment port must fully depress when you lock your cup in place. Dried smoothie residue or misalignment breaks the electrical circuit. Unplug immediately, then shine a flashlight into the port. If you spot crusty buildup around the plunger, dip a cotton swab in 70% isopropyl alcohol and scrub the cavity until clean. Never use metal tools—you’ll scratch the switch mechanism. After cleaning, press the plunger with a chopstick; it should click crisply both ways. If it sticks, replacement is needed (part #CPB-380-21 costs $4).
Perfect Your Cup Alignment Technique
Many “cuisinart blender not working” cases stem from improper cup seating. Line up the cup’s tabs with the motor base slots and twist clockwise firmly until you hear a distinct click. No click? The safety switch isn’t engaging. Try this trick: place your palm flat on the cup lid and apply downward pressure while twisting. If alignment still fails, remove the cup and inspect for warped tabs or cracks—common in older models. Replacing the cup ($18) often solves persistent alignment issues.
Power Cord or Outlet Issues Cause Complete Failure
Diagnose Cord Damage with the Bend Test
When your blender shows zero signs of life, rule out simple power problems first. Plug a lamp into the same outlet—if it doesn’t light, reset your circuit breaker. Next, perform the cord flex test: keep the blender plugged in while gently bending the cord near where it enters the base. If the motor briefly hums or LEDs flicker, internal wire breakage is confirmed. Stop using the unit immediately—exposed wires risk shock. Replacement cords (part #SPB-CORD-380, $9) include strain-relief grommets; cut the old cord inside the base, thread the new one through the grommet, and crimp connections exactly as original.
Confirm Power Flow with a Multimeter
For definitive diagnosis, set your multimeter to continuity mode. Unplug the blender, then probe the plug prongs against the spade connectors inside the base. An open reading (no beep) means the cord is dead. If you get continuity but the unit still won’t power, the problem lies deeper—likely the safety switch or control board. Critical warning: Never test continuity while plugged in. Always discharge capacitors for 5 minutes before internal work to avoid electrical shock.
Motor Runs But Blades Won’t Spin

Clear Blade Assembly Jams in 3 Steps
That loud humming noise with zero blade movement means your motor is straining against a blockage. Immediately unplug and twist the jar counterclockwise to remove it. Inspect the blade assembly underside for telltale signs: fibrous vegetables wrapped around the spindle, hardened nut butter in the bearings, or visible blade bends. Soak the assembly in hot, soapy water for 10 minutes, then use a bottle brush to scrub between blades and under the sealing gasket. For stubborn jams, run a pipe cleaner through the central shaft hole. Never force rotation—this can crack the coupler.
Tighten the Reverse-Thread Blade Nut
If blades still won’t spin after clearing debris, check for a loose spindle. Hold the blades stationary and try to wiggle the central nut. Excessive play (over 1mm) means the bearing retainer has loosened. Using needle-nose pliers, tighten the nut clockwise—it uses a reverse thread. Apply just 25-30 inch-pounds of torque; over-tightening strips threads. Test spin by hand—it should rotate smoothly with no grinding. If wobble persists, replace the entire blade-and-seal kit (part #CPB-380-BLADE, $12-$15).
Replace Stripped Drive Coupler
Identify Worn Splines Before They Fail
Look directly into the motor base after removing the jar. A healthy Delrin coupler shows sharp square edges. If splines appear rounded, cracked, or covered in white plastic shavings, replacement is urgent. Warning: Continuing to blend with a damaged coupler melts plastic into the motor shaft, requiring full motor replacement. Spin the coupler manually—it should feel snug with zero wobble. If it spins freely while the motor hums, the coupler has completely stripped.
Install New Coupler in 90 Seconds
Pry the old coupler off with a flathead screwdriver, being careful not to scratch the motor shaft. Clean the shaft thoroughly with isopropyl alcohol to remove plastic residue. Press the new coupler (part #CPB-CPL-SET, $6-$8) straight down until flush—both upper and lower halves must seat perfectly. Test by twisting the coupler; it should rotate with firm resistance. Pro tip: Apply a tiny drop of food-grade lubricant to the shaft before installation to prevent future seizing.
Weak Performance or Overheating
Reset Thermal Protection Safely
If your blender shuts down mid-blend but restarts after 20 minutes, the thermal switch tripped. Unplug immediately, remove the jar, and rinse contents with cold water to lower temperature. Wait at least 20 minutes for the motor to cool below 60°C before retrying. Never bypass this safety feature—repeated tripping indicates motor wear. Prevent future shutdowns by always adding liquid before frozen fruit and limiting runs to 60 seconds max.
Test Motor RPM to Diagnose Wear
A failing motor shows sluggish blending and faint ozone smells. Healthy CPB-380 units hit 22,000-24,000 RPM at max speed. Below 18,000 RPM means windings or brushes are degraded. Unfortunately, Cuisinart doesn’t sell rebuild kits—full motor replacement (part #CPB-380-MOTOR-120V, $38-$45) is required. Critical check: Measure winding resistance between pairs. Readings below 2Ω or above 6Ω indicate shorted windings—discontinue use immediately to prevent fire.
Smoke or Burning Smell Requires Emergency Action

Unplug and Disassemble Immediately
At the first whiff of burning, unplug your Cuisinart blender. Continuing operation risks fire or blown household breakers. Remove the base plate (four Phillips screws) and inspect motor windings. Blackened varnish or bubbling indicates burnout from locked-rotor conditions. Do not attempt repair—replace the entire motor assembly. Also check the PCB-mounted 10A fuse; if blown, replace with identical Littlefuse 215 series time-delay fuse.
Control Board Failure When LEDs Work
Verify Voltage at Motor Connectors
If power lights illuminate but the motor never spins, suspect the control PCB. With the dial set to high, use a multimeter to probe the motor spade connectors. Zero volts confirms a failed triac (STMicroelectronics BTA16-600B). Visually inspect for burnt resistors or cracked solder joints near the triac. Minor joint cracks can be reflowed with a soldering iron, but major damage requires PCB replacement (part #CPB-CTRL-PCB, $22-$28). Note: Warranty is voided if you breach the housing seal—contact Cuisinart first if under 3 years old.
Prevent Future Failures with Daily Care
30-Second Post-Use Routine
Rinse the blade assembly immediately after blending—never let residue dry. Wipe the motor base with a damp cloth only (no immersion). Check that the jar gasket seats perfectly; misalignment causes leaks that flood the safety switch. Key insight: Dried banana or nut butter residue is the #1 cause of safety switch failures—rinse within 2 minutes of use.
Monthly Maintenance Saves Motor Life
Inspect the coupler for hairline cracks and tighten the blade nut if loose. Examine the power cord for kinks near the strain-relief boot. Run compressed air through ventilation vents to prevent overheating. Pro tip: Soak the blade assembly weekly in 1:1 white vinegar/water solution for 10 minutes to dissolve mineral deposits that accelerate wear.
Final Note: Most “cuisinart blender not working” emergencies resolve by cleaning the safety switch, clearing blade jams, or replacing the $6 coupler. Start with these simple fixes before tackling motors or PCBs. If your unit is under warranty, contact Cuisinart before disassembly—tampering voids coverage. For persistent issues, refer to the diagnostic flowchart: dead blender? → Check outlet → Safety switch → Power cord. Blades frozen? → Clear jam → Tighten nut → Replace coupler. Always prioritize safety: unplug first, discharge capacitors, and never bypass thermal protection. With proper care, your Cuisinart will deliver smooth blends for years.


