
That frustrating “click-clack” sound when blending soup? The mysterious puddle forming under your jar? You’re not imagining things—improper Cuisinart blender assembly causes 90% of these common failures. Every day, users waste time and ingredients wrestling with wobbly jars and leaking seals simply because they missed one critical step in the assembly sequence. The truth is, professional-grade performance starts with two minutes of precise assembly—not guesswork.
This guide reveals the exact protocol Cuisinart technicians use to achieve leak-proof, vibration-free operation. You’ll learn how to spot the subtle alignment cues that prevent costly mistakes, plus model-specific tricks that transform confusing parts into a seamless blending system. No more wondering if you “clicked” correctly—just smooth, quiet operation from your first use.
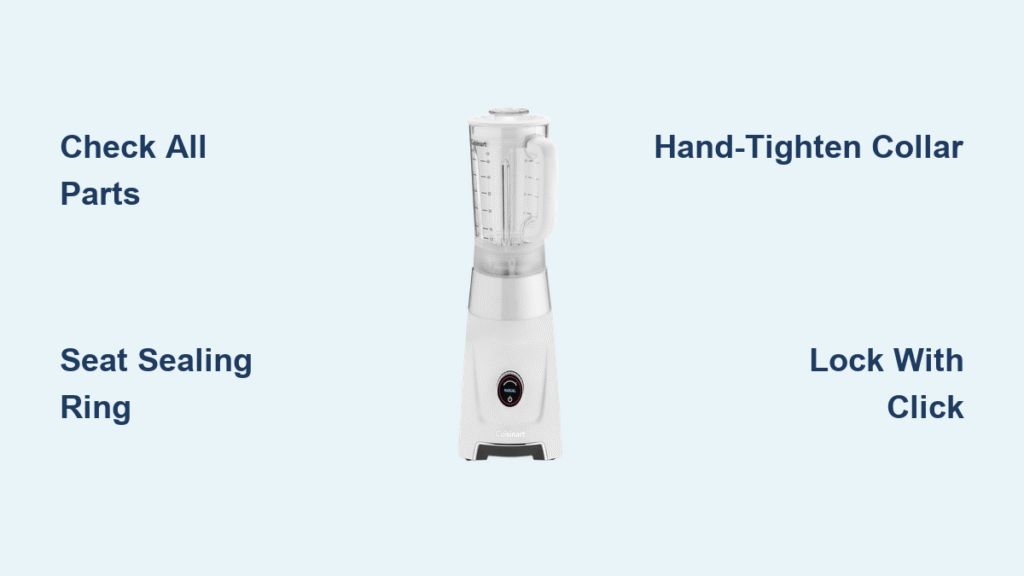
Verify Every Cuisinart Blender Part Before Assembly
Skip this step and you’ll battle leaks before your first smoothie. Before touching any components, lay out all parts on a clean towel. Your box must contain: motor base with undamaged cord, glass or BPA-free plastic jar, blade assembly with black sealing ring, lid with removable center cap, and base collar (the large plastic/metal ring). PrepExpress models add food processor bowls or whisks—check your manual for specifics.
Critical safety checks you can’t skip: Unplug the base immediately (even if new), handle blades ONLY by the plastic collar—never touch metal edges—and inspect the sealing ring for shipping cracks. Run your finger along the ring’s groove; it should sit flush without gaps. If loose, warm it under tap water for 10 seconds before reseating. North American models require 120V compatibility—verify this label on the base before proceeding.
Position Motor Base for Perfect Jar Alignment
Your counter surface determines stability. Place the motor base on a level, dry area with ventilation slots facing away from walls—never against cabinets. Extend the power cord fully toward your outlet without tension; kinks strain internal wiring. Rotate the base so controls face you directly. This orientation matters because Cuisinart jars lock via model-specific tab alignment—wrong positioning causes “phantom wobble” during blending.
Pro technician trick: Press any speed button while unplugged. You should feel zero resistance. If buttons click or stick, the safety interlock is jammed—return the unit immediately. Never force assembly on a faulty base.
Install Blade Assembly to Prevent 80% of Leaks

Leaks almost always trace back to this step. Locate your blade assembly (4-point for basic models, 6-point for Hurricane series). The black rubber sealing ring MUST be fully seated in its groove—no bulges or gaps. If it resists, dip only the ring in warm water for 10 seconds to soften, then press firmly around the entire circumference with your thumb. A misaligned ring is the #1 cause of leaks.
Handle like a pro: Place the assembly upside-down on your counter, gripping ONLY the plastic collar. This prevents accidental cuts and positions the threads for perfect jar connection. Never set blades upright—they can roll and damage countertops.
Connect Jar to Blade Assembly Without Overtightening
Invert your jar (opening down) and align its threads with the blade assembly collar. Rotate clockwise SLOWLY until snug—stop at the first firm resistance. Over-tightening warps the sealing ring, creating leak paths. The golden rule: If you need to brace the jar with your other hand, you’re applying too much force.
Instant verification test: Flip the jar upright. Gently rotate the blade assembly—it should spin freely like a top. If it catches or grinds, disassemble immediately. Check for thread debris or a twisted sealing ring. Properly connected, the assembly makes a smooth, silent rotation.
Hand-Tighten Base Collar to Avoid Cracks
Thread the base collar onto the jar bottom clockwise. Tighten ONLY with your hand—using pliers or wrenches cracks the collar. Apply even pressure until the blade assembly feels firmly sandwiched between jar and collar. You’ll notice reduced “play” in the blade when wiggled.
Warning signs of failure: If the collar spins endlessly, you’ve cross-threaded—disassemble and restart. Resistance before contact means debris is trapped in threads (clean with toothpick). Visible gaps between components indicate missing parts—never force assembly.
Lock Jar to Motor Base for Vibration-Free Blending

Position your assembled jar over the motor base, aligning collar tabs with base notches. This varies by model: SmartPower requires 1/4 turn clockwise, Velocity needs full rotation until click. Rotate firmly until you hear/feel a distinct click—the safety interlock engaging. The jar should lock solidly with zero wobble.
Critical security check: Try rotating the jar counterclockwise. A properly locked unit won’t budge. If it spins freely, realign and retry—forcing it damages internal gears. Hurricane series models require two clicks: one for collar engagement, one for the alignment pin. Listen carefully.
Secure Lid for Hot Liquids and Smoothies
Place the lid with handle aligned to the pour spout. Press down firmly until you hear/feel the click. Test security by lifting straight up—the lid shouldn’t separate. For hot liquids like soups, INSERT the center cap to prevent explosive splatter. Remove it when using the tamper or adding ingredients mid-blend.
Common mistake: People try to twist the lid into place. Cuisinart lids snap straight down—no rotation needed. If resistance occurs, clean the jar rim with a damp cloth; dried residue blocks proper sealing.
Fix Common Assembly Mistakes in 60 Seconds
Jar Won’t Lock to Base
Clean base notches with a damp cloth—dust blocks engagement. Check collar tabs for nicks (sand gently with emery board). Try a 1/8 counterclockwise wiggle before clockwise rotation. Verify jar model matches base (SPB-7 jars won’t fit Hurricane bases).
Blade Assembly Leaks
Remove and reseat the sealing ring—warm it first if stiff. Replace rings showing cracks or flat spots (Cuisinart part # BLS-2X). Ensure collar is hand-tight ONLY—overtightening distorts seals. Inspect blade assembly for warping; replace if bent.
Excessive Vibration
Re-lock jar to base—partial engagement causes shaking. Redistribute ingredients evenly before blending (heavy items sink). Check counter level with your phone’s bubble app. If collar feels loose, tighten slightly—but never with tools.
Lid Won’t Secure
Clean lid groove and jar rim thoroughly—dried smoothie residue is invisible but disruptive. Check for dishwasher warping (hand-wash lids). Remove center cap during lidding, then reinsert. Apply downward pressure while pressing—don’t twist.
Test Your Assembled Blender in 10 Seconds
Run your EMPTY blender for exactly 10 seconds. Listen for grinding (blade misalignment) or rattling (loose collar). Test pulse function and speed changes—smooth transitions confirm proper assembly. If vibration occurs, disassemble and repeat Steps 3-5. Never blend with issues—this strains motors.
Daily Maintenance After Cuisinart Blender Use
Disassemble COMPLETELY after each use. Wash jar, blade assembly, and lid in warm soapy water—never stack components while drying. Wipe motor base with a damp cloth ONLY; moisture ingress causes electrical faults. Dry all parts for 15 minutes before reassembly to prevent mold in the sealing ring groove.
Pro storage tip: For daily users, store fully assembled on the counter. For occasional use, disassemble and store the blade assembly in its protective sleeve (or a cut plastic cup) to maintain sharpness. Never store with the lid snapped on—trapped moisture breeds bacteria.
Your Cuisinart blender now operates at factory precision. Remember: that two-minute assembly investment prevents 90% of leaks, wobble, and premature failures. When you hear that perfect click and feel rock-solid stability, you’ve mastered the technician’s sequence. Now blend with confidence—your perfectly assembled machine is ready for years of flawless service.


