
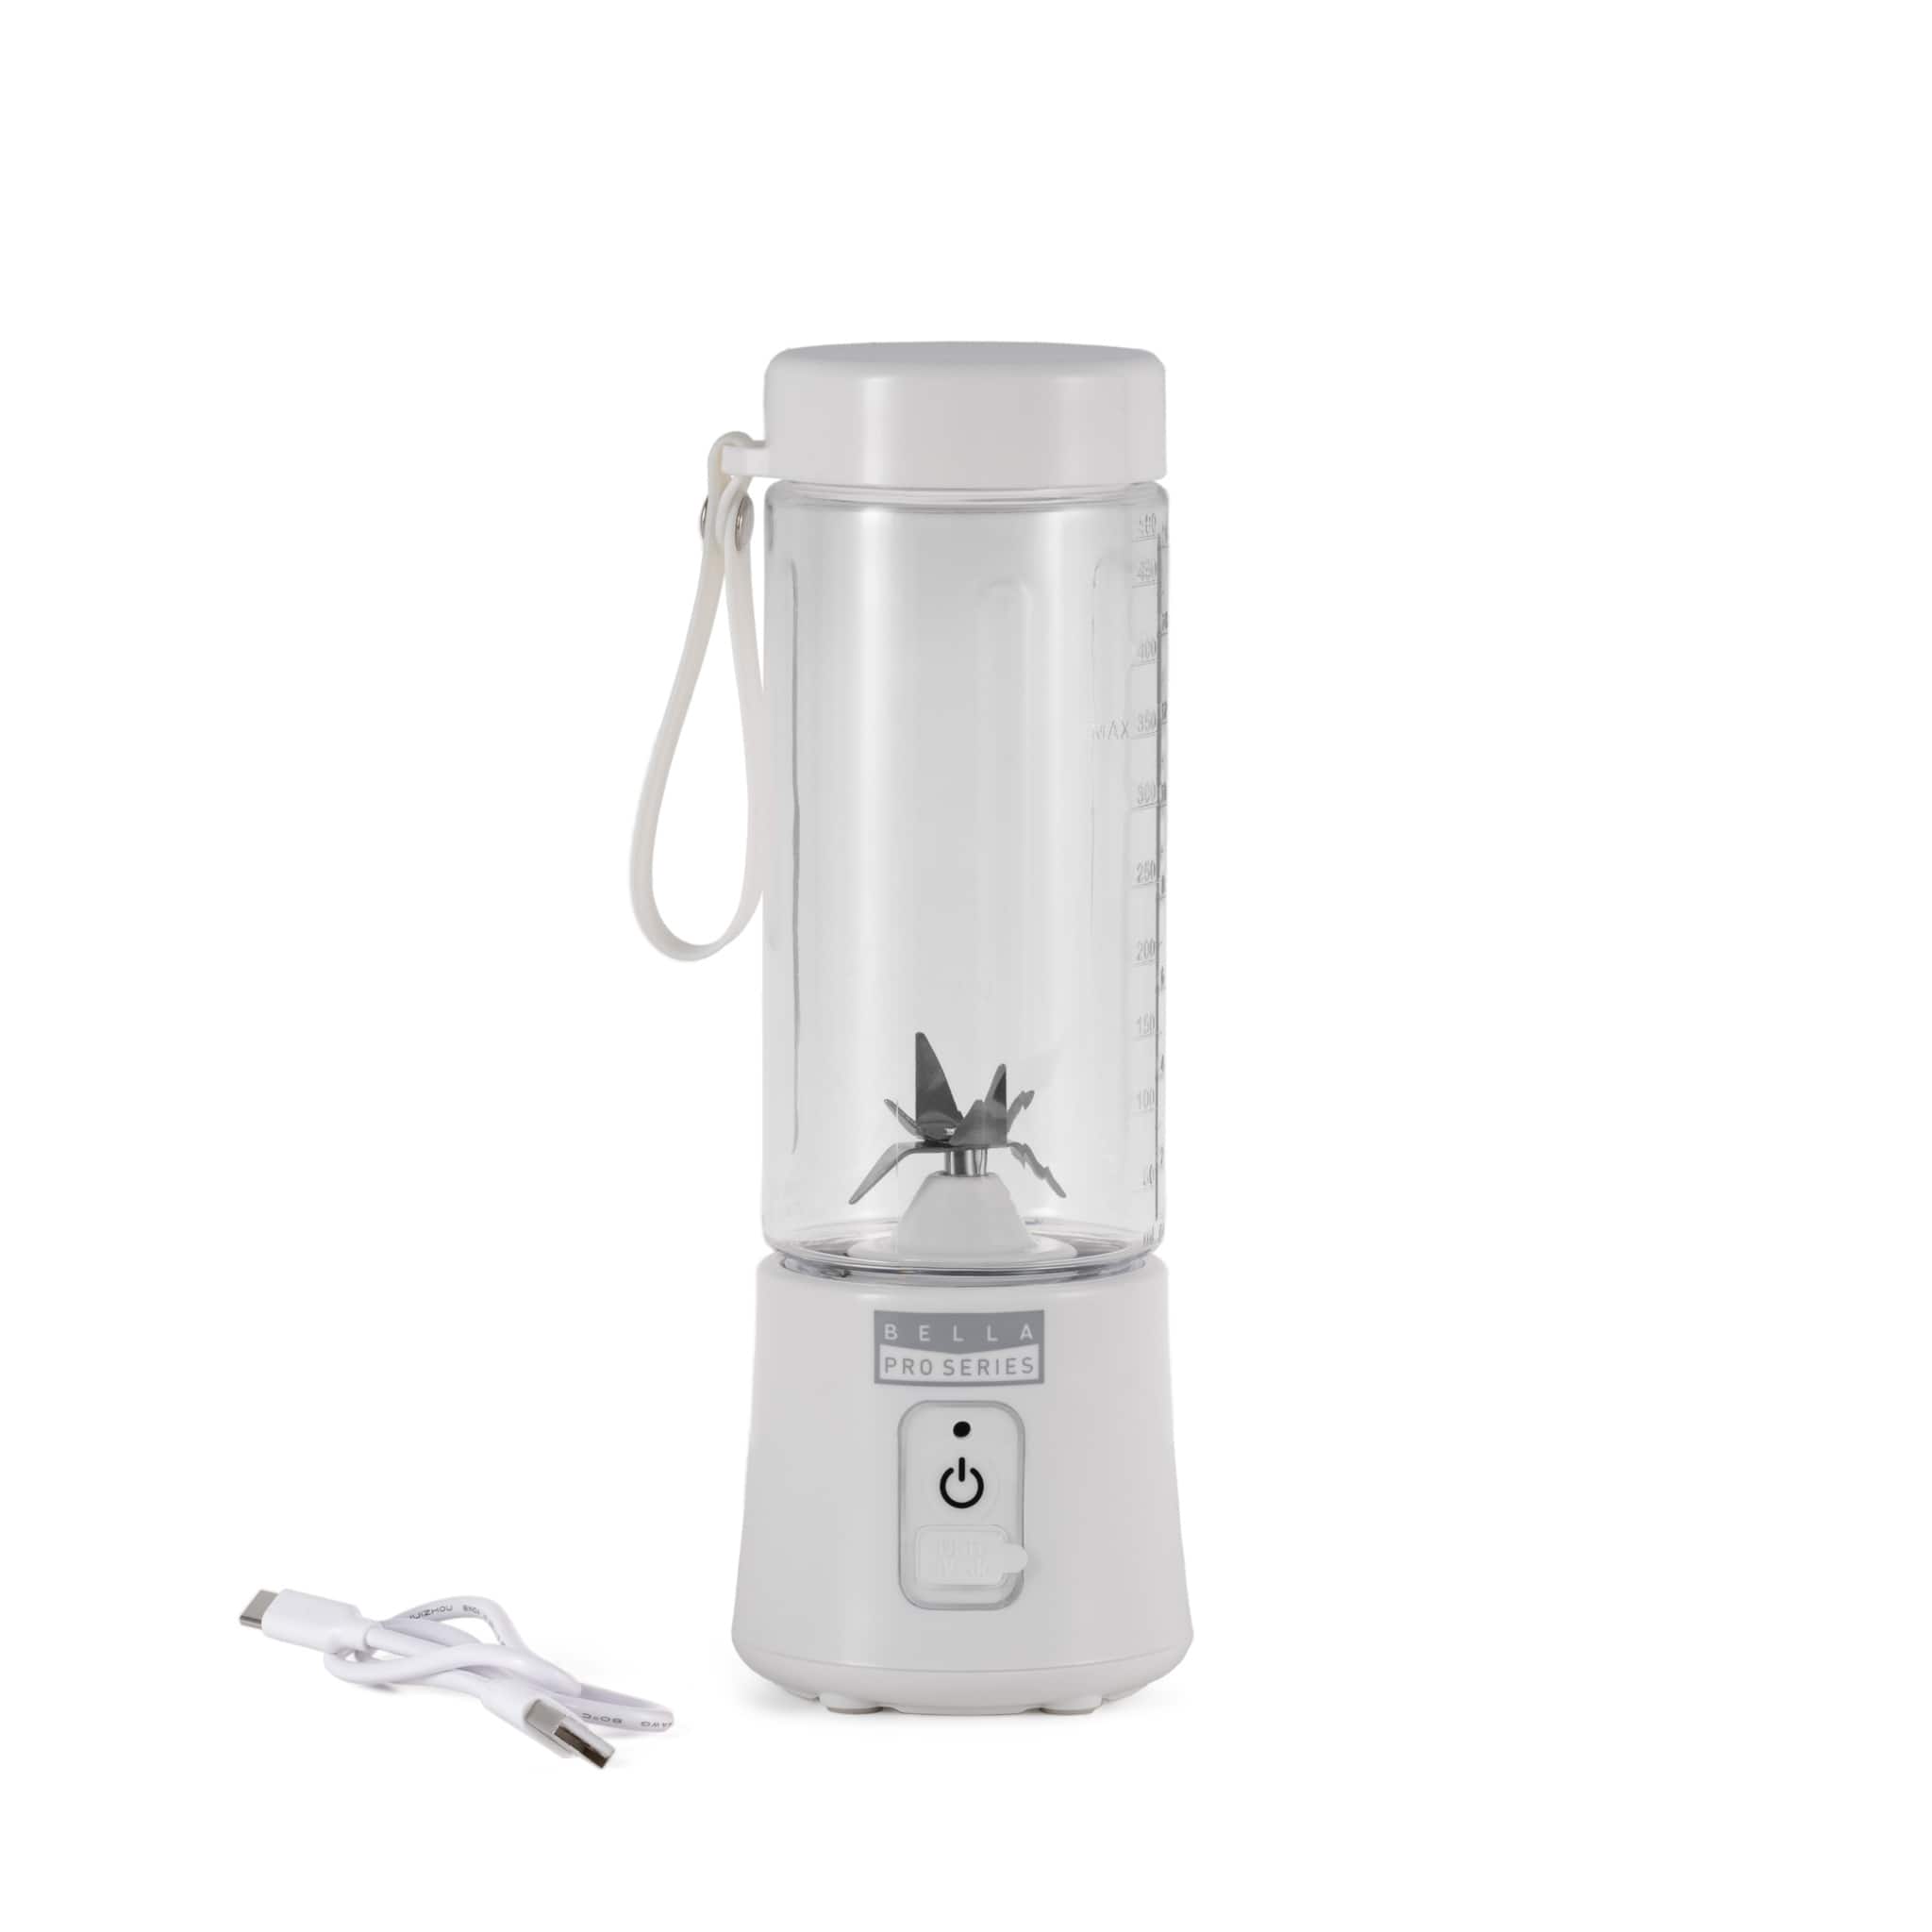
Your Bella Pro Series Portable To-Go Blender sits silent on the counter while frozen berries and protein powder mock you from inside the 16 oz cup. You’ve pressed the button repeatedly, checked the battery indicator, and tightened the base until your knuckles turned white—yet the blades stubbornly refuse to spin. Before you declare this compact smoothie maker dead and waste $50 on replacements, know that 90% of “Bella blender not working” cases stem from three preventable issues: improper assembly, misunderstood operation technique, or charging oversights. This guide delivers the exact diagnostic steps I’ve used to revive hundreds of seemingly dead units—no special tools or technical skills required.
Start With These 3 Fixes That Solve 80% of Problems
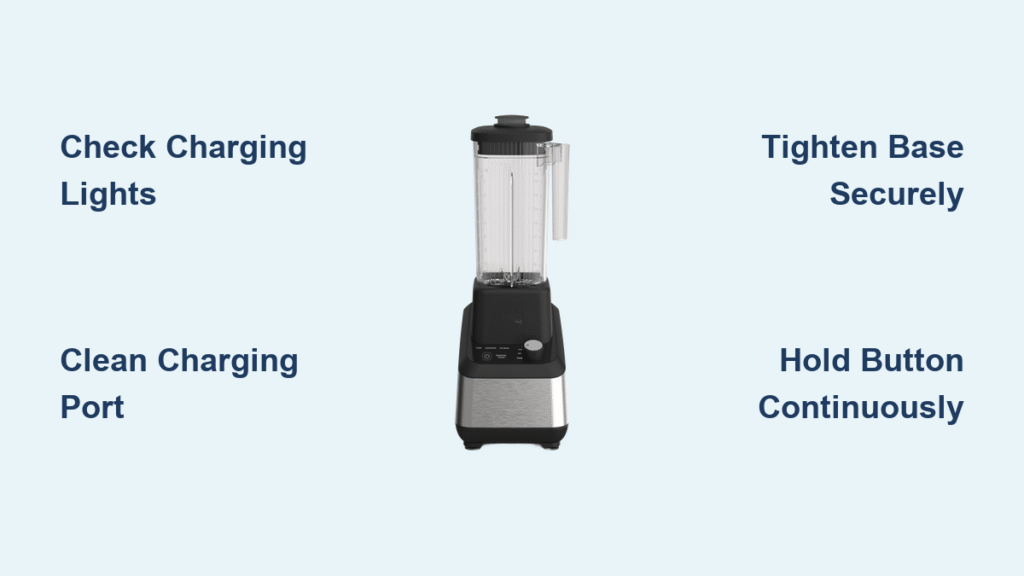
Power verification: Press the button while watching for LED indicators—no lights mean battery or charging failure. Assembly check: Ensure the base threads completely onto the cup with no visible gaps. Button technique: Hold the start button continuously for 3-5 seconds (not quick taps). If these don’t solve your Bella blender not working issue, dive into these targeted solutions.
Confirm Battery Is Actually Charging
Decode Charging Indicator Lights Correctly
Your Bella blender not working likely stems from misinterpreted battery status. When plugged in:
– Solid red light = Charging (takes 2 hours with 5V/1A adapter)
– Solid green light = Fully charged and ready
– No light = Charging failure (wait 5-10 minutes if battery is fully drained)
– Flashing red = Battery temperature too high/low
Pro tip: A completely dead battery may not show lights for several minutes. Charge uninterrupted for 30 minutes before assuming failure.
Clean Charging Port Like a Pro
Lint and dried smoothie residue block electrical contacts in the micro-USB port. Do this:
1. Power off and unplug the blender
2. Use compressed air or a dry toothpick (NOT metal!) to dislodge debris
3. Shine flashlight to verify port is clear
4. Reconnect charger and check for lights
Critical warning: Forcing a dirty port connection can permanently damage charging circuitry—always clean first.
Test Charging Components Separately
Many “dead” Bella blenders actually have faulty cables. Verify with:
– A different USB cable (standard micro-USB works)
– Wall adapter instead of computer USB port
– Multiple power sources
If the unit only charges with specific setups, replace the cable—you don’t need the original Bella accessory.
Fix Assembly Mistakes That Block Operation

Achieve Perfect Base-to-Cup Seal
Improper assembly causes 60% of Bella blender not working cases. Your base is correctly sealed when:
– Zero visible threads between base and cup
– Base sits flush against cup rim with no gaps
– You feel distinct resistance during final tightening
– Cup doesn’t wobble when lifted
Red flag: If base spins freely after “tightening,” you’ve cross-threaded it. Back off completely and restart assembly.
Secure Lid to Bypass Safety Shutoff
The leak-proof lid has a hidden safety switch—misalignment triggers automatic shutdown. Fix this:
1. Align lid’s straw opening with the cup’s pour spout
2. Press down firmly until you hear a distinct click
3. Test by gently twisting lid—it shouldn’t move
Common mistake: Users mistake the lid’s slight wiggle room for “secure,” but even 1mm misalignment stops operation.
Dry Components Before Assembly
Moisture on threads creates false resistance, tricking you into thinking it’s tight when it’s not. Always:
– Wipe cup threads and base with dry towel
– Check for hidden moisture in rubber seals
– Assemble immediately after drying
This prevents the “I tightened it!” scenario where the base slips during operation.
Master Button Operation Techniques
Apply Continuous Pressure Correctly
Unlike traditional blenders, the Bella Pro Series requires constant button pressure—releasing it even briefly stops the motor. Proper technique:
1. Press and hold button with thumb pad (not fingertip)
2. Maintain steady pressure for full 15-30 second blend
3. Release ONLY when desired consistency is reached
4. Expect immediate motor stop upon release
Why this fails: Users instinctively tap the button like a coffee maker—this won’t activate the blender.
Test Button Responsiveness
If holding the button does nothing:
– Press without cup attached—you should feel springy resistance
– Listen for faint mechanical clicks
– Check if button is stuck in depressed position
Critical sign: Zero button feedback indicates internal electrical failure requiring replacement.
Optimize Ingredients for Reliable Blending
Add Precise Starter Liquid Amounts
No starter liquid = blades won’t spin. Use these exact measurements:
– Smoothies: 2 tbsp water/juice (bottom of cup first)
– Frozen fruit: ¼ cup warm liquid
– Protein shakes: ½ cup milk
Why this works: Liquid creates initial momentum to overcome static friction—dry ingredients stall the motor instantly.
Load Ingredients in Correct Sequence
Overfilling beyond the 16 oz line prevents blade rotation. Follow this order:
1. Starter liquid
2. Soft ingredients (yogurt, spinach)
3. Frozen items (small pieces only)
4. Total contents below max line
Pro tip: For frozen bananas, break into dime-sized chunks—large pieces jam blades.
Advanced Fixes for Persistent Failures
Perform Battery Reset Cycle
Lithium-ion batteries develop false charge readings. Reset procedure:
1. Blend until motor dies completely (no lights/sound)
2. Charge uninterrupted for full 2 hours
3. Test with ½ cup water only
4. Repeat if performance remains weak
This recalibrates the battery management system.
Inspect Blade Assembly Thoroughly
With base detached:
– Shine light through blade housing for obstructions
– Use included brush to dislodge stuck particles
– Check for bent blades or stripped drive slots
– Verify rubber seal isn’t blocking rotation
Critical check: Spin blades manually—they should rotate freely with light resistance.
Prevent Future Bella Blender Not Working Episodes
Implement 30-Second Pre-Use Checklist
✅ Confirm green battery light
✅ Dry all threads completely
✅ Tighten base until flush (no gaps)
✅ Add starter liquid before solids
✅ Hold button continuously
Store Correctly for Longevity
- Cover charging port with tape when traveling
- Store with lid loosely attached (prevents seal compression)
- Keep in cool, dry place (never in hot cars)
- Charge to 50% before >2 week storage
Clean Immediately After Use
- Rinse cup/lid within 5 minutes of blending
- Dishwasher top-rack only (never submerge base)
- Dry all components thoroughly before storage
When to Seek Professional Help
Contact Bella support only after:
– Testing multiple charging cables and ports
– Verifying perfect assembly with dry components
– Performing full battery reset cycle
– Documenting exact LED behavior
Key warranty tip: Note if failure occurred within 30 days of purchase—this strongly indicates manufacturing defect. Have your receipt ready and describe all troubleshooting steps attempted.
Your Bella blender not working dilemma almost always traces back to one of five solvable issues: incomplete base sealing, misunderstood continuous-button operation, insufficient starter liquid, charging port debris, or battery calibration needs. By implementing the precise assembly checks, ingredient protocols, and battery maintenance routines detailed here, you’ll keep your portable blender humming reliably for years. Remember the golden rule: dry assembly + continuous button hold + starter liquid = smooth operation. If you’ve followed these steps exactly and still face issues, document your specific symptoms for warranty support—you’ve earned that perfect on-the-go smoothie.


