
That morning smoothie shouldn’t feel like a wrestling match with your countertop appliance. If your Bella Rocket Blender sputters, leaks, or simply won’t start, you’re not alone—most users miss the critical tab alignment that unlocks this compact powerhouse. Mastering the Bella’s unique direct-press system transforms chaotic kitchen moments into two-minute nutrient boosts, whether you’re blending protein shakes or grinding fresh spices. Let’s cut through the confusion and show you exactly how to use Bella blender safely and effectively, turning daily prep from frustrating chore to satisfying ritual.
Unlike traditional blenders with confusing buttons, the Bella Rocket Blender operates through deliberate physical engagement—no switches, no guesswork. This guide covers every step from unboxing to advanced techniques, using only the manufacturer’s specifications. You’ll learn the exact pressure needed for activation, why blade-cup pairing matters, and how to avoid the #1 mistake that causes 90% of leaks. By the end, you’ll operate this appliance with pro-level confidence.
Secure Your Bella Blender Before First Use
Placing your Bella on a damp or uneven surface risks dangerous slippage during operation—this isn’t just inconvenient, it’s a major safety hazard. Always position the motor base on a completely dry, flat countertop away from sink splashes. Wipe the area thoroughly with a dry cloth before assembly, as even minor moisture creates instability when the 10,000 RPM motor engages. Crucially, keep the unit unplugged during setup; the direct-press activation means accidental contact could trigger sudden operation before you’re ready.
Match Cups to Their Specific Blades
Your Bella includes two dedicated processing systems—using the wrong blade in the wrong cup causes poor results and potential damage. Never interchange these components:
- Tall 14-oz blending cup: Use exclusively with the cross blade (X-shaped with multiple sharp points) for smoothies, sauces, or liquid recipes
- Small grinding cup: Pair only with the flat blade (single-edged) for coffee beans, spices, or nuts
Each blade has a uniquely sized collar and gasket seal designed for its corresponding cup. Mismatching them compromises the airtight seal, leading to leaks and inefficient processing. Check your components against the inventory list before starting.
Assemble Blades Without Cuts or Leaks

Select the Correct Blade for Your Task
For smoothies or protein shakes: Reach for the cross blade—it’s engineered to create vortexes that pull ingredients downward.
For grinding spices or coffee: Choose the flat blade—it chops rather than liquefies dry ingredients.
Always handle blades by their plastic collar—never grip the sharp metal edges. If blades feel loose in the package, return them immediately; damaged blades create dangerous flying debris during operation.
Create a Leak-Proof Seal in 3 Steps
- Inspect the rubber gasket: Ensure it’s fully seated in the blade collar’s groove (this tiny seal prevents 90% of leaks)
- Position the blade: Place it into the cup opening with the sharp edges facing downward
- Tighten clockwise: Turn until snug—overtightening cracks the plastic collar and displaces the gasket
Test for security by gently shaking the assembly. If the blade wobbles or clicks, disassemble and restart. A properly sealed unit feels rock-solid with zero movement.
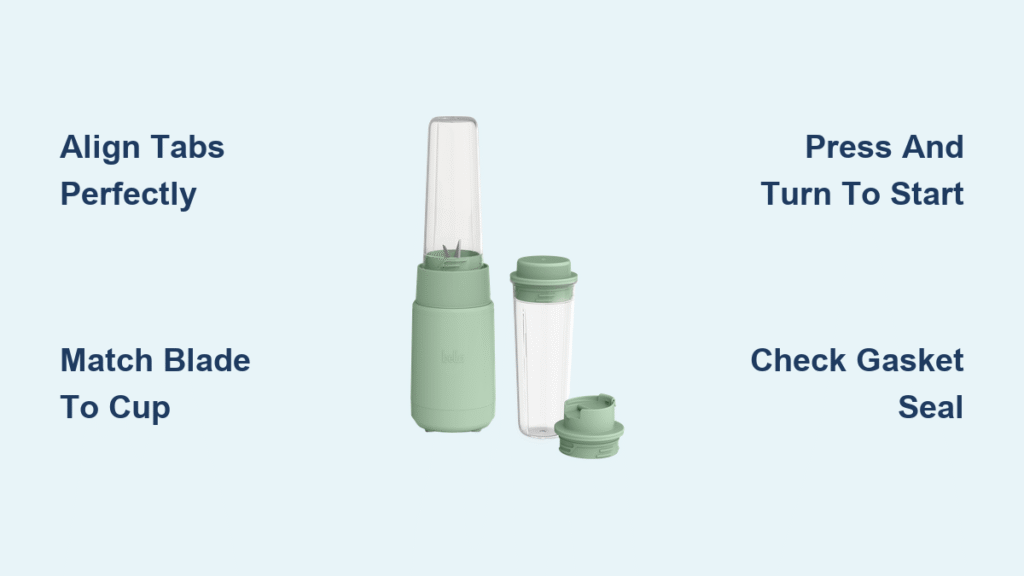
Plug In and Align for Instant Activation
Plug your Bella into any standard 120V outlet, then locate the three locking tabs on your cup assembly. These must align exactly with the three slots on the motor base—a common frustration point for new users. The blender will not operate without perfect tab-slot alignment, so rotate the cup until you feel a distinct “click” as each tab drops into place. This safety feature prevents accidental starts but requires precise positioning.
Activate Your Bella Rocket Blender Correctly
Here’s where most users fail: the Bella activates only through specific downward pressure and rotation—not buttons or switches.
Direct-Press Activation Sequence
- Invert your assembly (cup upside down, blade facing the motor base)
- Insert into base while aligning tabs with slots
- Press down firmly while turning clockwise until locked
- Maintain pressure to keep blending—release to stop instantly
Critical processing times:
– Smoothies: 15-20 seconds continuous blending
– Ice crushing: 5-second pulses (3-4 times max)
– Spices: 8-10 seconds (never exceed)
– Coffee beans: 12-15 seconds for medium grind
Never ignore the MAX fill line—overfilling creates dangerous pressure buildup. For thick mixtures, add liquid first before frozen fruit to prevent motor strain.
Disassemble Safely Without Mess
After blending, follow this sequence to avoid splatters:
- Turn counterclockwise while maintaining downward pressure to unlock
- Lift straight up—don’t tilt—to remove from base
- Flip upright carefully—contents remain under slight pressure
- Unscrew blade counterclockwise while holding cup securely
- Add lip ring for spill-free drinking
Pro tip: For thick smoothies like frozen banana blends, let the cup rest 30 seconds before blade removal. This equalizes pressure and prevents surprise splatters on your countertop.
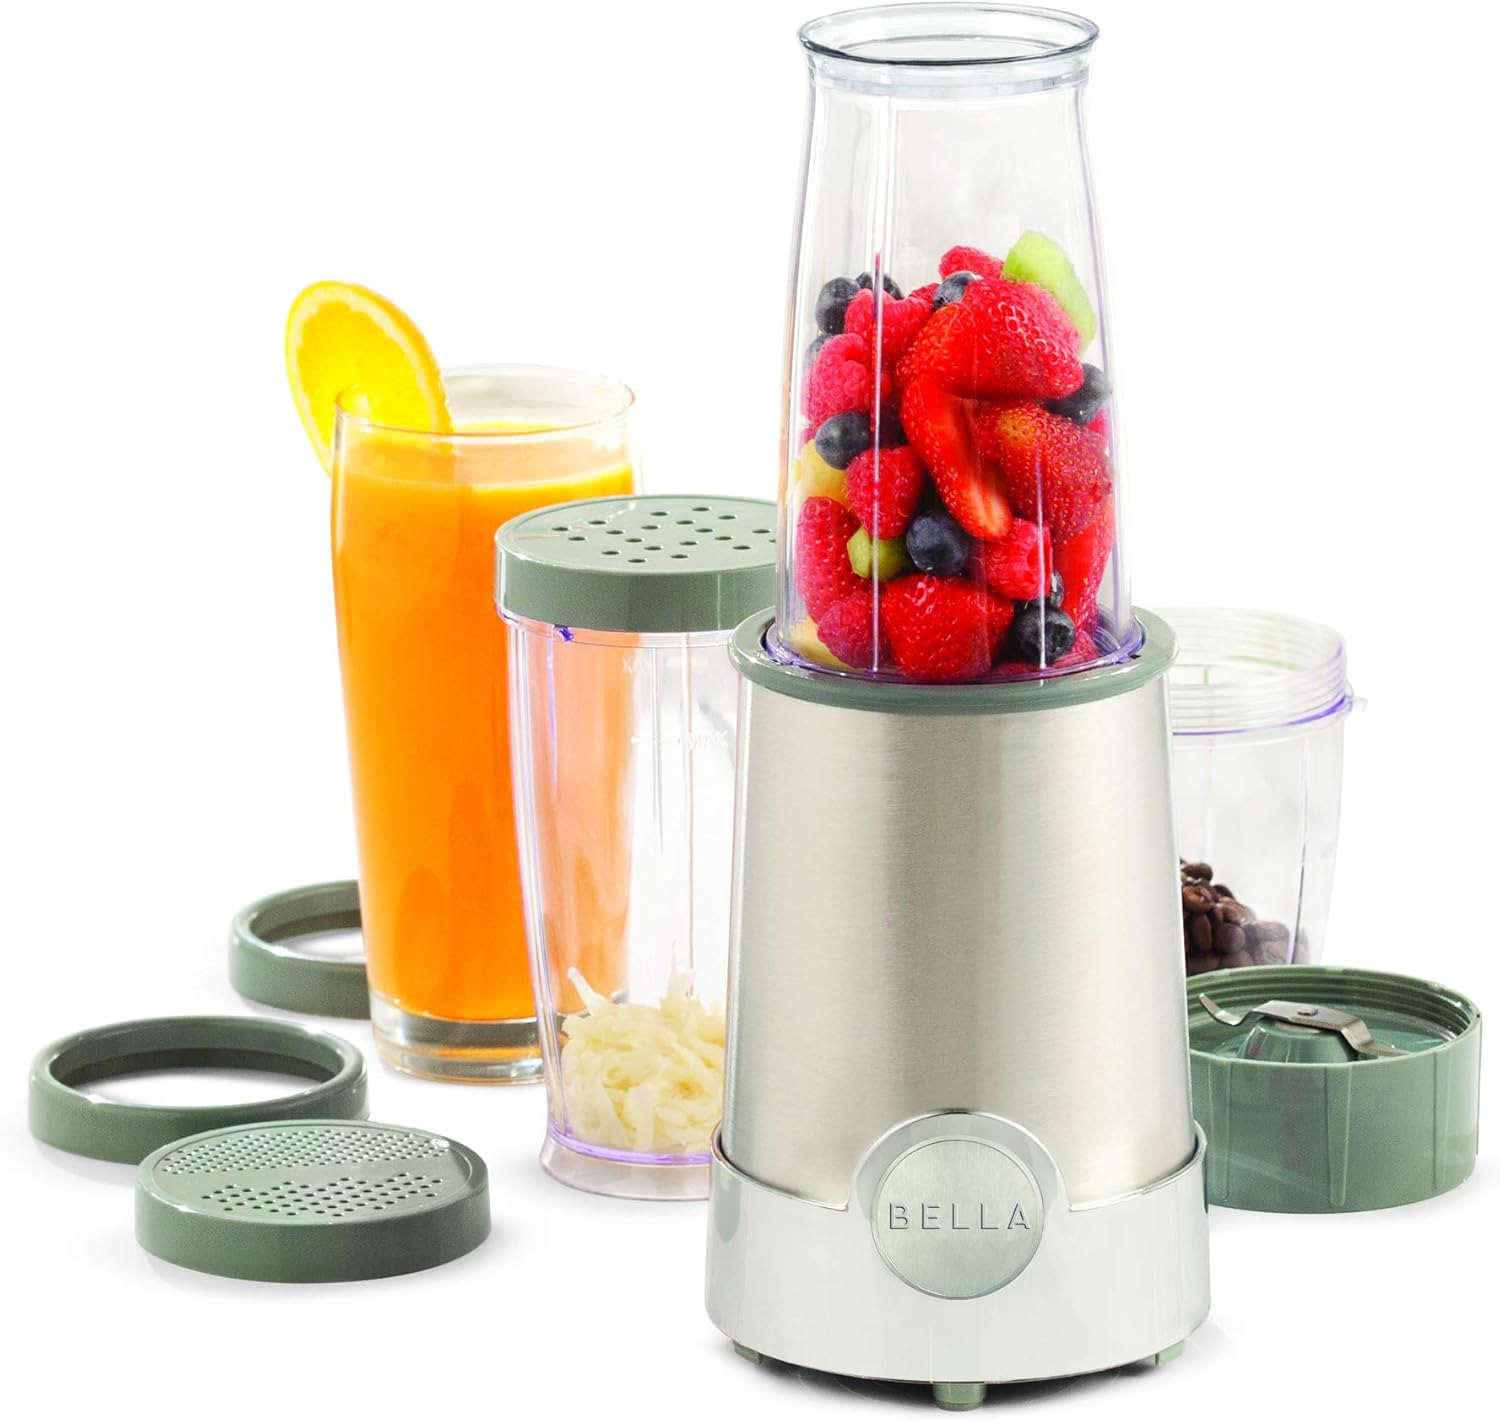
Maximize Your Included Accessories
Your Bella package includes specialized tools most users overlook—here’s how to leverage them:
Transform Cups for Multiple Uses
- Storage lids: Snap onto blending cups for fridge storage—blend breakfast smoothie, drink leftovers at lunch
- Shaker lids: Use small-hole lids for cinnamon or cocoa; large holes for grated cheese or nuts
- Lip rings: Convert blending cups into travel mugs with comfortable drinking edges
Prevent Dishwasher Damage
After cleaning, always inspect blade gaskets—dishwasher heat loosens these critical seals. Press any displaced gaskets back into their grooves before reuse. Never run the motor without checking gasket placement; this causes immediate leaks during operation.
Fix These 3 Common Bella Blender Failures

“My Bella Won’t Start”
- Tab misalignment: Rotate cup until all three tabs click into slots
- Insufficient pressure: Press down harder while turning—light touches won’t activate
- Empty cup: Never run without contents—this damages the motor
“Leaking During Blending”
- Gasket displacement: Re-seat the rubber seal in the blade collar
- Loose blade: Hand-tighten (no tools) until snug
- Overfilling: Respect the MAX line—ingredients expand during blending
“Weak Performance on Frozen Fruit”
- Wrong blade: Cross blade required for smoothies (flat blade won’t liquefy)
- Insufficient liquid: Add 1/4 cup liquid before frozen ingredients
- Large chunks: Cut fruit into 1-inch pieces for consistent results
Clean Your Bella in 60 Seconds Flat
Skip the scrubbing with this efficient routine:
- Rinse immediately—dried residue requires aggressive cleaning
- Unplug base before any contact with water
- Dishwasher top rack: All cups, lids, and rings (never blades)
- Hand-wash blades: Use soft sponge with mild soap
- Wipe base: Damp cloth only—never submerge motor
Time-saving hack: Fill the cup with warm water + 1 drop soap, blend 10 seconds, then rinse. Eliminates stuck-on residue in half the time.
Upgrade Beyond Basic Smoothies
Once mastered, unlock these pro techniques:
- Fresh spice blends: Grind whole cumin + coriander for 8 seconds (better flavor than pre-ground)
- Baby food: Steam carrots, blend 20 seconds with broth for silky texture
- Clump-free protein: Add liquid first, then powder—blend 15 seconds
- Frozen margaritas: Use 1:2 ice-to-liquid ratio, pulse 4x for perfect slush
Critical Safety Reminders You Must Follow
- Unplug after every use—prevents accidental activation by pets or children
- Never blend hot liquids—steam pressure causes explosive spills
- Store blades separately—prevents dulling and accidental cuts
- Replace damaged gaskets immediately—call Bella customer service for replacements
Mastering how to use Bella blender correctly transforms kitchen chaos into precision efficiency. Remember the golden rules: perfect tab alignment, correct blade-cup pairing, and maintaining pressure during operation. Within days, these steps become second nature—turning your compact Rocket Blender into the most reliable tool in your kitchen arsenal. Start with a simple smoothie today using these exact techniques, and you’ll never question this appliance again.


