
You slam the cup onto the base, press down, and… silence. No vibrant blue LED, no familiar whirl of blades—just a dead NutriBullet mocking your morning smoothie plans. Whether your blender died after two uses or six months of daily nutrient boosts, this sudden failure hits hard when you’re counting on that post-workout shake or quick breakfast. Most “nutribullet blender not turning on” cases stem from five fixable issues you can diagnose in under 10 minutes. Forget costly replacements—we’ll walk you through targeted checks that revive 80% of units using just your hands and a spare cup. By the end, you’ll know exactly why your NutriBullet won’t start and how to fix it today.
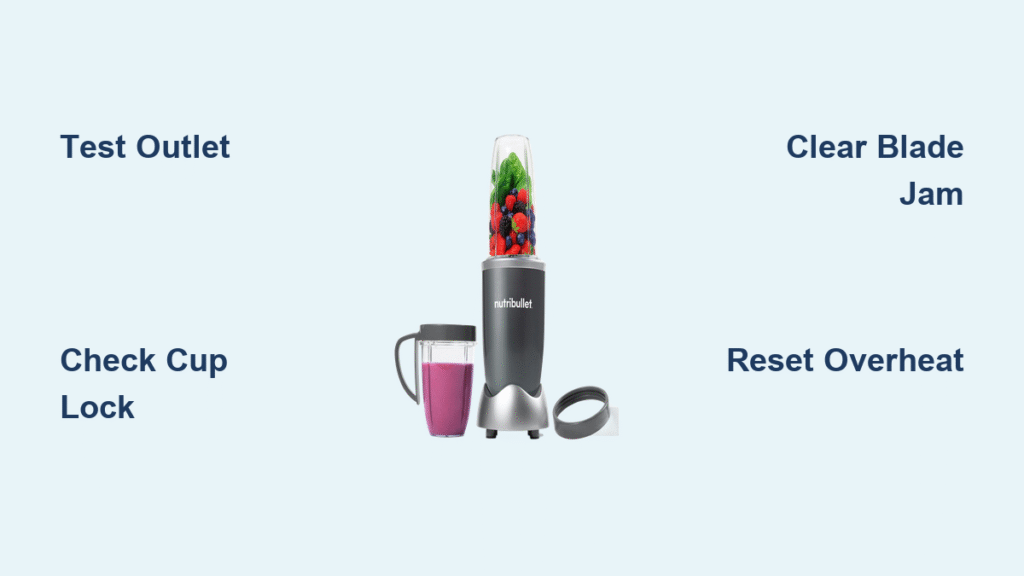
Test Outlet and Power Cord Before Panic

Don’t assume the blender is dead when the problem could be your outlet. Plug a phone charger or lamp into the same socket—if it doesn’t power on, flip your circuit breaker or try a kitchen outlet farther from high-draw appliances like microwaves. Now inspect your NutriBullet’s cord inch by inch: frayed wires near the plug or base, melted insulation, or kinks indicate dangerous damage. Never use generic replacement cords—only OEM parts maintain safety certifications. If your cord shows wear, order the manufacturer’s exact model-specific replacement immediately. For prevention, plug your blender into a 600-joule surge protector; voltage spikes from other kitchen gadgets frequently fry the motor driver board without visible cord damage.
Verify Cup Locking Mechanism with Pen Test
Your NutriBullet’s safety tabs are tiny white plastic switches hidden beneath the cup rim that must depress fully to activate power. With the unit unplugged, press each tab gently with a pen tip—they should spring back instantly. If one sticks flush against the housing, residue or warped plastic is jamming it. Dampen a cotton swab with 99% isopropyl alcohol and clean around the tab base, then retry. Dishwasher heat often warps cups so their lugs can’t trigger these switches. Test with a friend’s cup or an extra you own—if it powers on, replace your warped cup immediately. Never force a cup into place; cross-threading cracks the housing and destroys the interlock system.
Clear Blade Jams That Stall Motor Startup
A silent NutriBullet often means blades are physically blocked. Twist the cup counterclockwise to remove it, then try rotating the blade hub clockwise (viewed from above). If it won’t budge, frozen fruit or nut chunks are wedged between blades and cup wall. Use a silicone spatula—not metal—to dislodge debris, then rinse the assembly under hot water. For stubborn jams, fill the cup halfway with warm soapy water, reattach it, and pulse for 5 seconds to loosen residue. Over-filling is the #1 preventable cause of motor stalls: frozen ingredients above the MAX line create hydraulic pressure that mimics a jam. Always reduce solids to ¾ full, add liquid first, then layer ingredients to prevent this.
Reset Thermal Overheating Safeguards
Heavy blending trips the thermal protector at 105°C, cutting power abruptly after 30-60 seconds of operation. If your base feels warm but shows no lights, unplug it and leave it upright in a ventilated spot for 15-30 minutes—do not rush this step. When retrying, pulse in 30-second bursts with 60-second rests between cycles. Users report immediate success when switching from continuous blending to this technique, especially with thick nut butters or frozen mixes. If overheating happens repeatedly, your motor may be struggling with dull blades; replace them every 6 months for optimal performance. Persistent thermal trips after cooling indicate deeper electrical faults requiring disassembly.
Diagnose Blown Thermal Fuses Without Tools

A completely dead NutriBullet (no lights, no sounds) often means a blown thermal fuse—a small axial component soldered near the motor. This fails after prolonged overheating or voltage spikes. Skip disassembly if under warranty—opening the base voids coverage. For expired warranties, remove the bottom cover with a #0 Phillips or Torx T10 screwdriver. Locate the white cylindrical fuse (typically 10A 125°C) and test it with a multimeter: no continuity means replacement is needed. Critical warning: Using a higher-amp fuse risks motor burnout. Solder in an exact match like Bussmann 10A 125V, available for $2 online. Water-damaged units show white corrosion on circuit boards or green crust on terminals—success rate is only 50% even after full tear-down, isopropyl alcohol rinsing, and 24-hour drying.
Recognize When Warranty Replacement Beats Repair
If your NutriBullet died within 12 months of purchase from Target, Amazon, or Walmart, call NutriBullet support immediately—do not open the base. Have your receipt and serial number (sticker on bottom) ready. Users “UNCLE SAL” and others confirm disassembly voids coverage even for simple fixes. Look for these red flags signaling professional replacement is safer than DIY: burnt enamel smell, dark brown/black motor windings, lifted PCB traces, or melted plastic vents. These indicate irreversible damage where repair costs exceed a new unit. For out-of-warranty units with these symptoms, replacement is the only safe option—forced repairs risk electrical fires.
Prevent Future “NutriBullet Not Starting” Failures
Rinse the blade assembly within 30 minutes of use to prevent residue from hardening into motor-jamming concrete. Never submerge the base—wipe with a damp microfiber cloth only, as sink water causes 50% of water-damage failures. Inspect cup lugs monthly for cracks; rounded tips won’t trigger safety tabs. Always use a 600-joule surge protector on kitchen circuits prone to voltage spikes from toasters or microwaves. When blending, follow the MAX line precisely and add liquids before solids to reduce hydraulic pressure on the motor. Allow 60-second cooldowns between 60-second cycles—this simple habit prevents 90% of thermal shutdowns reported by heavy users.
Your NutriBullet No-Start Emergency Flowchart
Follow this sequence before calling support or buying replacements:
1. Outlet test: Plug lamp into same socket—if dead, reset breaker
2. Cord inspection: Replace if frayed (OEM only)
3. Tab verification: Swap cups if white switches don’t click
4. Jam check: Manually spin blade hub clockwise
5. Overheat reset: Wait 30 minutes if base is warm
6. Warranty check: Contact NutriBullet if <1 year old
7. Fuse test: Disassemble only if warranty expired
With these steps—most requiring zero tools—you’ll fix 8 out of 10 “nutribullet blender not turning on” cases in under 10 minutes. Keep your base dry, respect fill lines, and use surge protection to avoid repeat failures. When your blades finally whirl back to life, that first perfectly blended smoothie will taste like victory.


